Loading ...
Loading ...
Loading ...
nuwavenow.com | 7
WIFI CONNECTIVITY
THE NUWAVE CONNECT APP • WiFi ACTIVATION
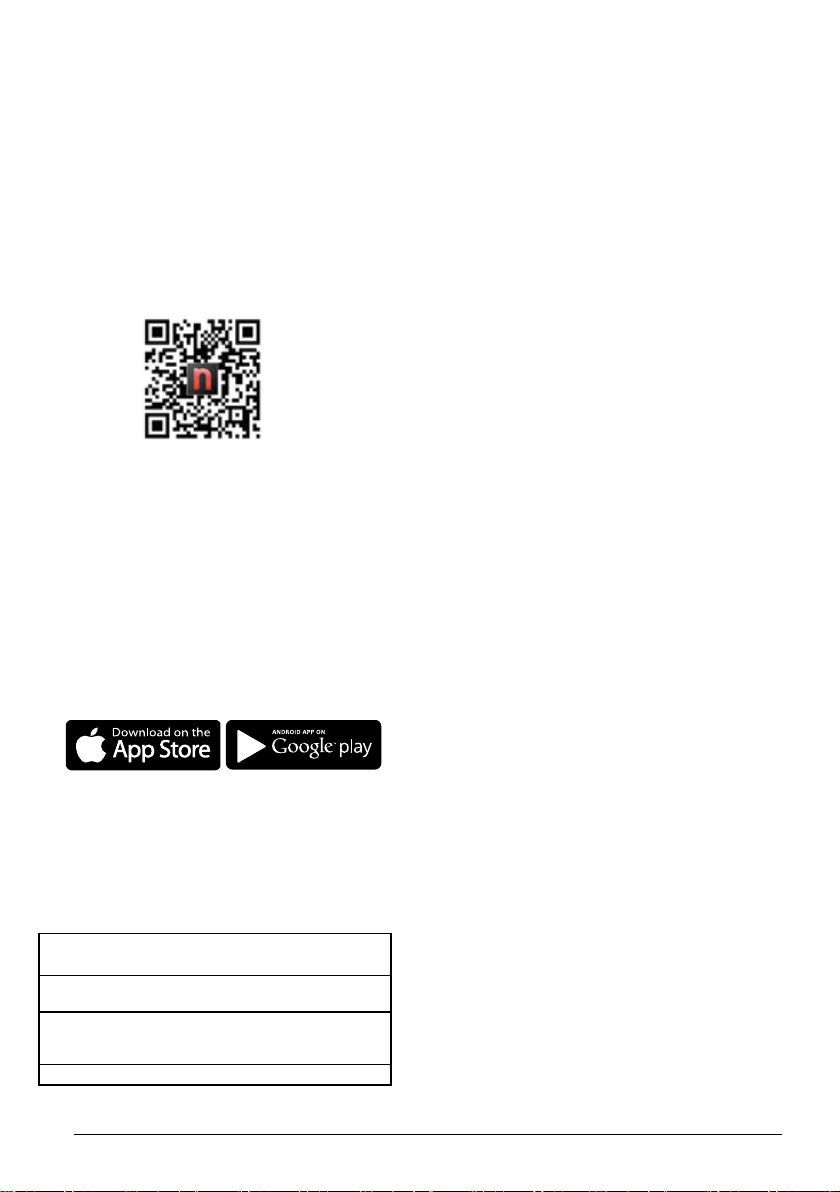
Download the NuWave Connect App
This is an optional feature that is not required to
operate your OxyPure.
Using the QR reader in your Camera App:
1. Scan the QR code below.
2. It will take you to the App’s download page
on either the Google Play Store or the Apple
AppStore, then just follow the download and
installation instructions.
Downloading a QR reader App:
If your phone doesn’t have that capability built-in,
simply download a 3rd-Party QR Scanning App
before scanning the NuWave QR Codes and you
are ready to go.
1. Open your device’ mobile app store (Apple
App Store or the Google Play Store).
2. Search for “QR code readers.”
3. Simply download the QR code reader to your
phone, open it, scan the code and you are
ready to go.
The OxyPure is equipped with WiFi with back-up Bluetooth connectivity. This allows you to conveniently
operate your new air purier from nearly any location, whether at home or while you are out and about,
as long as you have a reliable Internet connection.
WiFi Activation & Connection
Once you have successfully installed the
NuWave Connect App:
1. Make sure your phone is fully updated and
connected to your network.
2. Open the app and follow the instructions for
the verication process.
3. Once verication is complete, begin adding
devices. Tap “+” then select “OxyPure.”
4. Plug the OxyPure into a compatible power
outlet.
5. Activate WiFi Pairing Mode.
• Press and hold ULTIMATE CLEAN on the
OxyPure for 2 seconds until the light next
WiFi begins to blink at a rate of about 2
blinks per second.
• Once the WiFi light is rapidly blinking, in
the app, tap Finish Network Congu-
ration at the bottom of the Add Device
page.
6. Follow the prompts to either connect to your
network or conrm your existing network
password.
7. To reset the OxyPure WiFi, press and hold
down ULTIMATE CLEAN for 3 seconds. Fol-
low Step 5 (see above). The OxyPure can now
be operated from any location.
When the OxyPure is connected to the WiFi,
the light next to “WiFi” will stop ashing and stay
continuously lit.
If the OxyPure did not connect to your network,
the WiFi light will turn off. Repeat steps 3-6 and
be sure to select the proper wi network and type
in the correct password.
Note
• To either connect to or change networks,
depending on your cellular service, you may
need to remove the app and reinstall it to com-
plete the connection before continuing with the
setup process.
• The OxyPure, like most IoT (computing) devic-
es, only connects to 2.4GHz networks. This is
the same broadcast frequency used by most
routers. Some, however, can broadcast at
other frequecies, so if you need help activating
2.4GHz on your router, please contact your
Internet Service Provider (ISP).
WiFi LED Status Light
Pairing Mode & Standby Mode
Solid Light. The OxyPure is paired with the wi
network and ready to be used.
Rapid Blinking Light. The OxyPure is in Pairing Mode.
The OxyPure will stay in Pairing Mode for up to 3 minutes
or until your device is paired.
No Light. The OxyPure’s WiFi is off.
Loading ...
Loading ...
Loading ...