Loading ...
Loading ...
3
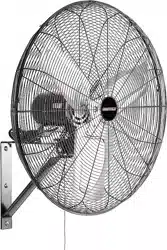
Operating Instructions and Parts Manual 24883/24884
24"/30" OSCILLATING WALL FAN
10. DO NOT use this fan outdoors.
11. DO NOT operate any Oscillating Wall Fan with a damaged
cord or plug. Discard fan or return to an authorized service
facility for examination and/or repair.
12. DO NOT run cord under carpeting. DO NOT cover cord with
throw rugs, runners, or similar coverings. DO NOT route cord
under furniture or appliances. Arrange cord away from traffic
area and where it will not be tripped over.
13. DO NOT use if electrical cord is frayed or bent.
14. DO NOT immerse the Oscillating Wall Fan in water.
CAUTION
15. Fit the guard onto fan before starting up the Oscillating Wall Fan.
16. This fan is not intended for use by people (including
children) with reduced physical, sensory or mental
capabilities or lack of experience and knowledge
unless they have been given supervision or instructions
concerning use of the fan by a person responsible for
their safety. Supervise children to ensure they DO NOT
play with the Oscillating Wall Fan.
17. Always make sure the fan is securely mounted to the wall
prior to operating, to avoid the chance of the Oscillating
Wall Fan from detaching and falling off the wall.
ASSEMBLY
STEP 1
NOTE: Use the mounting accessories shipped with the fan for wall
mounting.
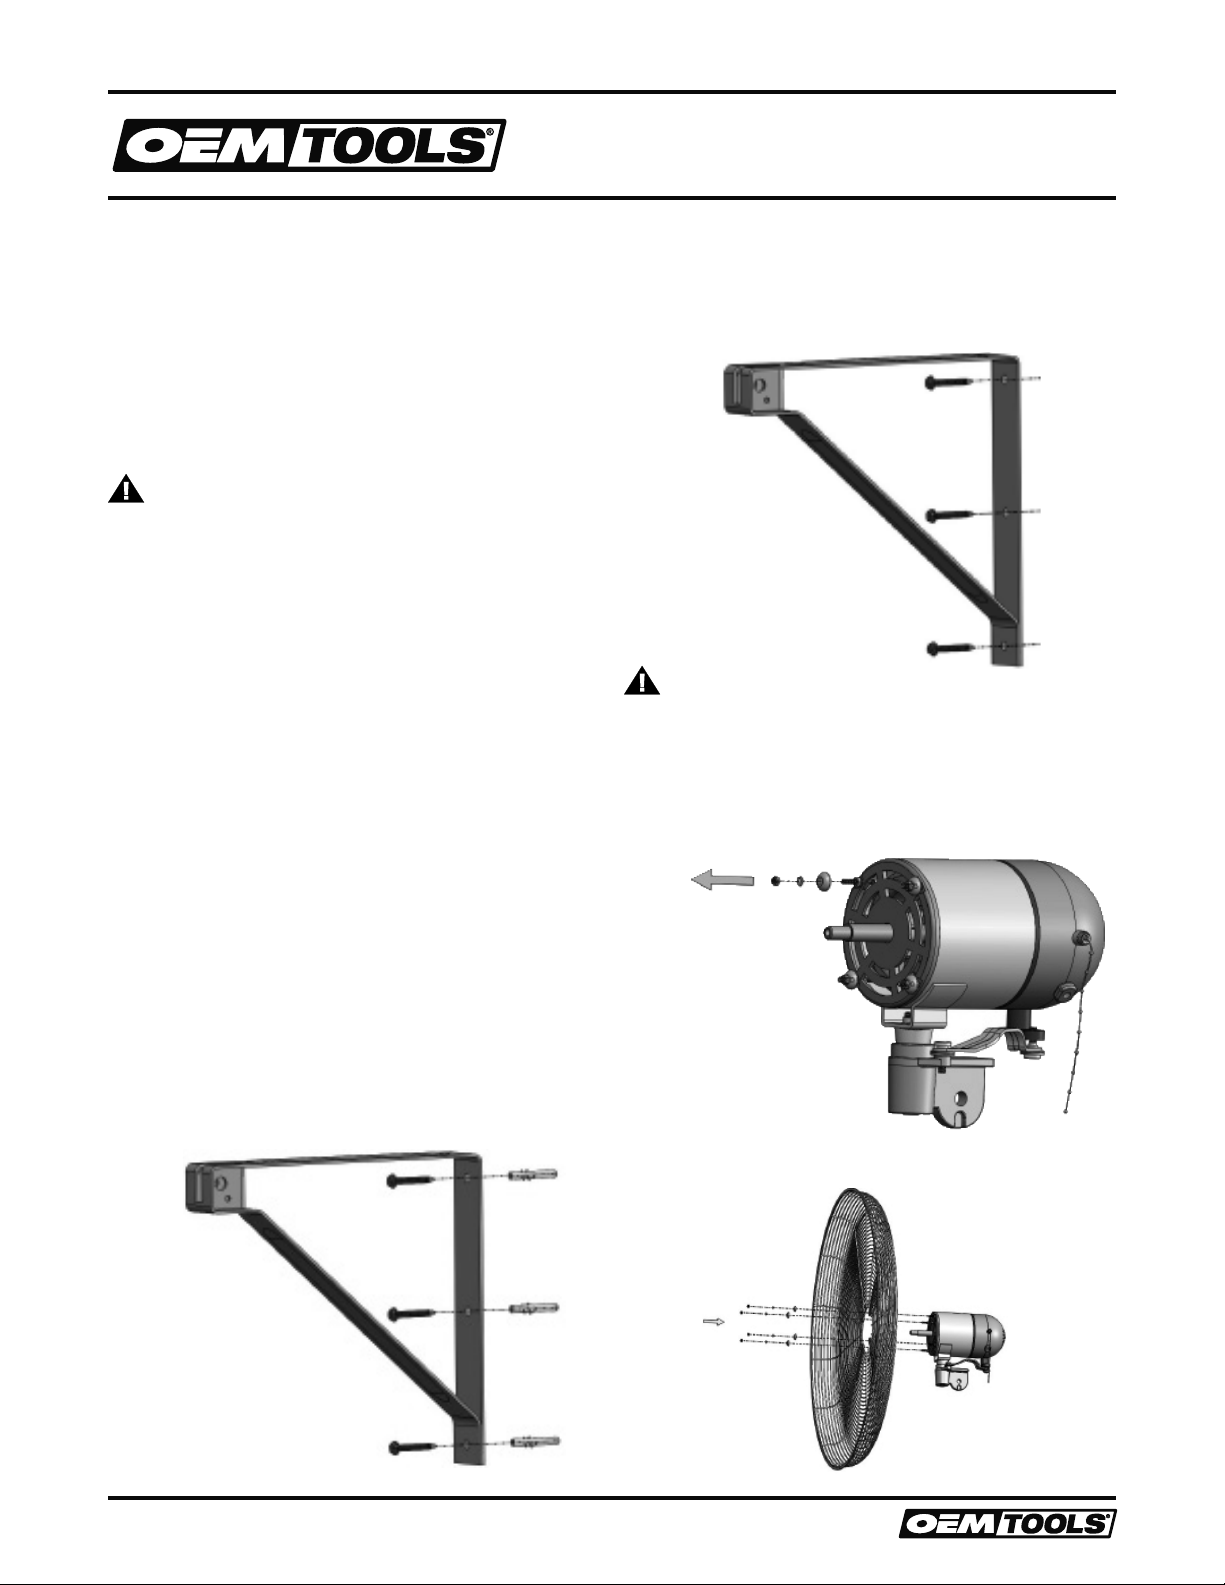
CONCRETE WALL INSTALLATION (FIG. 1)
1. Mark the hole by using the bracket and then drill the holes.
2. After drilling, insert the wall anchors and tap them flush with
the wall.
3. Position the bracket and then tighten the three screws into the
anchors, securely attaching it to the wall.
FIG. 1
WALL STUD INSTALLATION (FIG. 2)
1. Mark the hole by using the bracket and then drill small pilot
holes.
2. After drilling the pilot holes, position the bracket and secure to
the wall with the three screws.
FIG. 2
CAUTION
This fan must be securely mounted for safe operation. It is the
user’s responsibility to ensure a safe mounting location and
surface.
STEP 2
Remove the four Hex Nuts and Washers from the Motor.
Save them for Step 3.
STEP 3
Set the Rear Guard in the proper position and attach it to the
Motor using the Hex Nuts and Washers from Step 2.
11/16
2016 OEMTOOLS
®
Loading ...
Loading ...
Loading ...