
E-bike User’s Manual
CAUTION READ THIS MANUAL BEFORE USING YOUR EQUIPMENT

CONTANTS
Safety instruction------------------------------------------------------------------
Instruction-------------------------------------------------------------------------
Meter operation-------------------------------------------------------------------
Battery:Further information and maintenance-----------------------------------
Charging---------------------------------------------------------------------------
Installation Instruction----------------------------------------------------------

1. Safety Instruction ___
We thank you for choosing our product. To ensure your safety and health,
please use this equipment correctly. It is important to read this entire
manual before assembling and using the equipment. Safe and effective use
can only be assured if the equipment is assembled, maintained, and used
properly. It is your responsibility to ensure that all users of the equipment
are informed of all warnings and precautions. Before each ride, especially if
you may travel a long distance, inspect your e-bike.
IMPORTANT:
●Check the tires for proper inflation and cracks on the walls of the tires.
Keeping the tires properly inflated and maintained will help prevent flats
and damage.
●Check all cables and cable housings for fraying, breaks, rust, or corrosion
and replace if necessary.
●Inspect the brakes to make sure that both are working properly.
Additionally, check the brake pads for any damage as they will wear over
time and eventually need replacement.
●Please check all nuts and bolts are taut and properly fastened to prevent
injury and unnecessary wear and tear on your e-bike.
This manual is intended as a general guide to your new ACNHEER e-bike and
not a comprehensive reference guide. For technical support, including
service, maintenance, and repair information, please
General Information
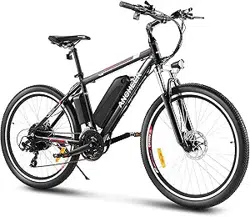
1. About The ANCHEER Electric Bike
ANCHEER electric bike is a leading icon of e-bikes. For years, ANCHEER has
been not only dedicating to innovation, cutting-edge technology and
high-quality materials, but also providing cost effective e-bikes, to satisfy
riders' various needs of transportation and even desire of exploring sports &
outdoors life. Just ride freely with ANCHEER!
2. What’s In The Box (Parts List)

Description
Quantity
ANCHEER Electric Bike
1
Assembly Packet
1
User Manual
1
Key
2
Charging Adapter
1
Battery
1
Pedal
2
Reflactor
1
____
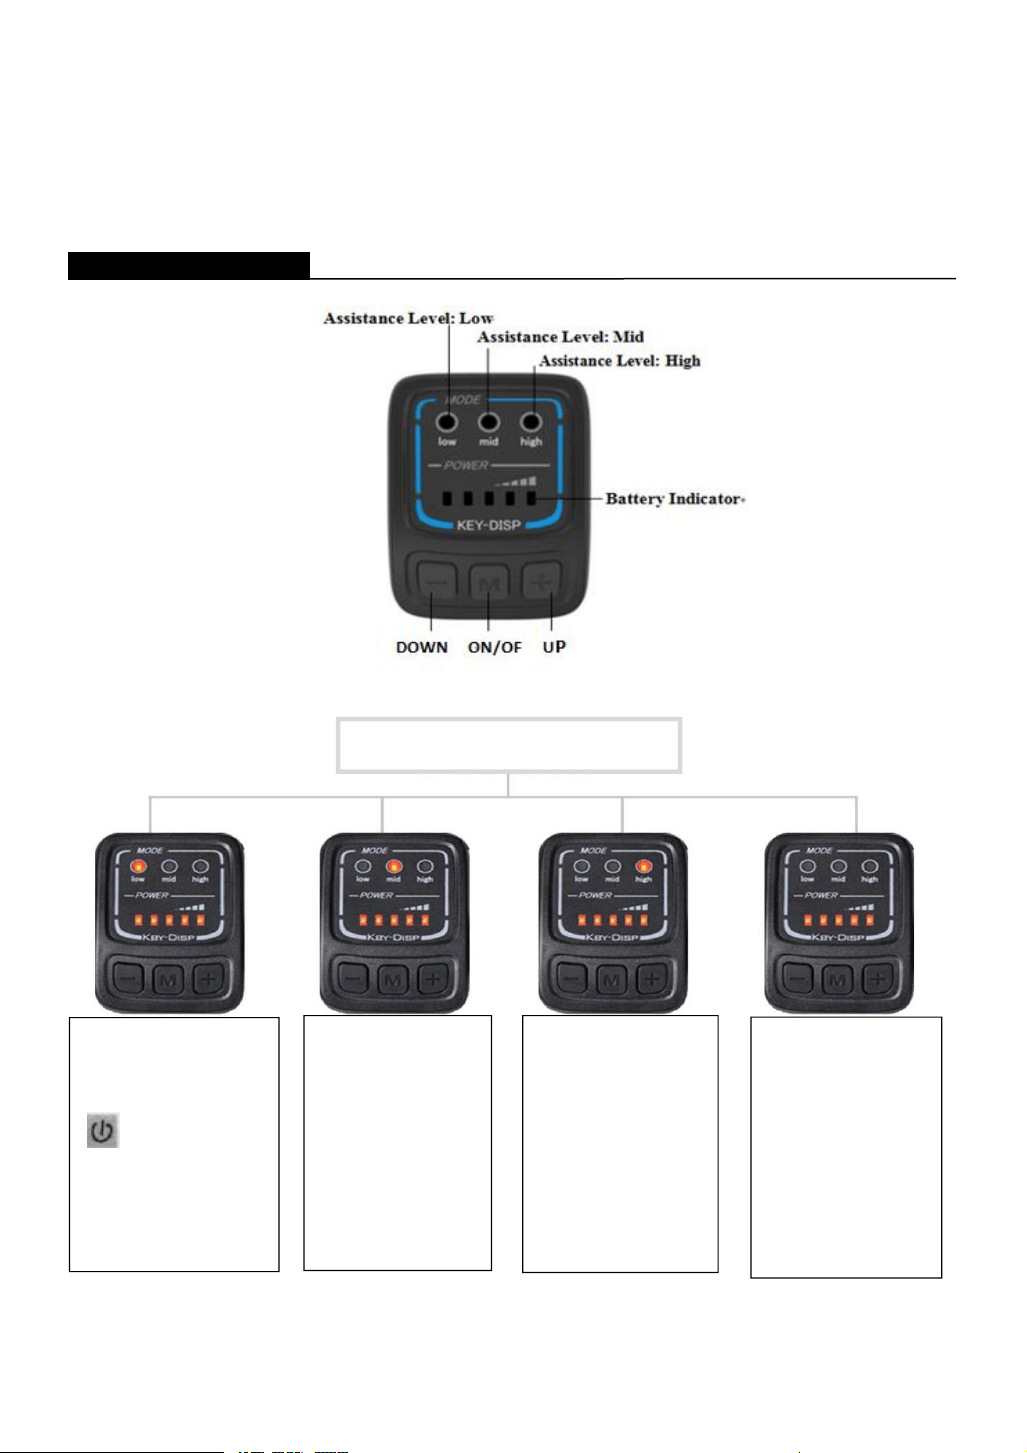
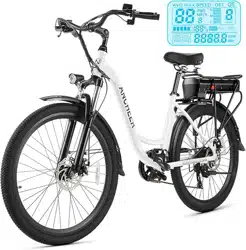
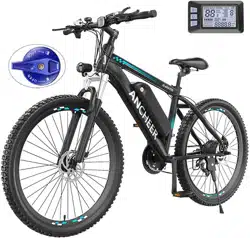
3. Meter operation
3.1 Meter instruction
3.2 Meter operation
3. Operation Cautions
Be careful of the safety use. Don’t attempt to release the connector when
Operating instructions
To switch on/off
the E-Bike
system, hold the
button for
2s. The default
value is “low”
pedal assist
level.
Press “+” to
crease into
pedal assist
level “Mid”.
Press “+”
again to move
into pedal
assist level
“High”. “High”
is the
maximum
power of PAS.
Full Electric
Function
(Pure electric
mode):
Press”-“, until
all the three
“low””Mid””Hi
gh” indicators
are off.

charging the battery.
●Avoid the risk of collision.
●Don’t modify system parameters to avoid parameters disorder.
●Make the display repaired when error code appears.
Battery: further information and maintenance
●How far full charge battery can go? That depends on the loading weight,
road condition and battery capacity. But in the same condition, average
speeds can continuous longer travel range.
●When storing the battery for a longer time period, (during winter time) it is
important to place the fully charged battery on a flat surface in a dry place.
●Attention: The battery should be re-charged once every 2-3 month when it
is not used.
Warning:
●Keep the battery out of reach for children.
●Never try to open the battery.
●If the battery is damaged because it has been dropped somewhere or
because of a biking accident, there might be a risk of electrolytes leakage.
Beware of chemical burns! And immediately stop using a damaged battery.
●Do not touch the battery without a cloth or gloves and make sure no acid
touches your eyes.
●Do not store the battery in temperatures above 75°F or below -10°F.
●Do not allow the battery to run down completely before charging. Charge
the battery before storing the product. Leaving the battery in a discharged
condition can result in a battery that will no longer take a charge.
●Charge a new battery for at least 4-6 hours before you use it in your
product for the first time. Never charge the battery too long per time.
Overheating or undercharging the battery may shorten battery life and
decrease product run time.
IMPORTANT: Battery Disposal
Battery must be recycled or disposed of in an environmentally sound manner.
Do not dispose of the battery in a fire. The battery may explode or leak.
Do not dispose of a battery in your regular household trash.
5. Charging
1. To charge the battery with the bike, simply place the bike within reach of
the power supply and plug it in. Note: The plug hole is located in the left of
the battery.
2. The battery can either be charged while on the bike or the battery can be
removed and charged at a place of your convenience.
3. The RED light indicates it is in charging and GREEN light indicates the
battery is fully charged. (Please put off plug from wall) Usually the charging
time is 4-6 hours depends on the battery capacity remain.
4. Warning: Charging time over 10 hours is prohibited please kept it away
from high temperature environment and stores it in a cool place.
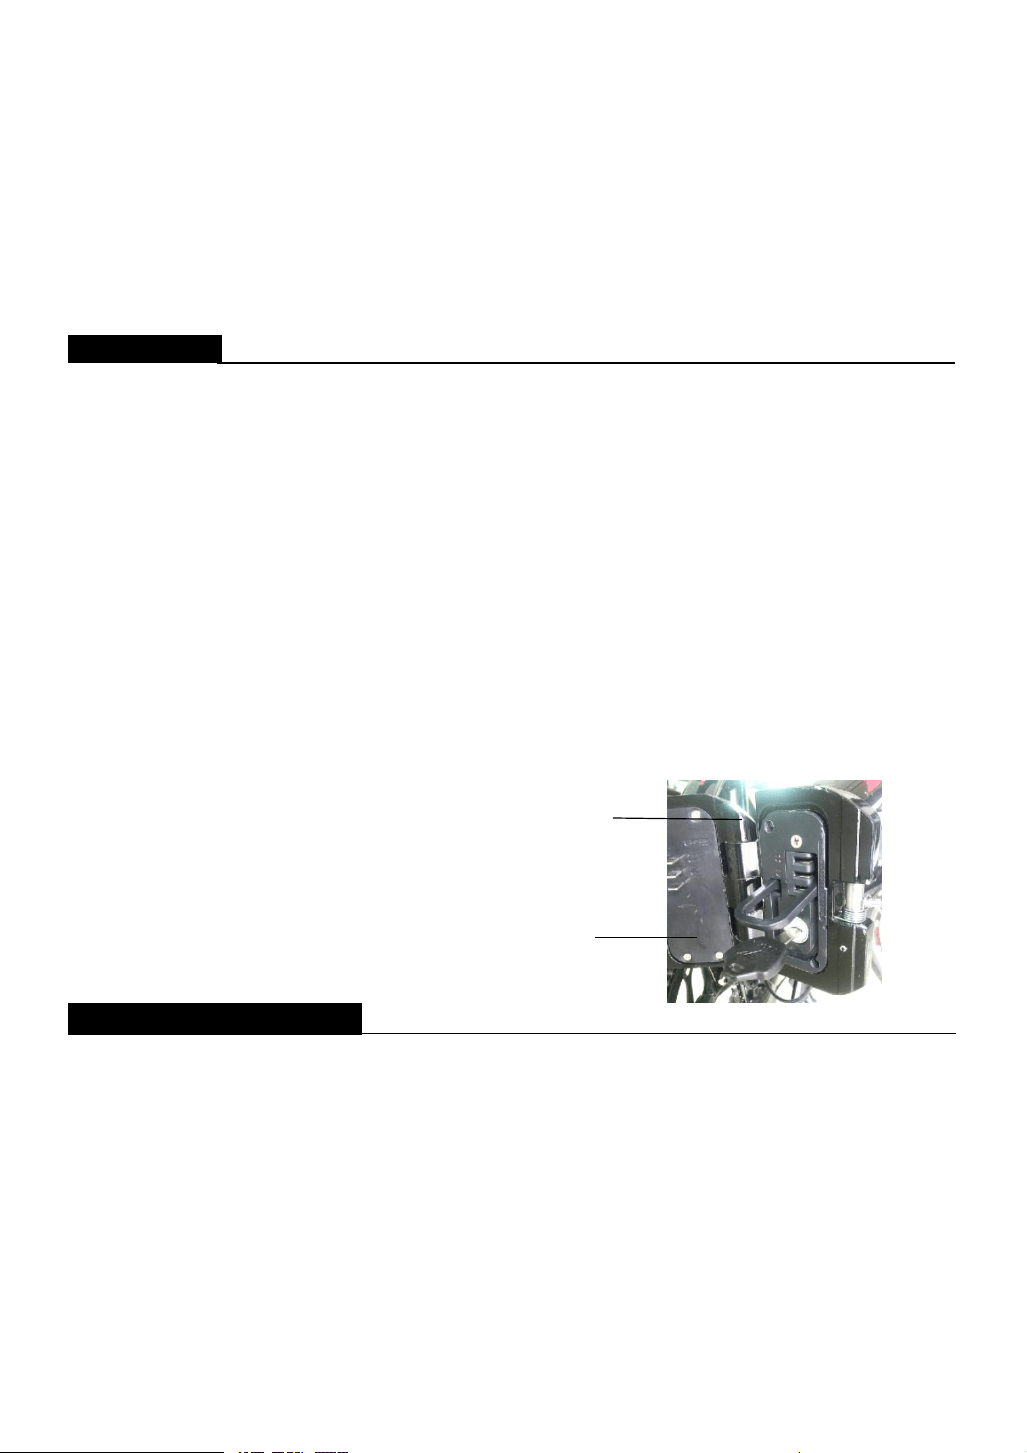
5.You also can take out the battery to charger it.
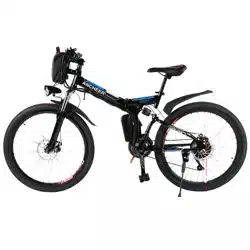
a.fold the bike;
b.Turn the key
c. Hand out the battery
6. Installation Instruction
1.Installation video please refer to:
https://drive.google.com/file/d/0B8ArYrneLylHeHhVZzUzU1pUUXM/view
( Could ask our customer service for the video).
2. When open the bike's carton box, take out E-bike and use tools to cut off
the package strings.
3. Install front wheel:
3.1 Take out a protection plate of the front fork and front hub and take out
the screw from the fork.
Key
handler
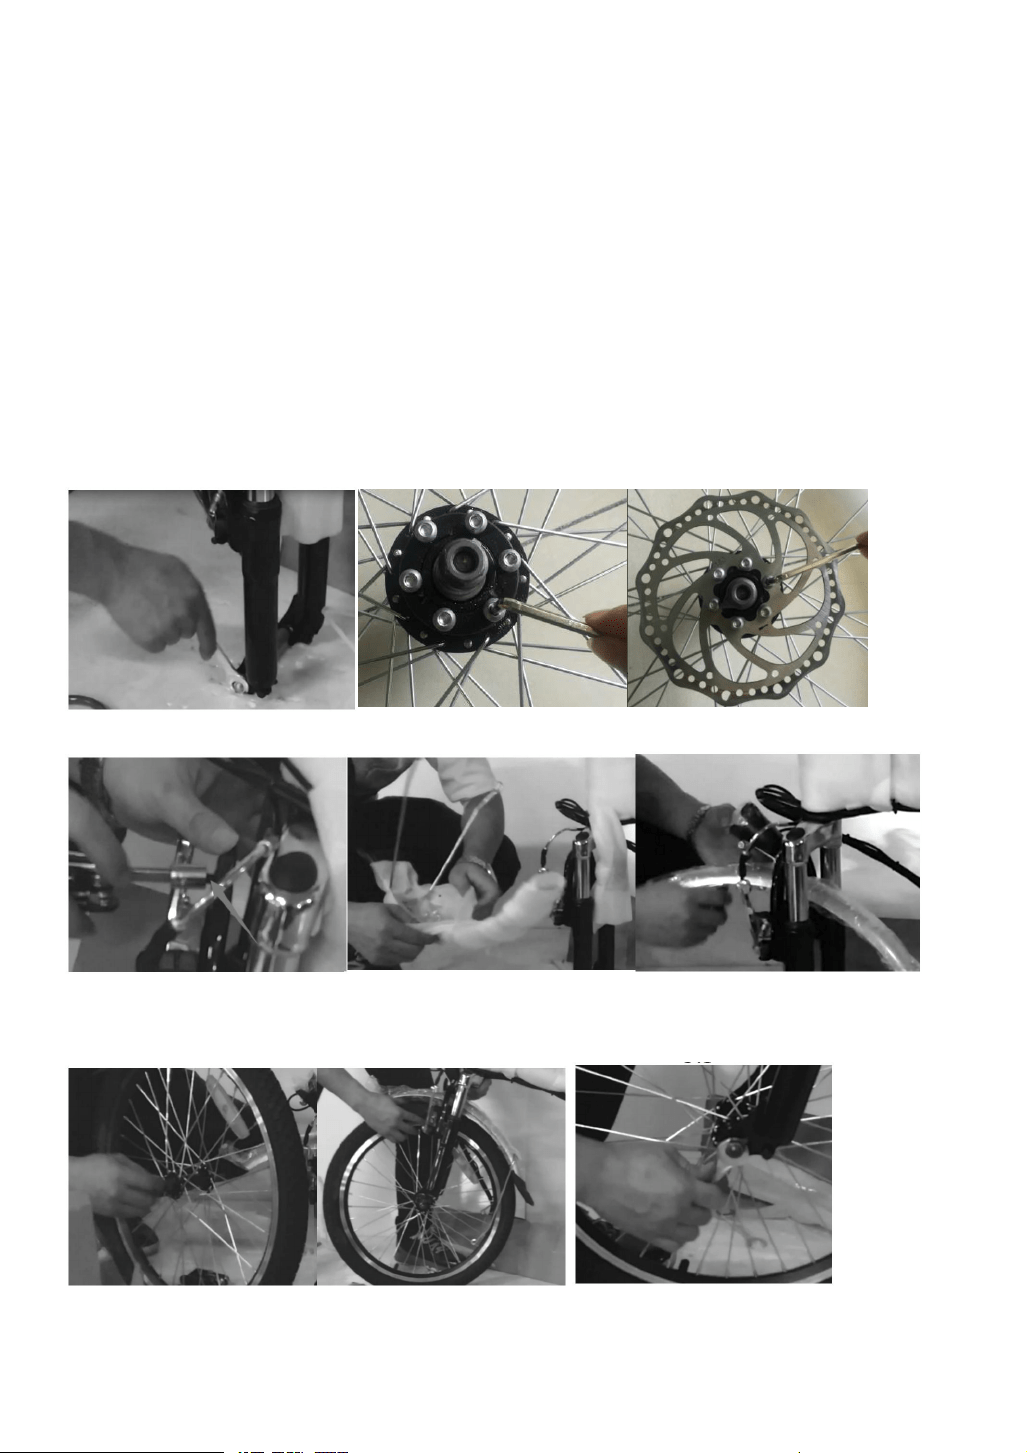
3.2 take out the front disc from tool box, install the disc on the hut of front
wheel. Attention:there is indicate sticker show which surface out side!
3.3Install the fender and lamp, then use tool to tighten.
3.4 Take out the bolts and safety washer from the wheel, then make sure front
wheel is in line with the rear wheel and proceed to install. (pull the wheel
upwards and insert it in the fork drop outs then, insert the safety washers on
each side and tighten bolts on each side).
3.5 Use tool to tighten
3.6 Take out the bolts from the front fork, then install the fender support and
use tool to tighten.
3.1 3.2 3.2
3.3 3.3 3.3
3.4 3.4 3.5
3.6
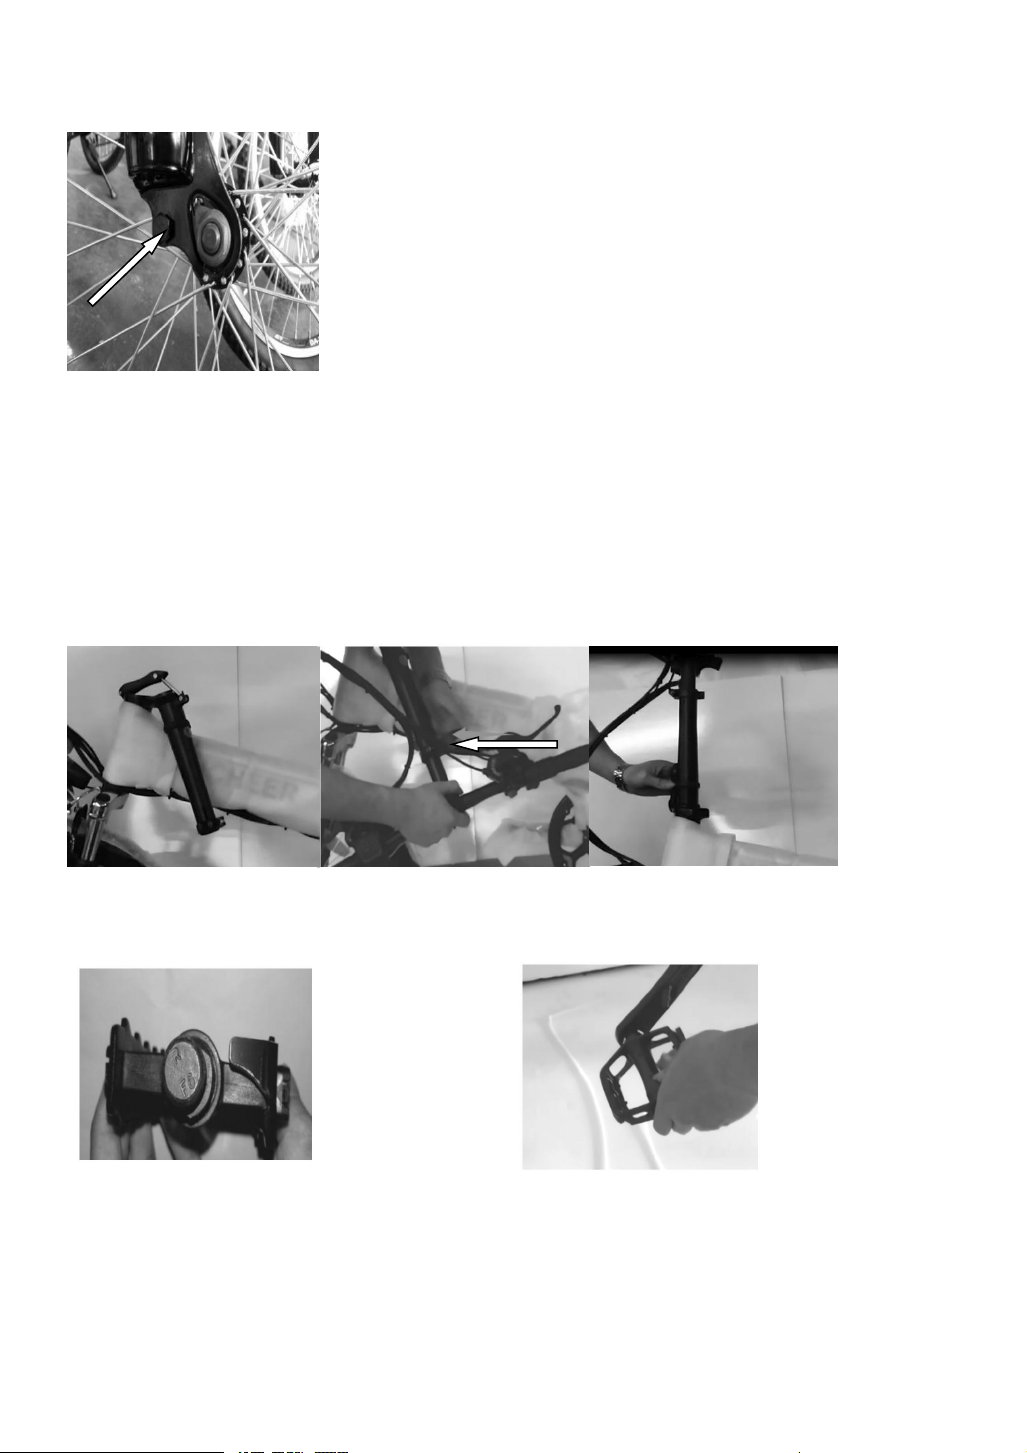
5. Install the handle bar
5.1 Open the packing and full down the folding stem
5.2 Put the stem into the folding stem
5.3Make the folding stem straight and adjusted the handle bar
5.4 Adjusted the height that best suits your riding position.
5.1 5.2 5.3
6 .Install pedals: Check 2 pedals, the one imprinted "L" should install in left
side and "R" in right side. Please use wrench to tighten them.
7. .Install the Seat post.
7.1. Open the seat post and saddle, then install the rear reflector;
7.2 Put the seat post into the frame.
7.3 Adjust seat post to the height that suits your riding position best and
-
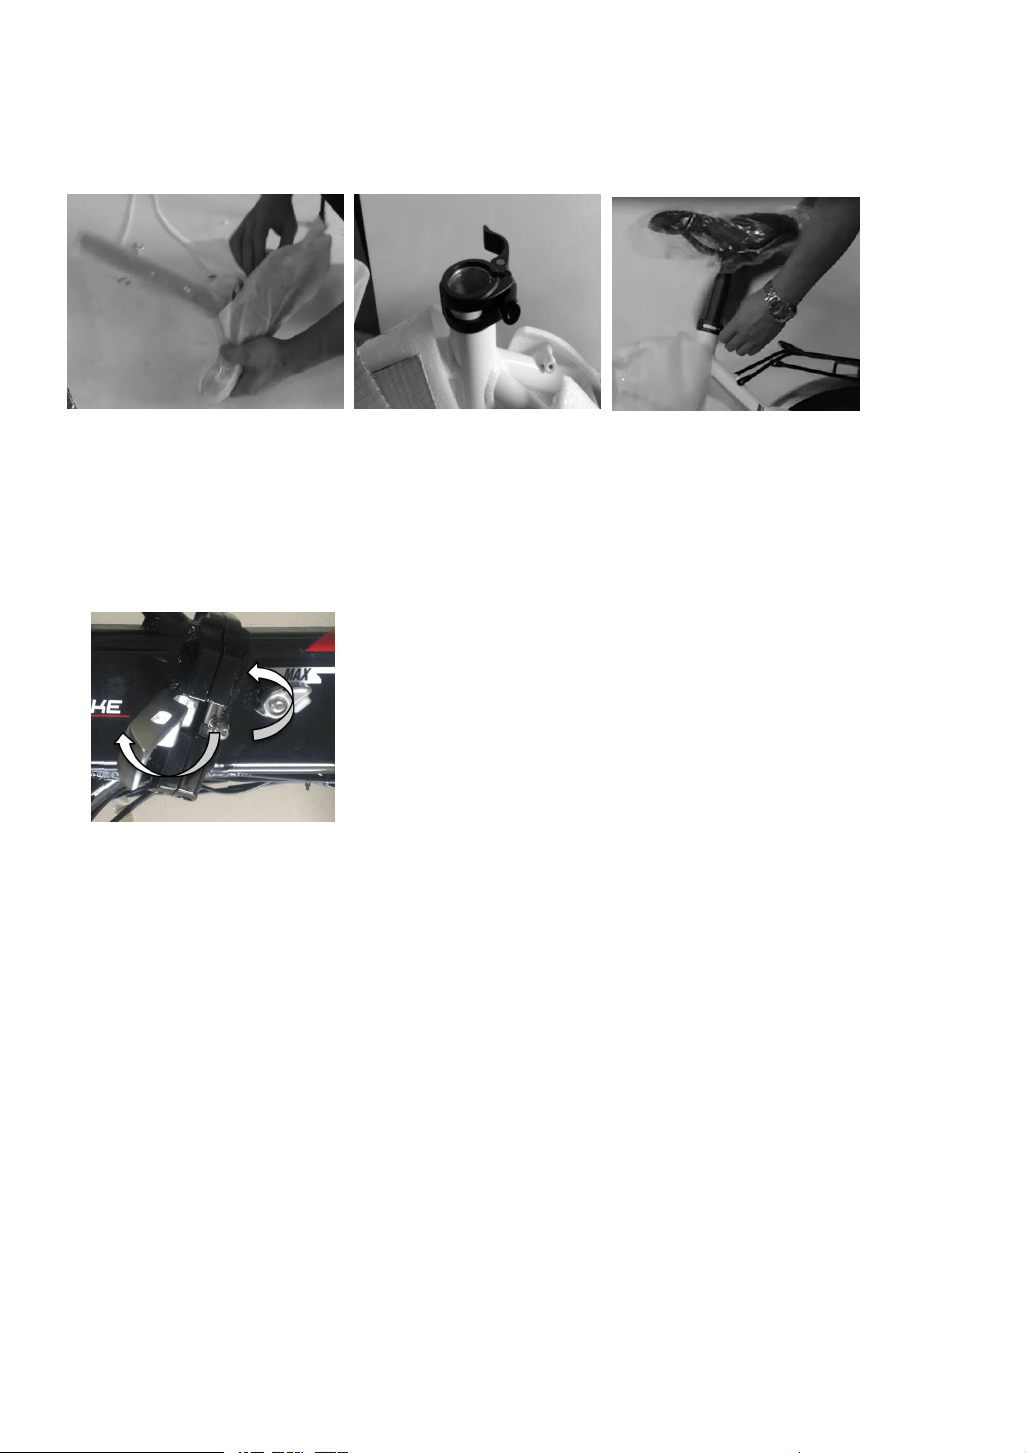
tighten quick release. ( Please make sure that the quick release is tightened
firmly.)
7.1 7.2 7.3
8. Adjust angle of brake lever, meter,gear shifter,throttle and louder
controller on handle bar, then tighten them with tools.
9.Fold the bike
8.1 Fold the frame,turn the locker, then open quick release.