Loading ...
Loading ...
Loading ...
24 www.westinghouse.com
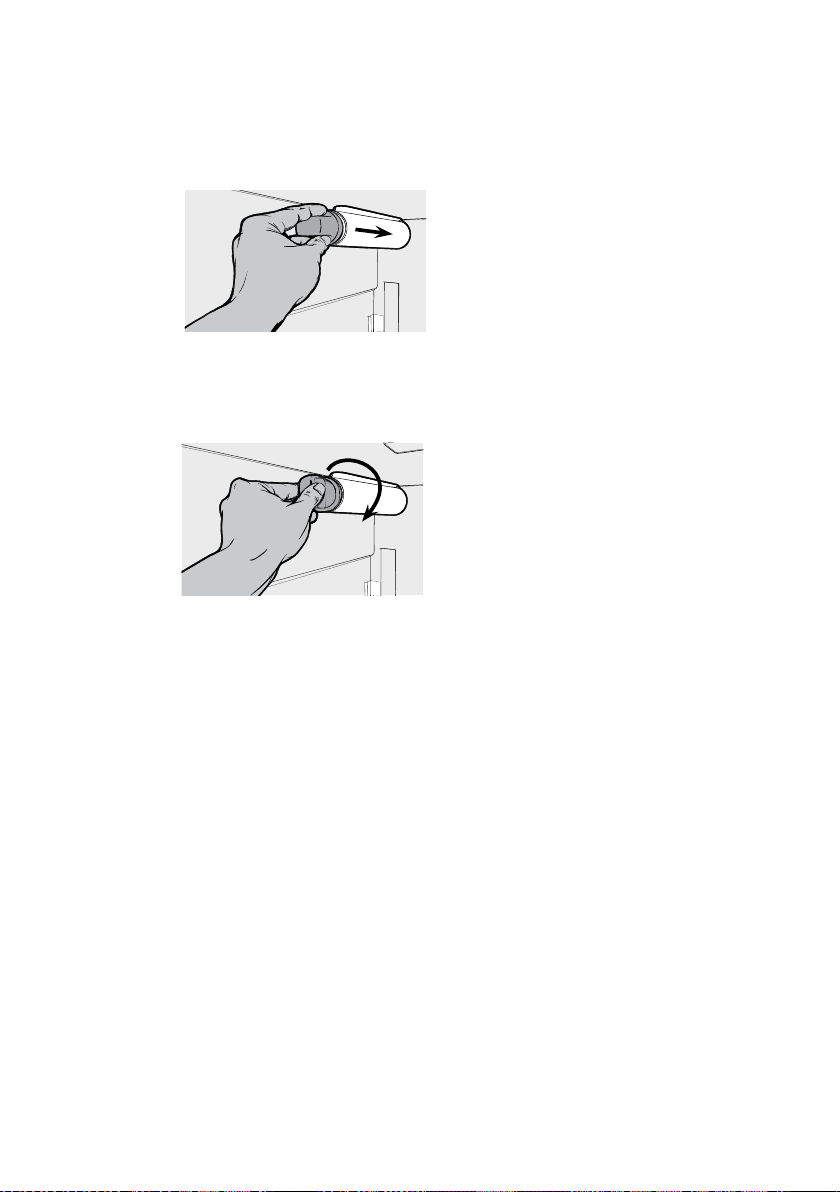
5. Engage the filter by firmly rotating clockwise
until the filter snaps into position (once engaged
the filter cannot be rotated further).
6. Press a drinking glass against the water
dispenser while checking for any leaks at the
filter housing. Any spurts and sputters that occur
as the system purges air out of the dispenser
system are normal.
7. After filling one glass of water, continue flushing
the system for about four minutes.
8. Turn on the ice maker.
9. When the filter has been replaced press and hold
the ‘Reset Water Filter’ button for three seconds
to reset the filter replace timer.
10. Replace the filter, don't take o filter cover.
8.3 Ice and water
Clean the components of the ice maker/water
dispenser regularly with a soft cloth, unscented
mild soap and rinsing thoroughly with lukewarm
water.For further information on the care and
cleaning of your ice maker, ice dispenser of water
dispenser refer to the section “Ice and Water
Models
8.4 Water tank
The water tank is intended to be removed only for
cleaning purposes, to fill the portable water only,
the tank must be placed on the door and the funnel
on the lid has to be used.
Clean the inside of the water tank regularly with a
soft cloth and the filter use the soft brush to clean,
unscented mild soap and rinse thoroughly with
lukewarm water to completely remove any soap
residue.
NOTE: When customer assembled tank to door.
To avoid water leaks ensure that tank nozzle fully
engaged with housing socket.
Loading ...
Loading ...
Loading ...