WOLF WARMING RACK
INSTALLATION INSTRUCTIONS
Wolf Warming Rack Kit Contents:
QTY
DESCRIPTION
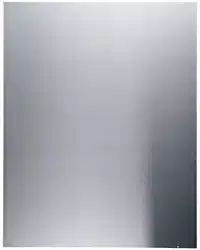
1 Warming Rack Mounting Plate
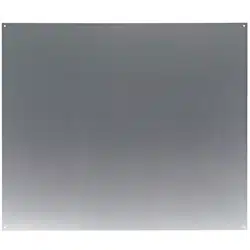
1 Lower Backsplash Plate
8 #10 Hex Head 2'' long screws
10 #6x1'' Countersunk Phillips
Head Screws
2 Warming Racks
FOR MODEL NUMBERS:
30BAK-SPLH (810432)
30" X 38" BACKSPLASH
36BAK-SPLH (810433)
36" X 38" BACKSPLASH
42BAK-SPLH (810434)
42" X 38" BACKSPLASH
48BAK-SPLH (810435)
48" X 38" BACKSPLASH
54BAK-SPLH (810436)
54" X 38" BACKSPLASH
60BAK-SPLH (810437)
60" X 38" BACKSPLASH
66BAK-SPLH (810438)
66" X 38" BACKSPLASH
NOTE: The total height of backsplash
with warming racks is 38”. Your Wolf
backsplash is designed to be installed
under your Wolf Hood and extend
behind your Wolf Cooking appliance.
Install backsplash prior to hood
installation as this will allow proper
alignment and clearance for the hood.
Installing Warming Rack Panel
1. Place vent hood in the installed
position and make a mark on wall
1/8” to 1/4” below bottom of each
side of the vent hood. This will be
used to align top of Lower
Backsplash Plate and leave a
Page 1 of 1 810886 / Rev A / March, 2007
clearance gap between vent hood
and warming rack assembly. Now
find framing studs and make a 12"
long vertical mark on wall starting
from marks previously made and
running towards floor. This will
help you place the screws in the
wall once you have the Lower
Backsplash Plate on the wall.
Remove vent hood from wall to fin-
ish installation of warming rack
assembly. Also it may be easier to
install warming rack assembly if
the Wolf Cooking appliance is
pulled away from wall as Lower
Backsplash Plate will extend down
behind Wolf Cooking appliance.
2. Align top edge of Lower
Backsplash Plate with two refer-
ence marks from the previous
step. Use the eight #10 x 2” long
hex head screws to mount the
Lower Backsplash Plate to wall.
Using the large slots, ensure that
the mounting screws engage the
wall studs to provide proper sup-
port for warming rack assembly.
Also make sure that the Lower
Backsplash Plate is level.
3. Mount Warming Rack Mounting
Plate onto Lower Backsplash Plate
by placing top flange of Lower
Backsplash Plate underneath top
flange on Warming Rack Mounting
Plate. The side flanges and bot-
tom ear flanges on Lower
Backsplash Plate should also slip
to the inside of Warming Rack
Mounting Plate. Using ten #6 x 1”
long flat head phillips screws,
securely fasten Warming Rack
Mounting Plate to Lower
Backsplash Plate using counter-
sunk holes on top, bottom, and
side flanges of Warming Rack
Mounting Plate.
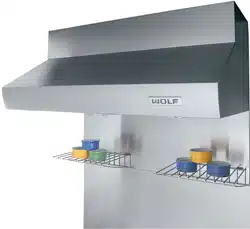
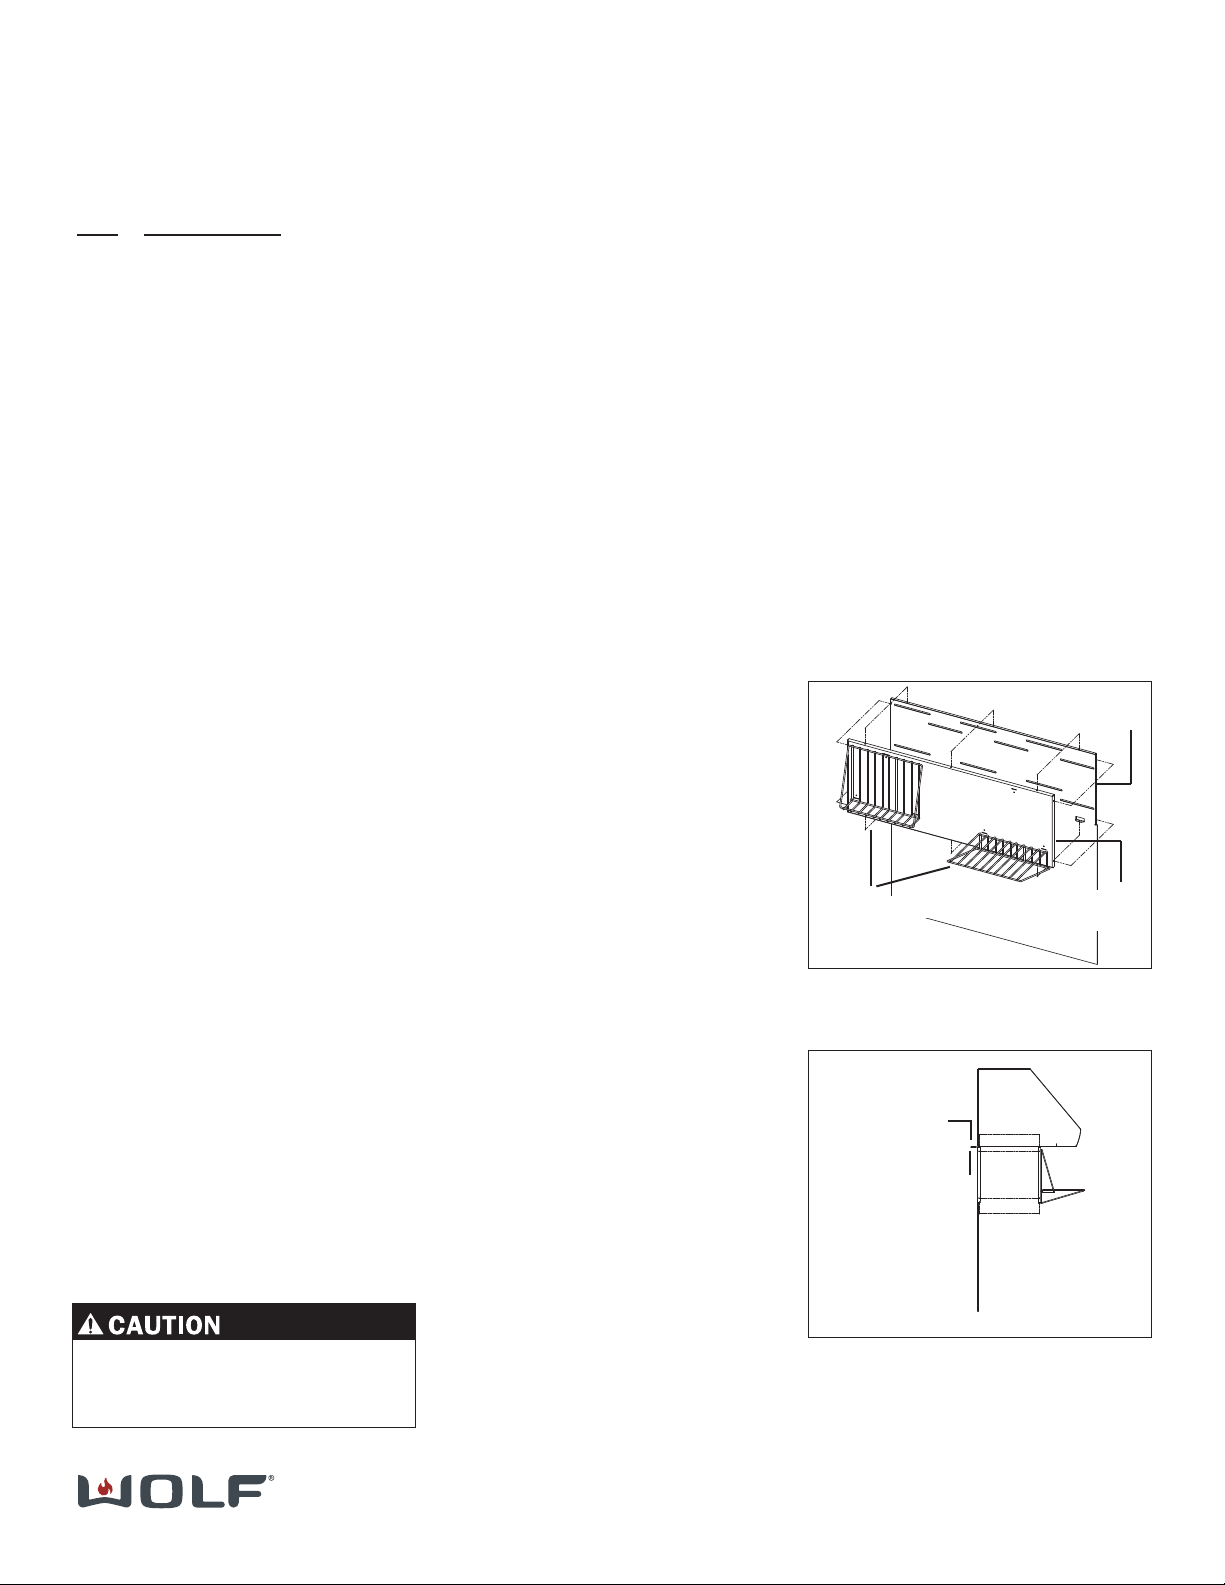
4. Assemble Warming Racks onto
bottom two mounting clips
attached to Warming Rack
Mounting Plate. Note the orienta-
tion of Warming Racks in figure 1.
The top clip is used to hold warm-
ing rack up when not in use.
5. Re-install wall hood and move
Wolf Cooking appliance back into
position if necessary.
IMPORTANT NOTE: There are no
mounting holes along the bottom edge
of the backsplash extension. The
cooking appliance should cover a
portion of the back-splash and keep
it flush with the wall. If additional
support is needed, a heat resistant
contact adhesive may be used.
Consult your local hardware store
for details on heat resistant
back-splash adhesives.
Protective gloves should be worn
when handling backsplash as
corners and edges are sharp.
Figure 1
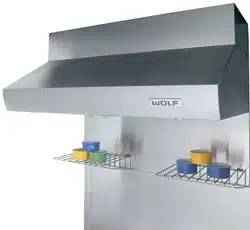
Figure 2 Side View
.125 Min. from
bottom of hood
to top of lower
backsplash
plate
Lower
Backsplash Plate
Warming Rack
Mounting Plate
Warming Racks