Circuit Specialists
Power-Station+
3 Function
Hot Air Rework System
Thank you for purchasing this soldering equipment product
from Circuit Specialists.
IMPORTANT: This equipment is shipped with shipping bolt(s) intended to
secure the diaphram Pump. These bolts are designated by red coloring and
can be found on the base of the unit. These red bolts must be removed prior to
using this equipment. Damage may occur if this is not accomplished.
for customers living in the USA for customers living in Europe
www.CircuitSpecialists.com www.CircuitSpecialists.eu

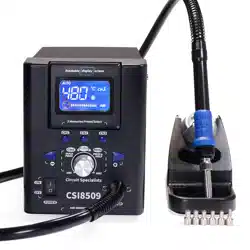
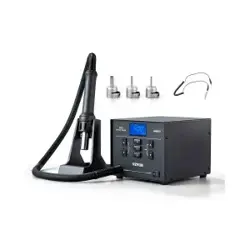
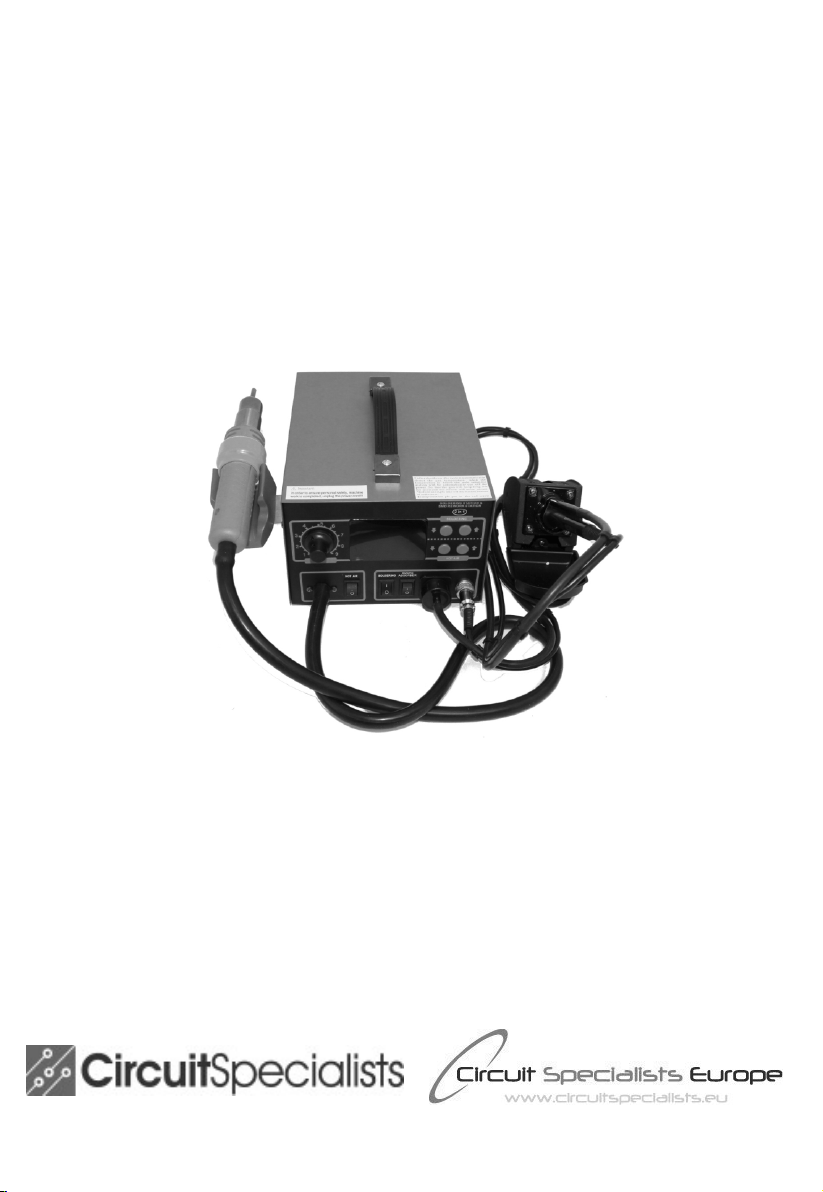
The POWER-STATION+ from Circuit Specialists features a large LCD display
which allows for dynamic display of the system performance. The setting is clear at
a glance. The powerful hot air system combines with a 75 watt soldering iron which
also includes a smoke absorbing feature. Controlled by a SAMSUNG SCM &
PID program, the POWER-STATION + can achieve real-time tracking and rapid
temperature recovery providing temperature stability within a fluctuation range of
+/- 1 deg C at the components heating elements Fast heat up time and auto shut
down features make this one of our top performing hot air rework systems.
Basic Features:
1. Individual Power Switch for Hot Air, Soldering Iron and Soldering Iron
smoke absorber
2. SAMSUNG SCM & PID program enables this unit to achieve real-time
tracking and correction of air gun and soldering iron temperature
3. Fahrenheit/Celsius display switchable
4. Large Liquid Crystal Display
5. Fast heat up.
6. Manual/Automatic mode may be set for operating the air gun
7. Auto Sleep function applies to the soldering iron & may be set from 0 to 99
minutes
8. Vacuum operated component pick up tool may be selected & used instead of
the smoke filter
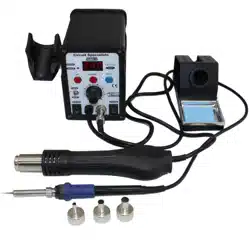
Basic Instructions
• Attach the side mount hot air gun holder
• Power up the unit with the main power switch located on the back of the unit
• Apply the appropriate power switch on the front panel (hot
air/soldering/smoke absorber) You may apply 1, 2 or all three
• The Hot Air and Soldering Iron Temperature setting up/down buttons are on
the right hand side of the front panel. Use these buttons to set your desired
temperature in Celsius or Fahrenheit
• Set your air speed using the rotary knob libeled “air”
• Attach the soldering iron to the 6 pin connector at the lower right hand corner
of the front panel
• Attach the smoke absorber tubing to the vacuum nozzle next to the solder
iron connector. Make sure there are not any kinks in the air line.
• If desired, install the vacuum powered component pick up wand instead of
the air filter

Setting the Hot Air Auto/Manual Operation
This Power-Station is equiped with a user selectable auto/manual operation mode.
In the auto mode, the system will detect ( through magnetic switch) when the hot
air gun is placed in the cradle and automatically start the cool down procedure.
However, if the user wants to disable this feature, then apply the following steps to
switch between auto and manual. Factory default for this unit is “auto” While in the
auto mode, once the end user removes the hot air gun from the cradle, the system
will quickly return to the setting it was on when the hot air gun was originally
placed in the handle. In order to switch between auto mode and manual mode,
follow this procedure:
• Press and hold BOTH UP and DOWN arrow buttons on the HOT AIR
switch panel. After 4 seconds the AUTO or MANUAL indicator on the
panel will flash and buttons should then be released
• Now select AUTO mode by pressing the UP button on the hot air switch
panel or select MANUAL mode by pressing the DOWN button on the hot
air switch panel
After 5 seconds, the AUTO or MANUAL indicators will stop flashing and the
selected mode will be stored in memory
Setting the soldering iron sleep mode
The soldering iron features automatic sleep mode operation which may be disabled
or adjusted to any desired operating time from 1 to 99 minutes. This feature may be
set by the end user using the following procedure:
• PRESS and HOLD BOTH the UP and DOWN arrow buttons on the
SOLDERING switch panel. After 4 seconds, the SLEEP indicator on the
display will flash and when this occurs, the buttons should be released. The
present sleep time setting will be displayed above the SLEEP indicator.
• Now the desired sleep time may be reset by pressing the UP or DOWN buttons
on the soldering panel. A value of “0” will effectiovely disable the auto sleep
feature.
After 5 seconds, the SLEEP indicators will stop flashing and the selected auto sleep
time will be stored in the memory.

Changing the Display from Celsius to Fahrenheit
a: Simultaneously press and hold the hot air up button and the pre-heater up
button for 3 seconds
b: The display will show the present format ( C or F)
c: Then press the HOT AIR “UP “ button to change the display from Celsius to
Fahrenheit
d: Press the PREHEAT “UP” button to change from Fahrenheit to Celsius
After 4 seconds, the F or C will disappear and your temperature reading will
continue in the mode you selected.. The default mode for a new system is Celsius.
GENERAL SPECIFICATIONS
Machine Unit
Rated Voltage AC 220V±10% for units sold from Europe
AC110V +/- 10% for units sold from the USA
Power 720W±10% (Max.)
Working Environment 0 ~ 40 ℃ relative humidity < 80%
Storage Environment -20 ~ 80 ℃ relative humidity < 80%
Body Size 255*188*125mm
Weight 5.11KG
Parts
Item Hot air rework Soldering iron
Output Power 550W 75W
Temperature Range 212°F~896°F 392F~896F
(100°C~ 480°C) (200°C~ 480°C)
Airflow Type Diaphragm pump —
Air Flow 28L /min (Max.) —
Temperature Stability ±1℃ (Static) ±1℃ (Static)
Display Type LCD display LCD display
PID Temperature
Correction Cycle Rapidly 20ms High-speed 100ms
Heating Elements Ceramic skeleton heater Ceramic heater
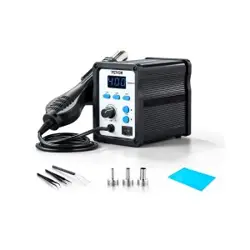
Standard Nozzles/Tips (10mm, 8mm, 5mm, 3mm, B
13mm) 5 PCS nozzles
Tip Ground Impedance --- <2Ω
Tip of Ground Voltage --- <2mV
Limited Warranty Statement:
This product has a limited warranty of 1 year from the date of the original purchase receipt.
Excluded from this warranty are any consumables such as soldering tips and heating elements.
Should the main body fail during the warranty period, Circuit Specialists will, at it's option repair or
replace the damaged unit. This warranty applies only to manufacturing defects. Damage caused by
misuse, physical trauma etc is excluded. To receive warranty service, the unit must be returned to the
point of purchase. The end user will be responsible for the shipping costs (if any) while Circuit
Specialists will be responsible for the return shipping costs. Please check with your respective
retailer for appropriate Return Authorization Procedures.