Loading ...
Loading ...
Loading ...
—— EN 15—— EN 14
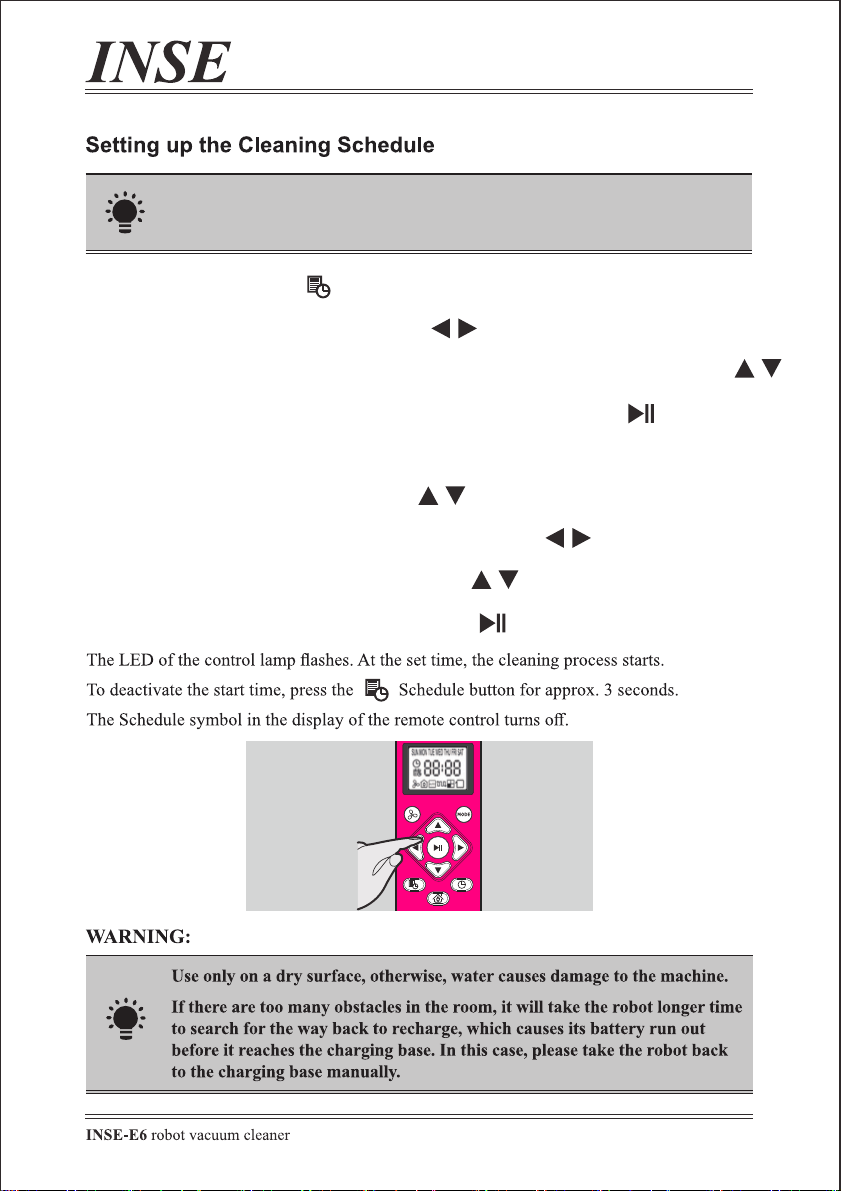
1. Press the schedule button;
2. Press the Left/Right buttons to select a day;
Press the Up/Down buttons to select or deselect that day, several days can be selected.
3. When all required days are selected, press the Play/Pause button to set;
4.The hours will start flashing. Set the time you want to start the scheduled cleaning.
Press the Up/Down button to set the hour;
5. Press the Left/Right buttons the minutes will start flashing;
6. Press the Up/Down buttons to select the minutes;
7. Press the Play/Pause button to confirm the setting.
The remote control should be pointed at the robot when setting
the schedule.
Make sure the 'main switch' beneath the robot and the 'start Button' on the
faceplate is turned on before use.
‘AUTO’
Make sure the remote control is pointed at the robot within range (16ft/5m).
E6 will return to the Charging Base automatically when the battery level becomes low.
AUTO:
When E6 is set to auto mode, the robot will clean automatically in row-by-row, edge
cleaning, and random routes. During working, it does not seem to follow a specific route
and also repeat cleaning in some areas, don't worry, it will cover about 80% of the
accessible areas* before auto-recharging.
* For the robot vacuum cleaners with mapping or lidar, the maximum coverage is also
80%.
Turn on the ‘main switch’ at the bottom, press the ‘start button’ on the
faceplate one time, press it again or press the ‘Play/Pause’ button of the remote
control, the robot starts at .
PARALLEL:
When E6 is set to parallel mode, it will clean in a bow-shaped route, which is the most
efficient cleaning mode for one wide area. If you want to save time and double the cleaning
effect, use PARALLEL mode.
Press on the remote control to start cleaning in PARALLEL mode.
‘AUTO’
‘AUTO’
Loading ...
Loading ...
Loading ...