Loading ...
Loading ...
Loading ...
TOOL-LESS BLADE INSTALLATION cent.,
6 Pull down on the blade 1omake sure the blade is securely locked in place
NOTE: For use with beth "T' and "U" shanked blades°
L_ CAUTION: Once the blade Is tnstslfed in the saw, tt Is always exposed°
There is no lower blade guard° Use caution when hsndlfng the saw so that the
blade does not catch clothing, skin, etc. Each time you set the saw down take
care not to bend the blade,, Always set saw down on l_s side when blade is
Inslsfledo ALWAYS remove b|ade when saw ts not being used.
REMOVING THE BLADE
t Unplug the saw.,
I _ WARNING: ALWAYS unplug saw Item the power source before I
changing blades or making shy adjustments. Failure to unplug the saw could
I
result in accidental starting which can cause serious personal Injury.
2 Follow slops t through 4 on the tool-_essblade inslaliatton (see pages I3 and 14).
3 Carefully remove the blade (or change the blade}.
NOTE:When storing your saw, ALWAYS remove the cutting blade,, I
|
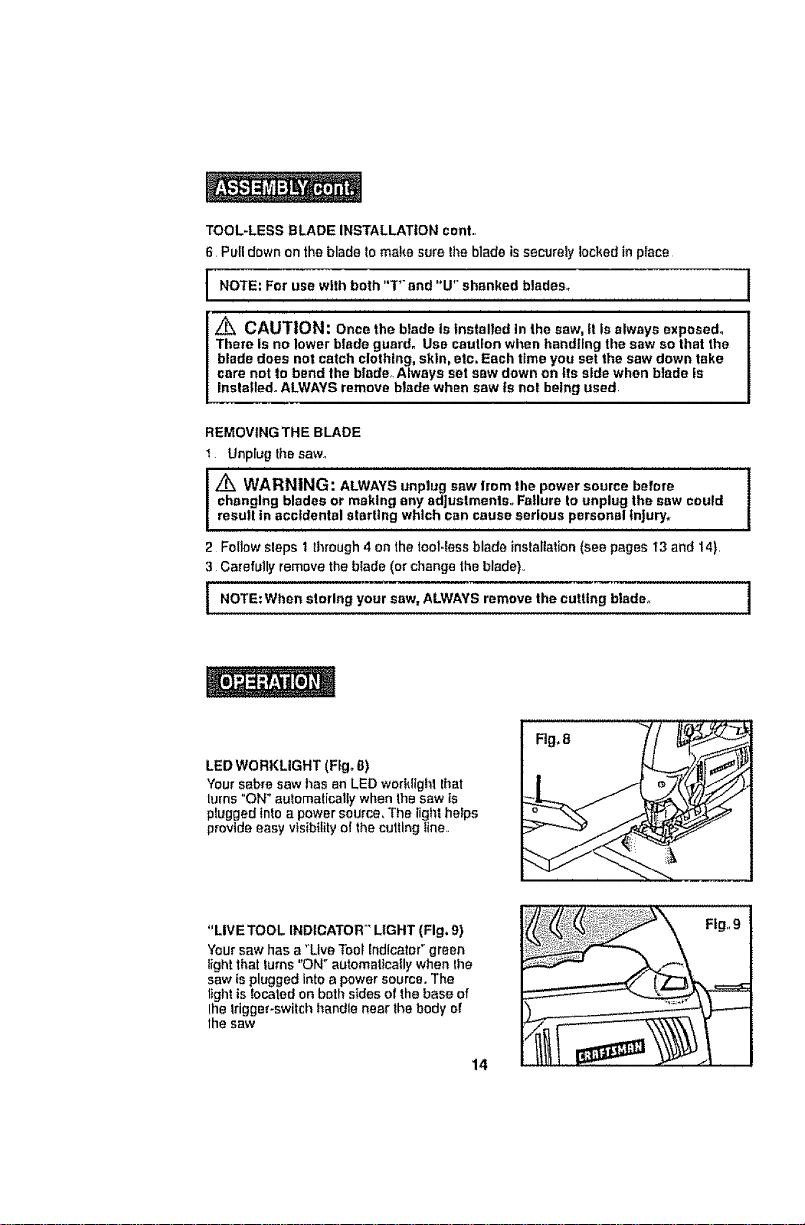
LED WORKLIGHT (Fig. 8)
Your sabre saw lies an LED woddlghl lhst
lurns "ON" automatically when the Saw tS
pfugged into a power source, The lighthelps
provide easy visib{liiy el the culling !ine..
Rg,8
"LIVE TOOL INDICATOR "_LIGHT (Fig. 9)
Your saw has s "Live Toot Indicator Ygreen
light that turns "ON" automatically when the
saw is plugged into a power source. The
light is Iocaled on both sides of the base of
Ihe Iriggm'-swilch handle near the body of
lhe sew
14
Loading ...
Loading ...
Loading ...