Loading ...
Loading ...
Loading ...
6
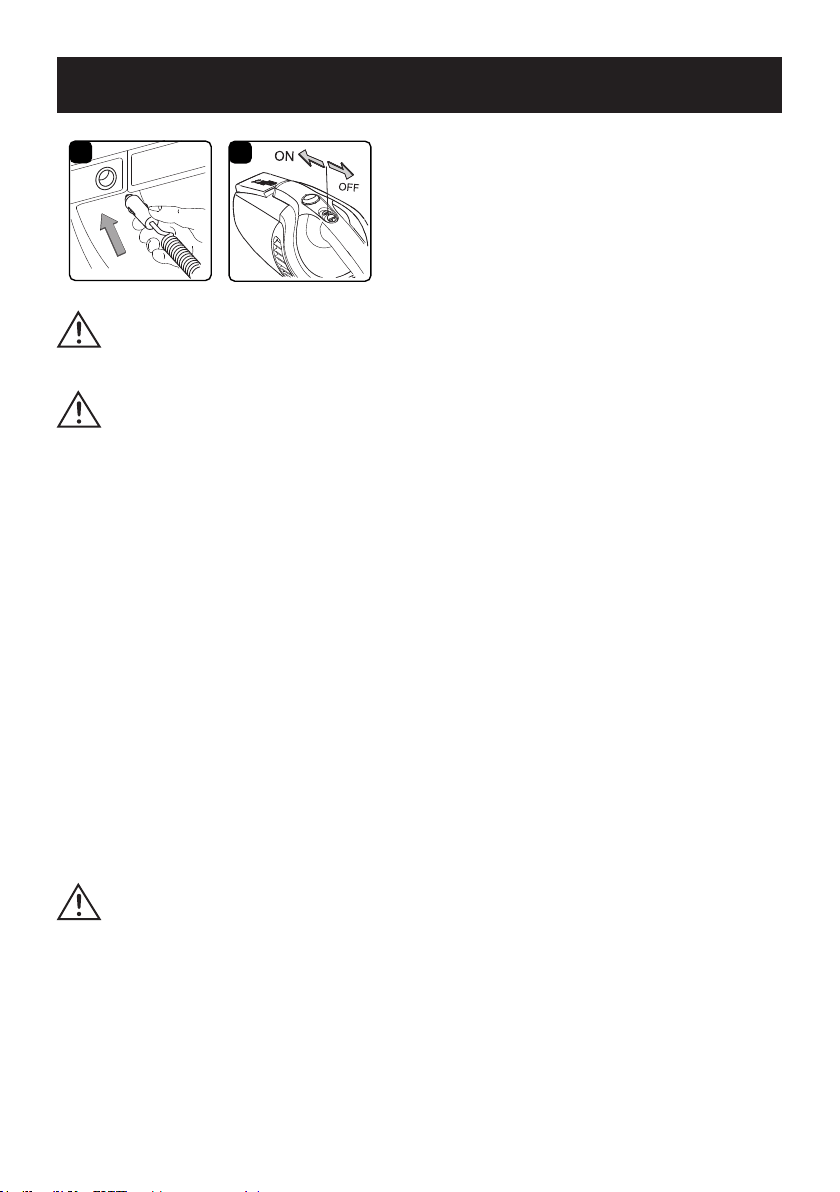
CONNECTING TO THE VEHICLE’S POWER SUPPLY & GENERAL OPERATION
1. Make sure that the vacuum is switched to the OFF position.
2. Your vacuum comes ready for dry or wet vacuuming cleaning. If the lter is not installed, refer to
page 9 for installation instructions.
3. If equipped, remove the cigarette lighter from the socket.
4. Insert the 12V power plug into the 12V power socket (Fig. 1).
NOTICE: Vehicle will typically need to be in 'ACCESSORY' mode in order for power to be supplied to
the socket.
5. To power on the vacuum, slide the ON/OFF switch forward to the ON position (Fig. 2).
6. To power o the vacuum, slide the ON/OFF switch back to the OFF position (Fig. 2).
NOTICE: The LED light in the upper portion of the vacuum will be illuminated when the vacuum is
turned on. The light is useful to see in poorly illuminated areas.
NOTICE: The vacuum can typically be used for periods of up to 30 minutes without noticeably aecting
the power of a normally charged car battery in good condition.
NOTICE: Once you have completed vacuuming, slide the on/o switch to the o position and unplug
the power plug from the power socket.
VACUUM OPERATION
WARNING: DO NOT RUN THE VEHICLE’S ENGINE INSIDE. IF THE VEHICLE'S ENGINE
IS RUNNING, THE VEHICLE SHOULD BE OUTSIDE OR IN A PROPERLY VENTED AREA.
RUNNING THE VEHICLE'S ENGINE INSIDE WILL INCREASE THE POSSIBILITY OF
CARBON MONOXIDE POISONING.
WARNING: VERIFY THAT THE POWER PLUG IS DISCONNECTED FROM THE SOCKET.
WARNING: EXTENDED USE OF THE VACUUM WILL DRAIN THE CAR BATTERY POWER.
2
1
Loading ...
Loading ...
Loading ...