Loading ...
Loading ...
Loading ...
7 English
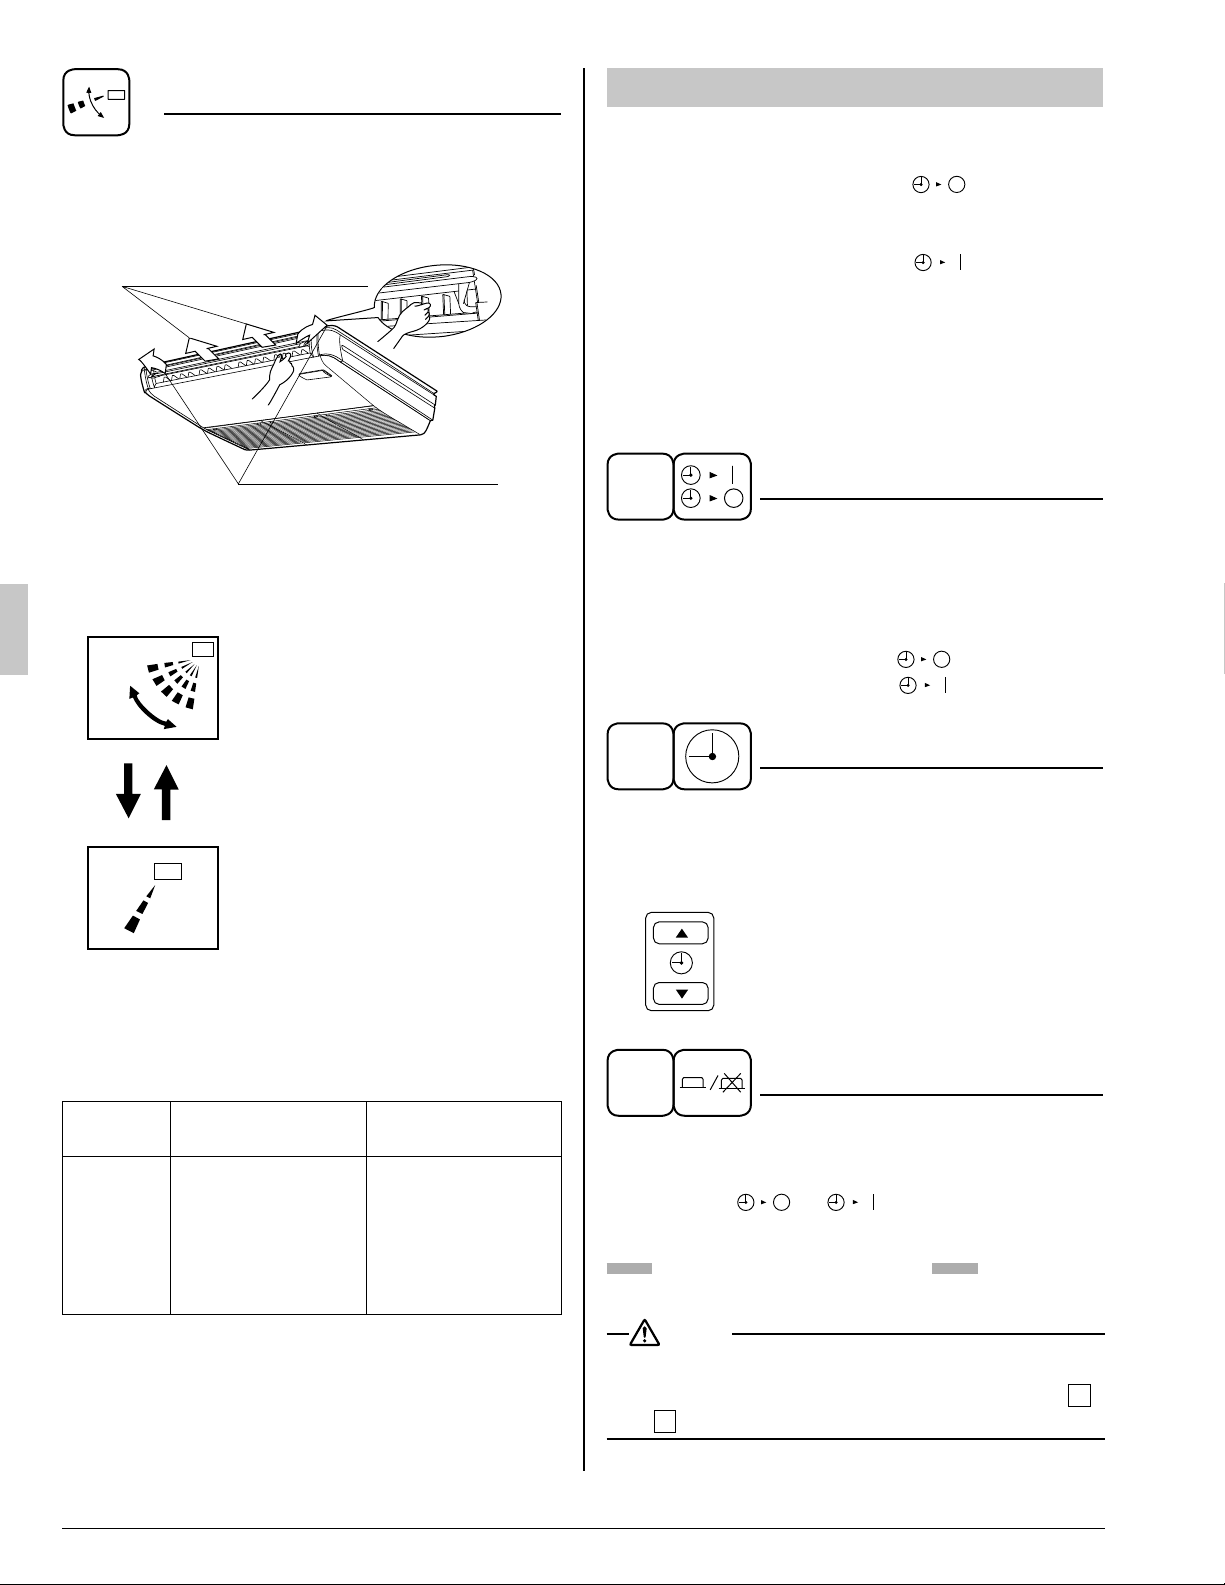
AIR FLOW DIRECTION ADJUST
There are 2 ways of adjusting the air discharge •
angle.
A. Up and down direction1.
B. Left and right direction2.
A. Up and down direction
B. Left and right direction
A. UP AND DOWN DIRECTION
Press the AIR FLOW DIRECTION ADJUST
button to select the air direction as shown
below.
swing
The AIR FLOW FLAP display
swings as shown below and the
air fl ow direction continuously
varies. (Automatic swing setting)
Press AIR FLOW DIRECTION
ADJUST button to select the air
direction of your choice.
The AIR FLOW FLAP display
stops swinging and the air fl ow
direction is fi xed (Fixed air fl ow
direction setting).
MOVEMENT OF THE AIR FLOW FLAP
For the following conditions, micro computer con-
trols the air fl ow direction so it may be different
from the display.
Operation
mode
Cooling Heating
Operation
condition
When operating •
continuously at
downward air
fl ow direction
When room •
temperature is
higher than the
set temperature
At defrost opera-•
tion
Operation mode includes automatic operation.
PROGRAM TIMER OPERATION
Operate in the following order.
The timer is operated in the following two ways.•
Programming the stop time ( • ) ....
The system stops operating after the set time
has elapsed.
Programming the start time ( •
) ....
The system starts operating after the set time
has elapsed.
The timer can be programmed a maximum of •
72 hours.
The start and the stop time can be simultane-•
ously programmed.
1
TIMER MODE START/STOP
Press the TIMER MODE START/STOP
button several times and select the mode
on the display.
The display fl ashes.
For setting the timer stop .... “
”
For setting the timer start .... “
”
2
PROGRAMMING TIME
Press the PROGRAMMING TIME button and
set the time for stopping or starting the
system.
When this button is pressed, the time
advances by 1 hour.
When this button is pressed, the time
goes backward by 1 hour.
3
TIMER ON/OFF
Press the TIMER ON/OFF button.
The timer setting procedure ends.
The display “
or ” changes from fl ash-
ing light to a constant light.
Refer to Fig. 4 on page [1]
NOTE
When setting the timer Stop and Start at the •
same time, repeat the above procedure from
1
to
3
once again.
01_EN_3PN07753-11N.indd 701_EN_3PN07753-11N.indd 7 12/19/2008 8:00:31 PM12/19/2008 8:00:31 PM
Loading ...
Loading ...
Loading ...