Loading ...
Loading ...
Loading ...
4¢LWARNING: All electrical repairs
to this unit, including housing, switch,
motor, etc., must be diagnosed and re-
paired by qualified servtce personnel.
Replacement parts for a double insu-
lated appliance must be identical to the
parts they replace. A double insulated
appliance is marked with the words
DOUBLE INSULATION or DOUBLE INSU-
LATED. The symbolFS] (square within a
square) may also be marked on the
appliance. Failure to have the unit re-
paired by Sears service personnel can
cause the double insulation construc-
tion to become ineffective and result in
serious injury.
SAVE THESE INSTRUCTIONS
CARTON CONTENTS
Check carton contents against the fol-
lowing list.
Model 358.796520
Edger
_ Screws
• Locknuts
Examine parts for damage. Do not use
damaged parts.
NOTE: If you need assistance or find
that parts are missing or damaged, call
1-800-235-5878.
ASSEMBLY
41¢I_WARNING: If received as-
sembled, repeat all steps to ensure
_/aOUrunit is properly assembled and all
steners are secure.
This instruction manual has been de-
veloped to help you assemble the unit
and to provide its safe operation. It is
important that you read the entire man-
ual to become familiar with the unit be-
fore you begin assembly.
Read your instruction manual.
Tools you will need:
• Phillips screwdriver
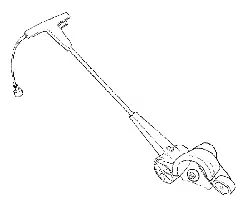
TUBE ASSEMBLY
1. Insert tube into motor housing as
shown. Align the screw holes.
2. Insert ]ocknuts into the pockets in
the motor housing.
3. Insert screws through aligned holes.
4. Thread screws into Iocknuts; tighten
securely.
Locknuts
'7
!
Screws
EXTENSION CORD
Use only a 120 A.C. voltage supply as
shown on nameplate of the unit to
power your edger.
The extension cord used to reach the
power source must be:
• Specifically marked as suitable for
outdoor use. The cord must be
marked with the suffix "W-A".
• Heavy enough to carry current from
the power source the full length of the
extension cord to the unit. Otherwise,
loss of power and overheating can oc-
cur causing damage to unit. Refer to
chart for minimum wire gauge recom-
mendations. The cord must be
marked with the proper wire gauge.
(Appropriate extension cords are avail-
able at Sears.) Do not use multiple
cords.
• In good condition. Cord insulation
must be intact with no cracks or
deterioration. Plug connectors must
be undamaged.
l MINIMUM WIRE GAUGE ]
RECOMMENDATIONS
/
25 FT. 50 FT. 100 FT. /
VOLTS (7.67 M)I (15.24 M)J (30.48 M)/
16 16 14 |
120 A.W.G* AWG.* AWG*|
/
• American Wire Gauge
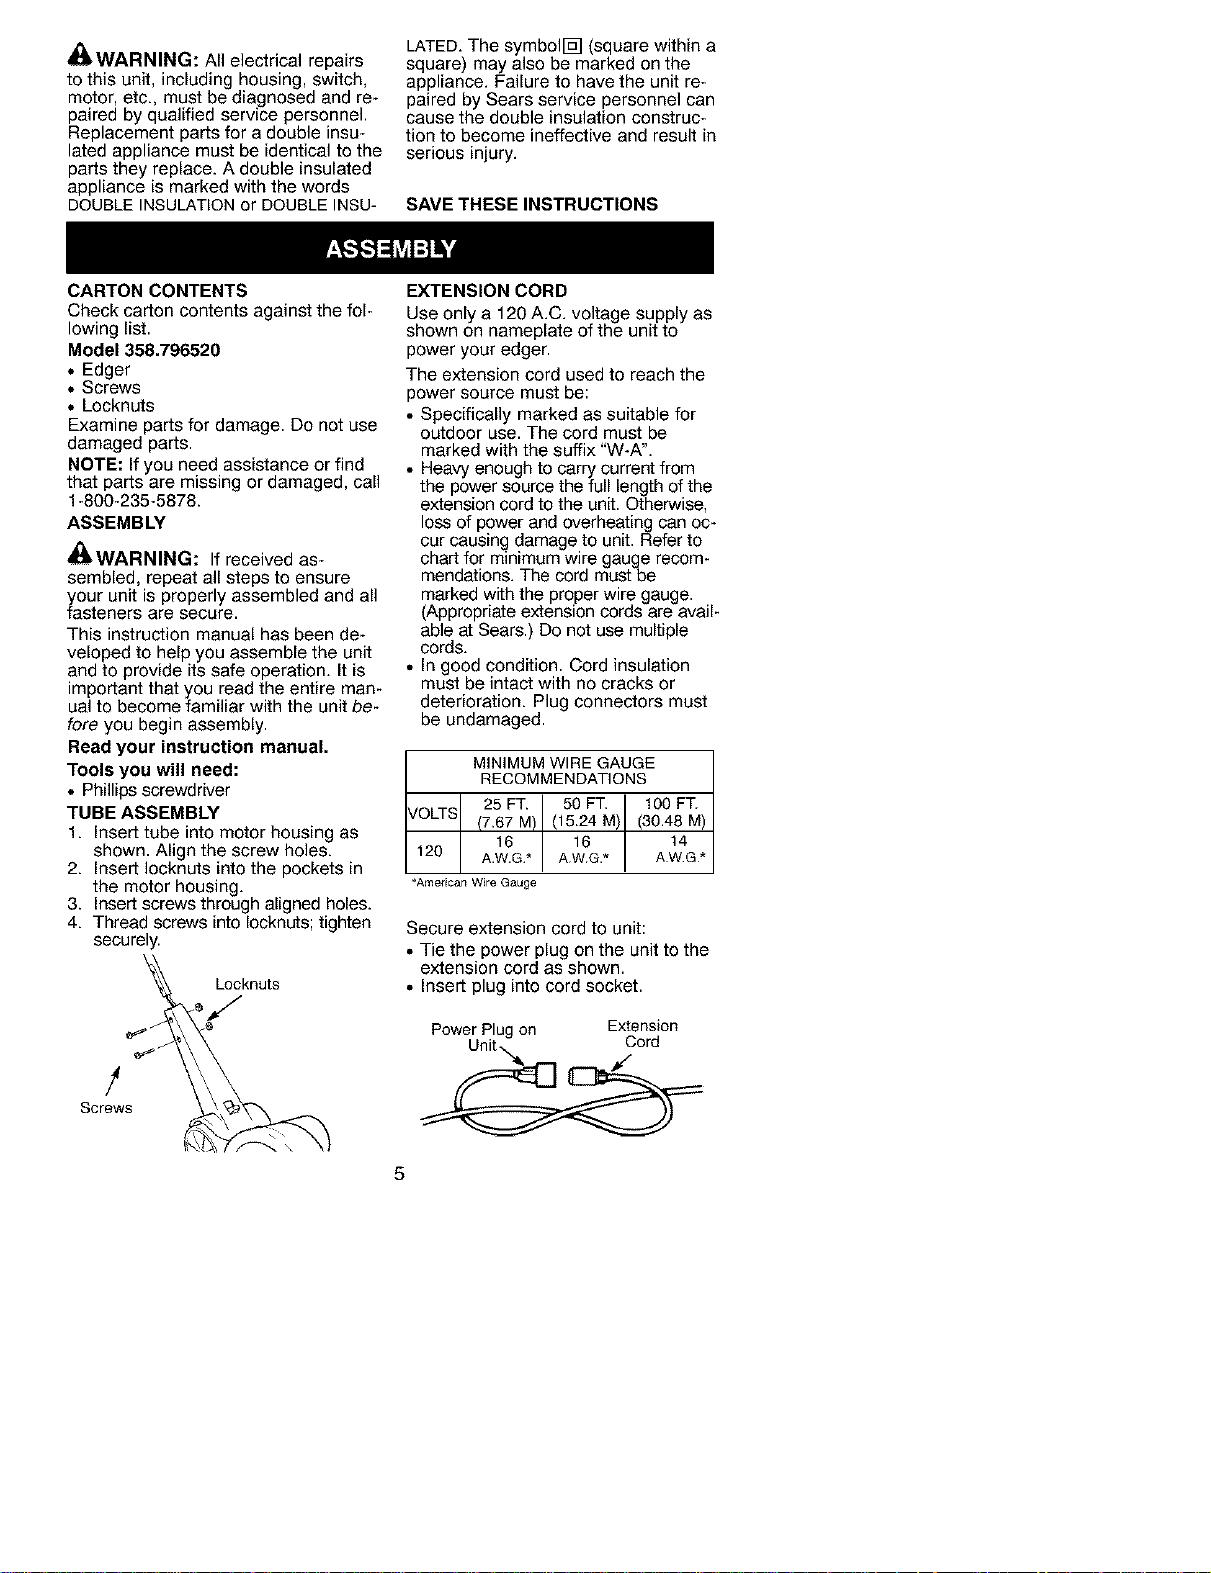
Secure extension cord to unit:
• Tie the power plug on the unit to the
extension cord as shown.
• Insert plug into cord socket.
Power Plug on Extension
Unit,,,_ _Cord
5
Loading ...
Loading ...
Loading ...