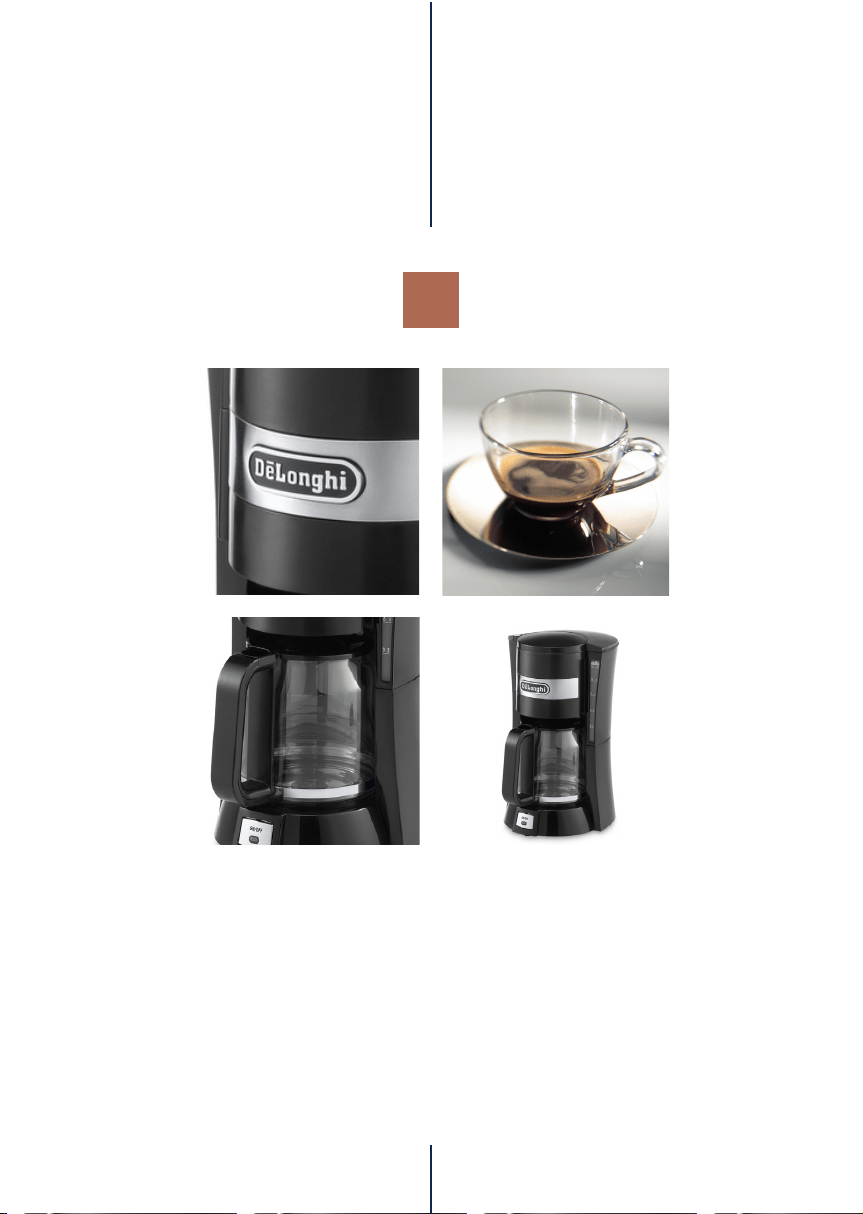
ICM15210
COFFEE MAKER
Instructions for use
2
A) If your appliance comes tted with a plug, it will incorporate a 13 Amp fuse. If it does not t your socket, the plug
should be cut o from the mains lead, and an appropriate plug tted, as below.
WARNING: Very carefully dispose of the cut o plug after removing the fuse: do not insert in a 13 Amp socket el-
sewhere in the house as this could cause a shock hazard.
With alternative plugs not incorporating a fuse, the circuit must be protected by a 15 Amp fuse. If the plug is a
moulded-on type, the fuse cover must be re-tted when changing the fuse using a 13 Amp Asta approved fuse
to BS 1362. In the event of losing the fuse cover, the plug must NOT be used until a replacement fuse cover can be
obtained from your nearest electrical dealer. The colour of the correct replacement fuse cover is that as marked on
the base of the plug.
B) If your appliance is not tted with a plug, please follow the instructins provided below:
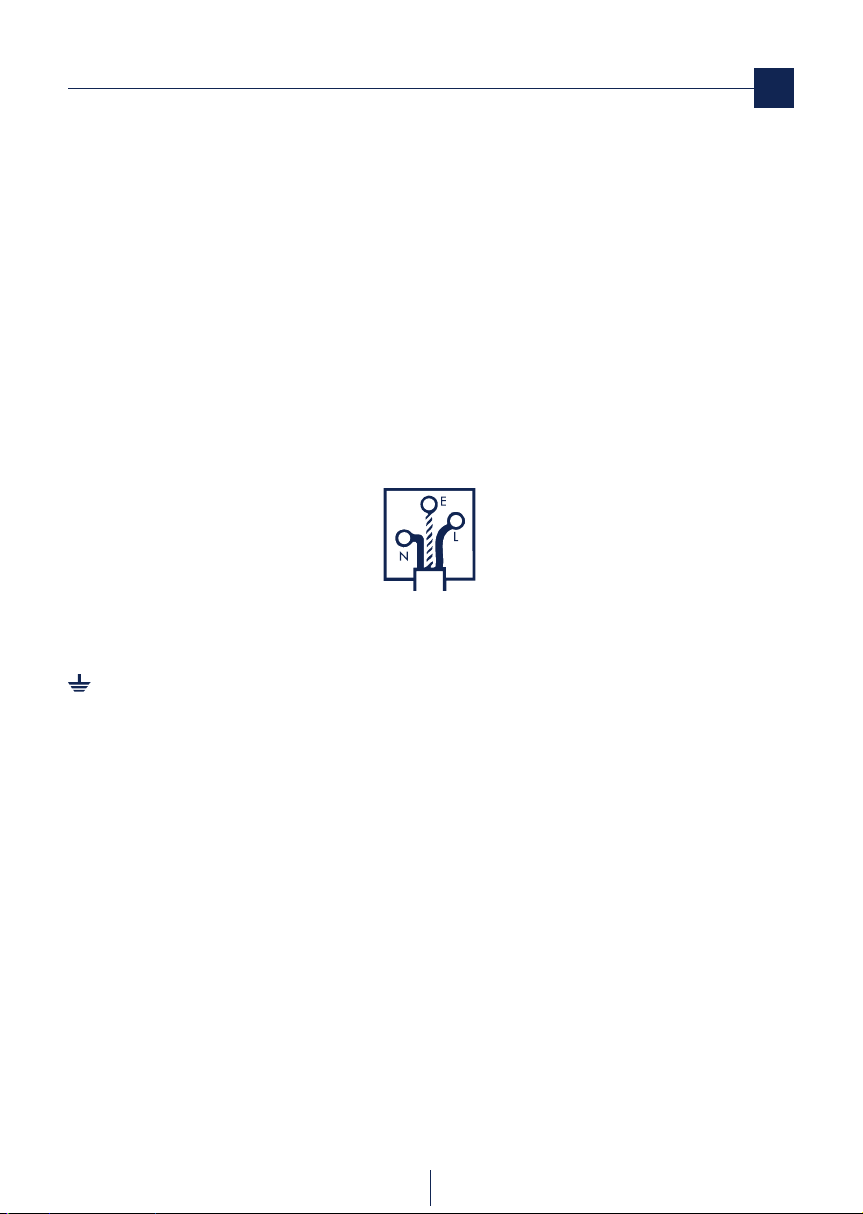
WARNING - THIS APPLIANCE MUST BE EARTHED
IMPORTANT
The wires in the mains lead are coloured in accordance with the following code:
Green and yellow: Earth
Blue: Neutral
Brown: Live
As the colours of the wires in the mains lead may not correspond with the coloured markings identifying the terminals
in your plug, proceed as follows:
The green and yellow wire must be connected to the terminal in the plug marked with the letter E or the earth symbol
or coloured green or green and yellow.
The blue wire must be connected to the terminal marked with the letter N or coloured black.
The brown wire must be connected to the terminal marked with the letter L or coloured red.
electrical connection (UK only)
A
3
description
B
G
C H
E
A
D
F

4
123
45
6
5
Important safeguards
Danger!
Failure to observe the warning may result in life threatening
injury by electric shock.
• Thepowercableofthisappliancemustnotbereplacedby
the user as the operation requires the use of special tools.
If it is damaged or must be replaced, contact De’Longhi
Customer Experience to avoid all risk. See enclosed gua-
rantee.
• Neverimmersethecoeemakerinwater.Itisanelectrical
appliance.
• Unplugtheapplianceandturnothemainswitchwhen
not in use. Do not leave the appliance switched on unne-
cessarily.
• Aswithallelectricalappliances,usethecoeemakerwith
care and common sense, particularly in the presence of
children.
• Check that the voltage of the mains power supply cor-
responds to the value indicated on the appliance rating
plate. Connect the appliance to an eciently earthed
electrical socket. The manufacturer declines all liability for
any accidents caused by the absence of an ecient earth
system.
• Ifthepowersocketdoesnot matchthe plugon the ap-
pliance, have the socket replaced with a suitable type by
a qualied electrician.
Danger of burns!
Failure to observe the warning could result in scalds or burns.
• Thisapplianceisdesignedandmade to“preparecoee”.
Be careful to avoid being scalded by spraying water or ste-
am or due to improper use of the appliance.
• Whenusingtheappliancedonottouchthehotsurfaces.
Use the knobs or handles.
• Never touch the appliance with wet or damp hands or
feet.
Important!
Failure to observe the warning could result in injury or damage
to the appliance.
• Themanufacturerisnotliablefordamagecausedbyinap-
propriate, incorrect or irresponsible use.
• Intheeventoffailureormalfunction,unplugtheapplian-
ce from the mains. If it requires repair, contact De’Longhi
Customer Experience only and ask for original spare parts
to be used. Failure to respect the above could jeopardise
the safety of the appliance.
• Theapplianceisnotintendedforusebypersons(including
children) with reduced physical, sensory or mental capa-
bilities, or lack of experience and knowledge, unless they
have been given supervision or instruction concerning use
of the appliance by a person responsible for their safety.
Children should be supervised to ensure that they do not
play with the appliance.
• After removing the packaging, make sure the appliance
is complete and undamaged. If in doubt, do not use the
appliance and contact qualied personnel only.
• The packing elements (plastic bags, polystyrene foam,
etc.) should be kept out of reach of children as they are a
safety hazard.
• Placetheapplianceonaworksurfacefarawayfromwater
taps, basins and sources of heat.
• Never install the appliance in environments where the
temperaturemayreach0°Corlower(theappliancemaybe
damaged if the water freezes).
Please note:
This symbol identies important advice or information for the
user.
• Read this instruction booklet carefully before installing
and using the appliance. This is the only way to ensure the
best results and maximum safety for the user.
• Thisis ahouseholdapplianceonly.Itisnotintendedto
be used in: sta kitchen areas in shops, oces and other
working environment; farm houses; by clients in hotels,
motels and other residential type environments; bed and
breakfast type environments.
Any other use is considered improper and thus dangerous.
• Materialsandaccessories comingintocontactwithfood
conform to EEC regulation 1935/2004.
• Afterpositioningthe appliance onthe worktop,leavea
space of at least 5 cm between the surfaces of the applian-
ce and the side and rear walls and at least 20 cm above the
coee maker.
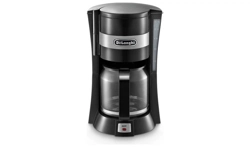
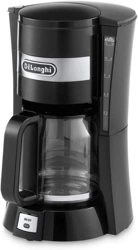
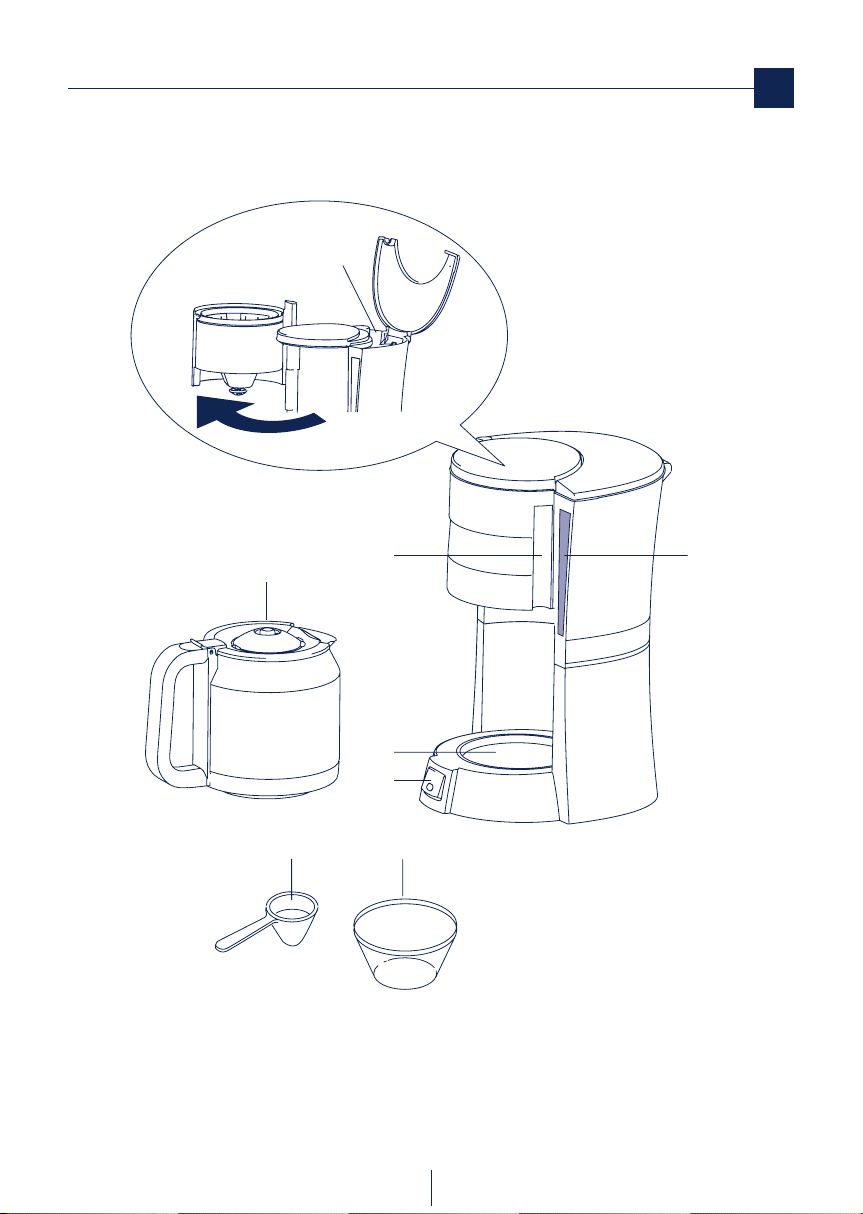
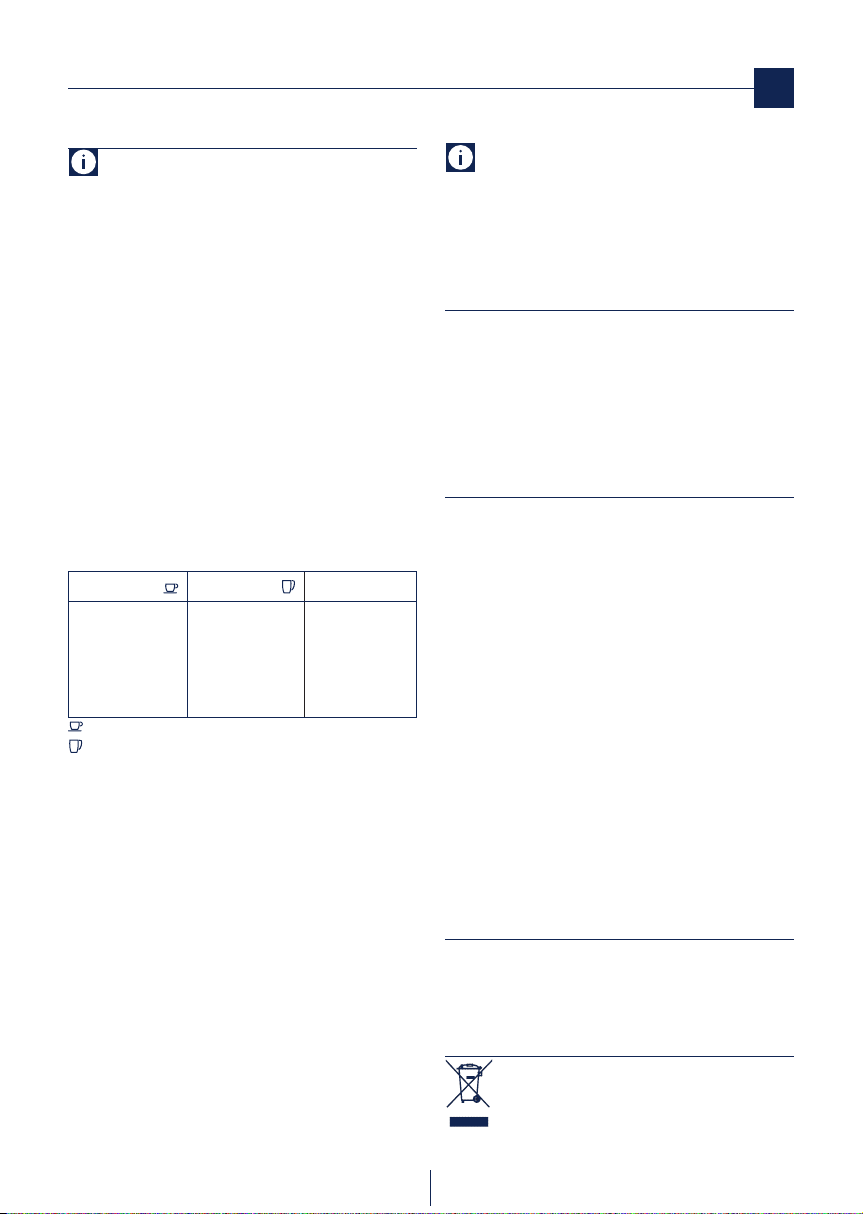
Description of appliance
A. Glass jug
B. Measure
C. Open/extract lter holder handle
D. Water tank
E. ON/OFF button with ON light
F. Paper lter
G. Hot plate
H. Water level indicator
6
How to make drip coee
Please note: The rst time the appliance is used, all ac-
cessories and the internal circuits must be washed through by
making at least two jugs of water without using pre-ground
coee.
• Openthedooratthefrontbypullingthehandle(C)and
usethejugtopourcleancoldwaterintothewatertank(D)
(g.1)uptothelevelindicatedforthenumberofcupsof
coee to be prepared. Check the level of water in the tank
throughthelevelwindow(H)(g.2).Youarerecommen-
ded to use the jug provided as a measure, as the maximum
capacity of the jug and the tank are the same.
• Positionthepaperlter(F)inthelterholder(g.3).Use
thepaperlter(size1x4).
• Placethepre-groundcoeeinthelterusingthemeasu-
re(B)providedandlevelevenly(g.4).Seethetablefor
recommended quantities. Use good quality, medium pre-
ground coee for drip coee makers.
Recommended quantities:
No. small cups No. large cups No.measures(*)
15
12
9
6
3
10
8
6
4
2
10
8
6
4
2
= 83 cc
= 125 cc
(*)1levelmeasure=1tablespoon(5g)
The quantities given in the table are indicative and should be
adapted to your personal taste and the type of coee. Never ex-
ceed the maximum quantity of 10 measures. The type of blend
hasaconsiderableinuenceonthecoeeyoumake.Youshould
therefore try various types of coee to nd the one best suited
to your taste.
• Close the door at the front of the appliance and place the
closedjugontheplate(g.5).
• PresstheON/OFFbutton(E)(g.6).Thelightontheswitch
indicates that the coee maker is operating. Coee delive-
ry will start after a few seconds. It is completely normal for
the appliance to give o steam while the coee is percola-
ting.
• If you leave the ON/OFF button pressed after percolation
hasnished,theplate(G)willkeepthecoeeattheideal
temperature. To turn the plate o press the button again.
Please note: removing the jug before all the coee re-
quested has been delivered does not interrupt coee making,
but merely blocks ow into the jug. If you want to pour out a
little coee immediately, you should do so as rapidly as possible
in order to avoid the coee overowing.
Cleaning and maintenance
Before maintenance or cleaning of the appliance, turn o, un-
plug from the mains socket and allow to cool.
• Donotusesolventsorabrasivedetergentstocleanthecof-
fee maker. Just wipe with a soft damp cloth.
• Neverimmersethecoeemakerinwater.Itisanelectrical
appliance.
Descaling
If the water in your area is hard, limescale builds up over time.
These deposits may aect correct operation of the appliance.
Youarerecommendedtodescalethecoeemakerevery60cof-
fee making cycles. To descale, always use special commercially
available descaling products for drip coee makers.
1. Dilute the product in the jug, following the instructions on
the descaler pack;
2. Pour the solution into the water tank;
3. Place the jug on the warming plate;
4. Press the ON/OFF button, percolate the equivalent of one
cup then turn the appliance o;
5. Leave the solution to work for 15 minutes, then repeat
operations 4 and 5.
6. Turn the appliance on and deliver the water until the tank
is completely empty.
7. Rinse by operating the appliance with water only at least 3
times(3completetanksofwater).
Failure to clean as described above invalidates the guarantee.
Technical data
Mains voltage: 220-240V
˜
50/60Hz
Absorbed power: 900W
Weight: 1.55 kg
Disposing of the appliance
In compliance with European directive 2002/96/EC, the
appliance must not be disposed of with household wa-
ste, but taken to an authorised waste separation and
use
7
recycling centre.
The appliance complies with the following EC directives:
• Low Voltage Directive 2006/95/EC and subsequent
amendments;
• EMCDirective2004/108/ECandsubsequentamendments
Troubleshooting
Problem Probable cause Solution
The coee takes longer to
brew.
The coee maker needs to be descaled. Descale the machine as described in the section DE-
SCALING.
The coee has an acidic ta-
ste.
Insucient rinsing after descaling. Rinse the machine as described in the section DE-
SCALING.
use

De’Longhi Appliances
via Seitz, 47
31100 Treviso Italia
1321098IDL/01.13