
OPERATING INSTRUCTIONS
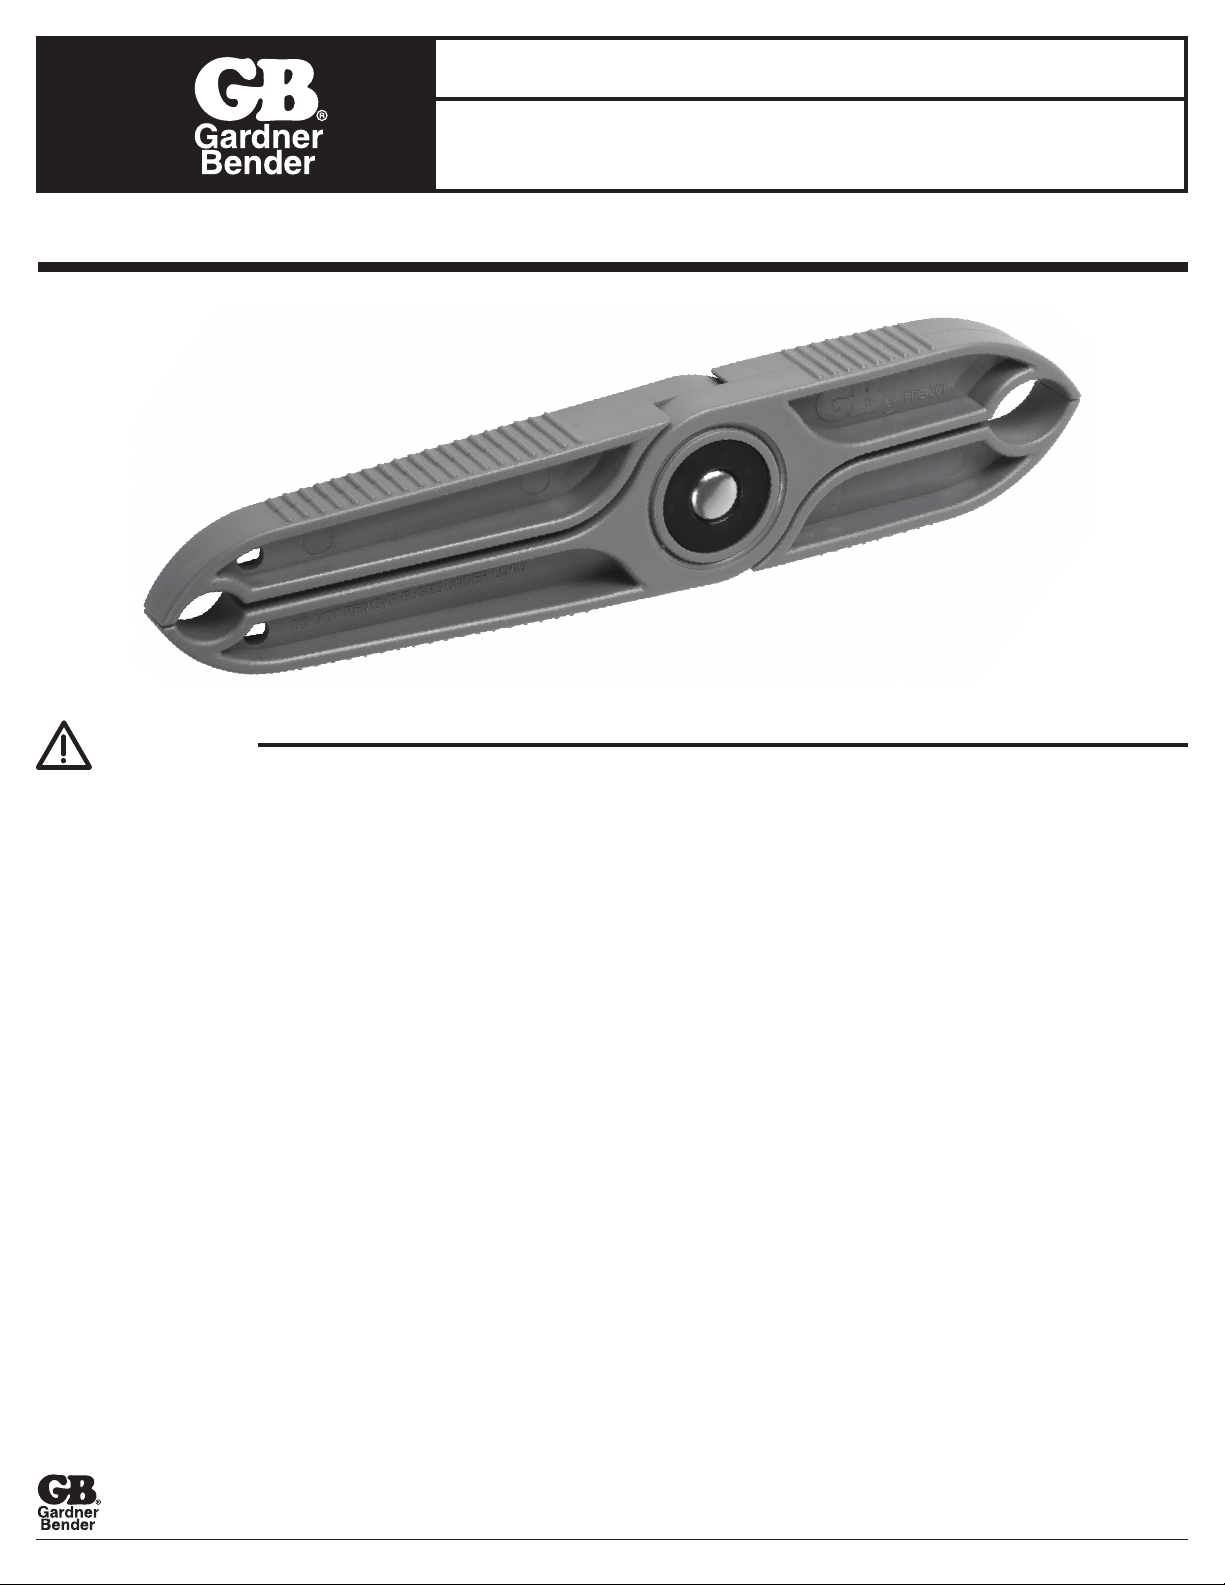
Fuse Puller & Continuity Tester
Model FPE-20T
IMPORTANT: RECEIVING INSTRUCTIONS Visually inspect all components for shipping damage. If you find damage, notify the carrier at once.
Shipping damage is NOT covered by warranty. The carrier is responsible for all repair or replacement costs resulting from damage in shipment.
GAR_TL_087_0720_FPE-20T800.822.9220 • Milwaukee, WI 53209 • gardnerbender.com
SAFETY FIRST!
Shut off power before working on a circuit. Do not remove fuses under load. Use approved materials and conform to all electrical codes.
• Safely remove 3/8" to 1-1/8" diameter, class CC, G, H, J, K, R, T cartridge fuses
• Durable shockproof plastic construction
• No-slip serrated grip
TO TEST REMOVED FUSE FOR CONTINUITY:
1. While holding the fuse, touch one end of the fuse to the fuse contact in the center of the fuse puller.
2. Touch your other hand to the finger contact on the opposite side of the fuse contact.
3. If the continuity of the fuse is good, the LED around the fuse contact will light green.
BATTERY REPLACEMENT:
This tester uses two (2) LR44 button cell batteries. To Replace the batteries:
1. Forcefully push the black fuse contact in the center of the tester from the side that says
“PRESS THIS SIDE TO REMOVE” to remove the fuse contact.
2. Pull back the tabs on either side of the fuse contact to release the battery cap.
3. Remove the battery module from the fuse contact housing and slide out the batteries.
4. Replace with two good batteries. They should be inserted in the same orientation with
the positive side facing downward toward the “+” symbol on the bottom of the battery module.
5. Place the battery module back into the fuse contact housing. The notch on the side of the
battery module should line up with the notch on the inside of the fuse contact housing. Reinstall the battery cap.
6. Slide the fuse contact back into the center of the tool.
CAUTION
INSTRUCCIONES DE OPERACIÓN
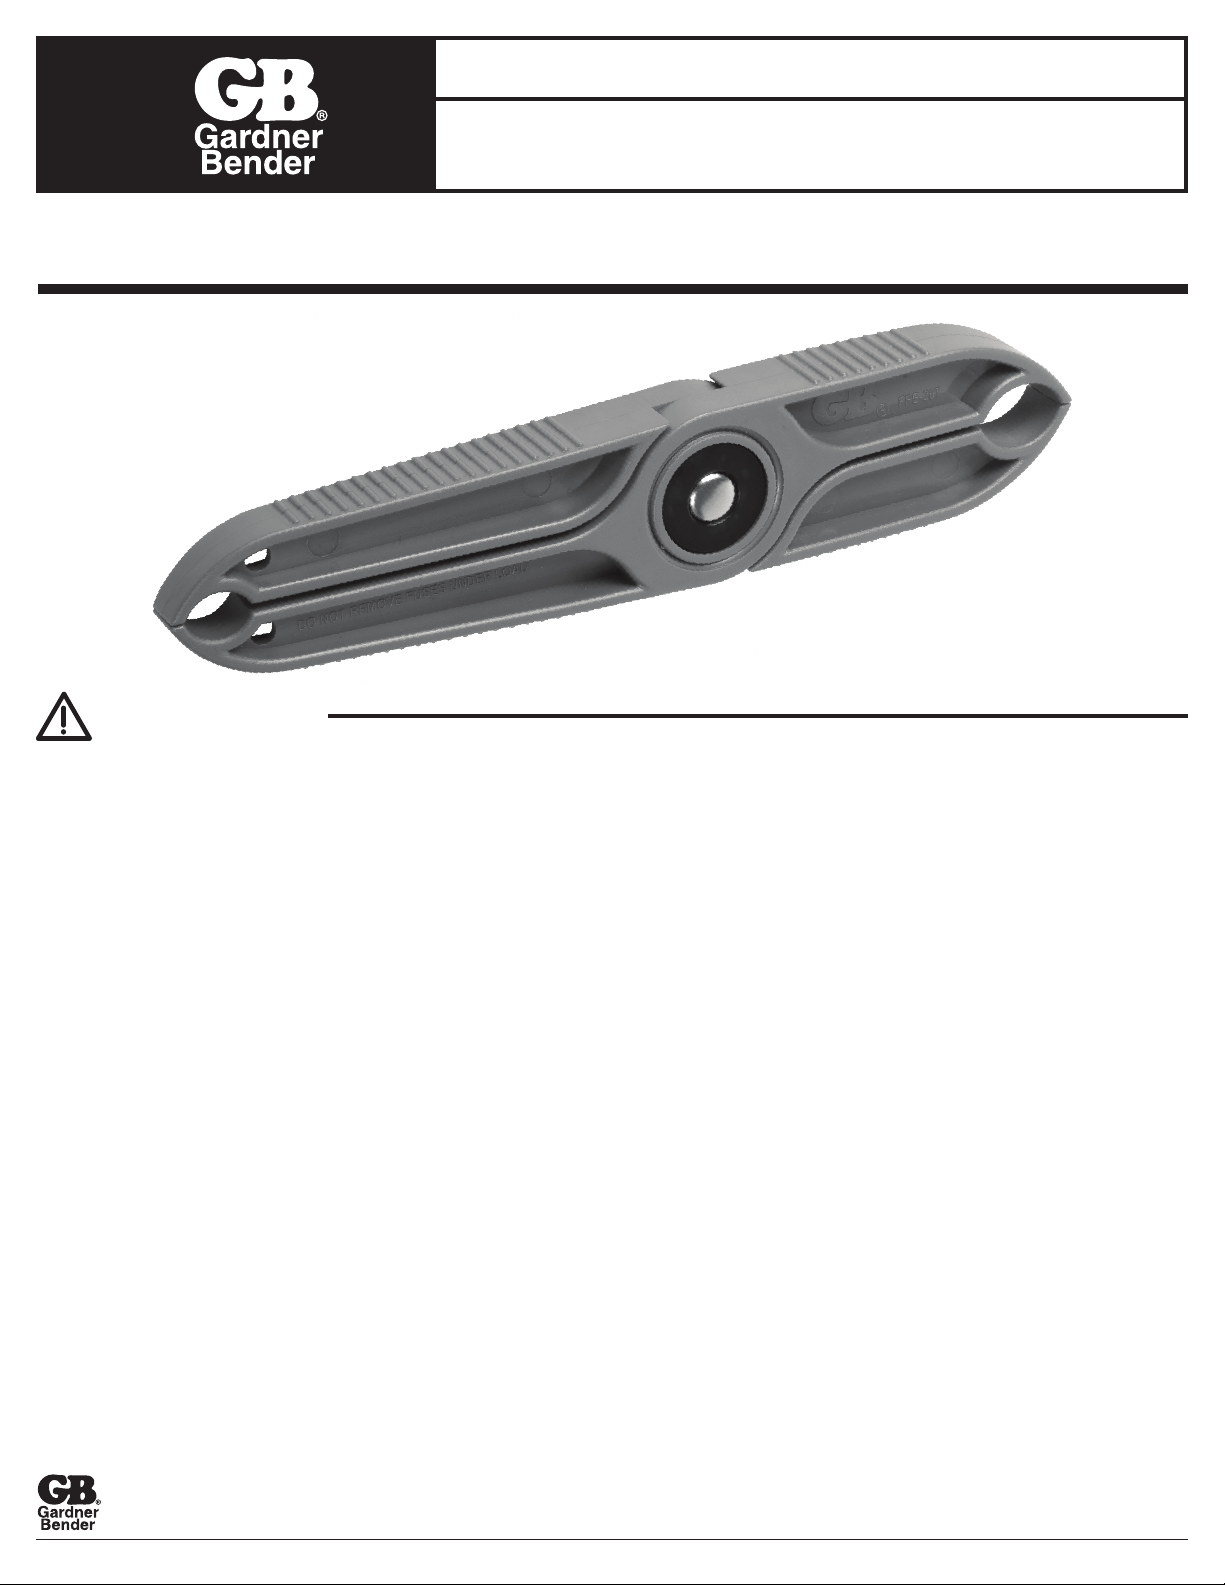
Extractor de fusibles y Comprobador de continuidad
MODELO FPE-20T
IMPORTANTE: INSTRUCCIONES PARA LA RECEPCIÓN Inspeccione visualmente todos los componentes para detectar daños ocasionados
durante el envío. Si detecta daños, notifíquelo al transportista de inmediato. La garantía NO cubre los daños ocasionados durante el envío. El transportista
es responsable de todos los costos de reparación o reemplazo que se generen por daños ocurridos durante el envío.
GAR_TL_087_0720_FPE-20T800.822.9220 • Milwaukee, WI 53209 • gardnerbender.com
¡SEGURIDAD EN PRIMER LUGAR!
Apague la energía antes trabajar en un circuito. No quite los fusibles bajo carga.
Utilice materiales aprobados y que se ajusten a todos los códigos eléctricos.
• Extraiga fusibles de cartucho de 9mm a 27mm de diámetro, clase CC, G, H, J, K, R, T
• Construcción de plástico resistente a los golpes y durable
• Empuñadura dentada anti deslizante
PARA PROBAR EL FUSIBLE EXTRAÍDO PARA DETERMINAR LA CONTINUIDAD:
1. Mientras sujeta el fusible, conecte un extremo del fusible al contacto del fusible
en el centro del extractor de fusibles.
2. Coloque su otra mano en el contacto del dedo en el lado contrario del contacto del fusible.
3. Si la continuidad del fusible es buena, la luz LED que rodea el contacto del fusible se encenderá de color verde.
REEMPLAZO DE LAS PILAS:
Este comprobador utiliza (2) pilas LR44 de tipo “botón”. Para reemplazar las pilas:
1. Oprima con fuerza el contacto del fusible de color negro que está en el centro del comprobador desde el lado que dice
“PRESS THIS SIDE TO REMOVE” a fin de extraer el contacto del fusible.
2. Tire hacia atrás las pestañas que están a ambos lados del contacto de fusible para liberar la tapa de las pilas.
3. Extraiga el módulo de las pilas del alojamiento del contacto de fusible y deslice las pilas hacia afuera.
4. Sustitúyalas con dos pilas en buenas condiciones. Se deben insertar con la misma orientación con el lado
positivo orientado hacia abajo hacia el símbolo “+” que está en la base del módulo de las pilas.
5. Ubique el módulo de las pilas de nuevo dentro del alojamiento del contacto de fusible. La muesca que está
en el costado del módulo de las pilas debe quedar alineada con la muesca que está en el interior del alojamiento
del contacto de fusible. Coloque nuevamente la tapa de las pilas.
6. Deslice el contacto de fusible dentro del centro de la herramienta.
PRECAUCION
INSTRUCTIONS DE FONCTIONNEMENT
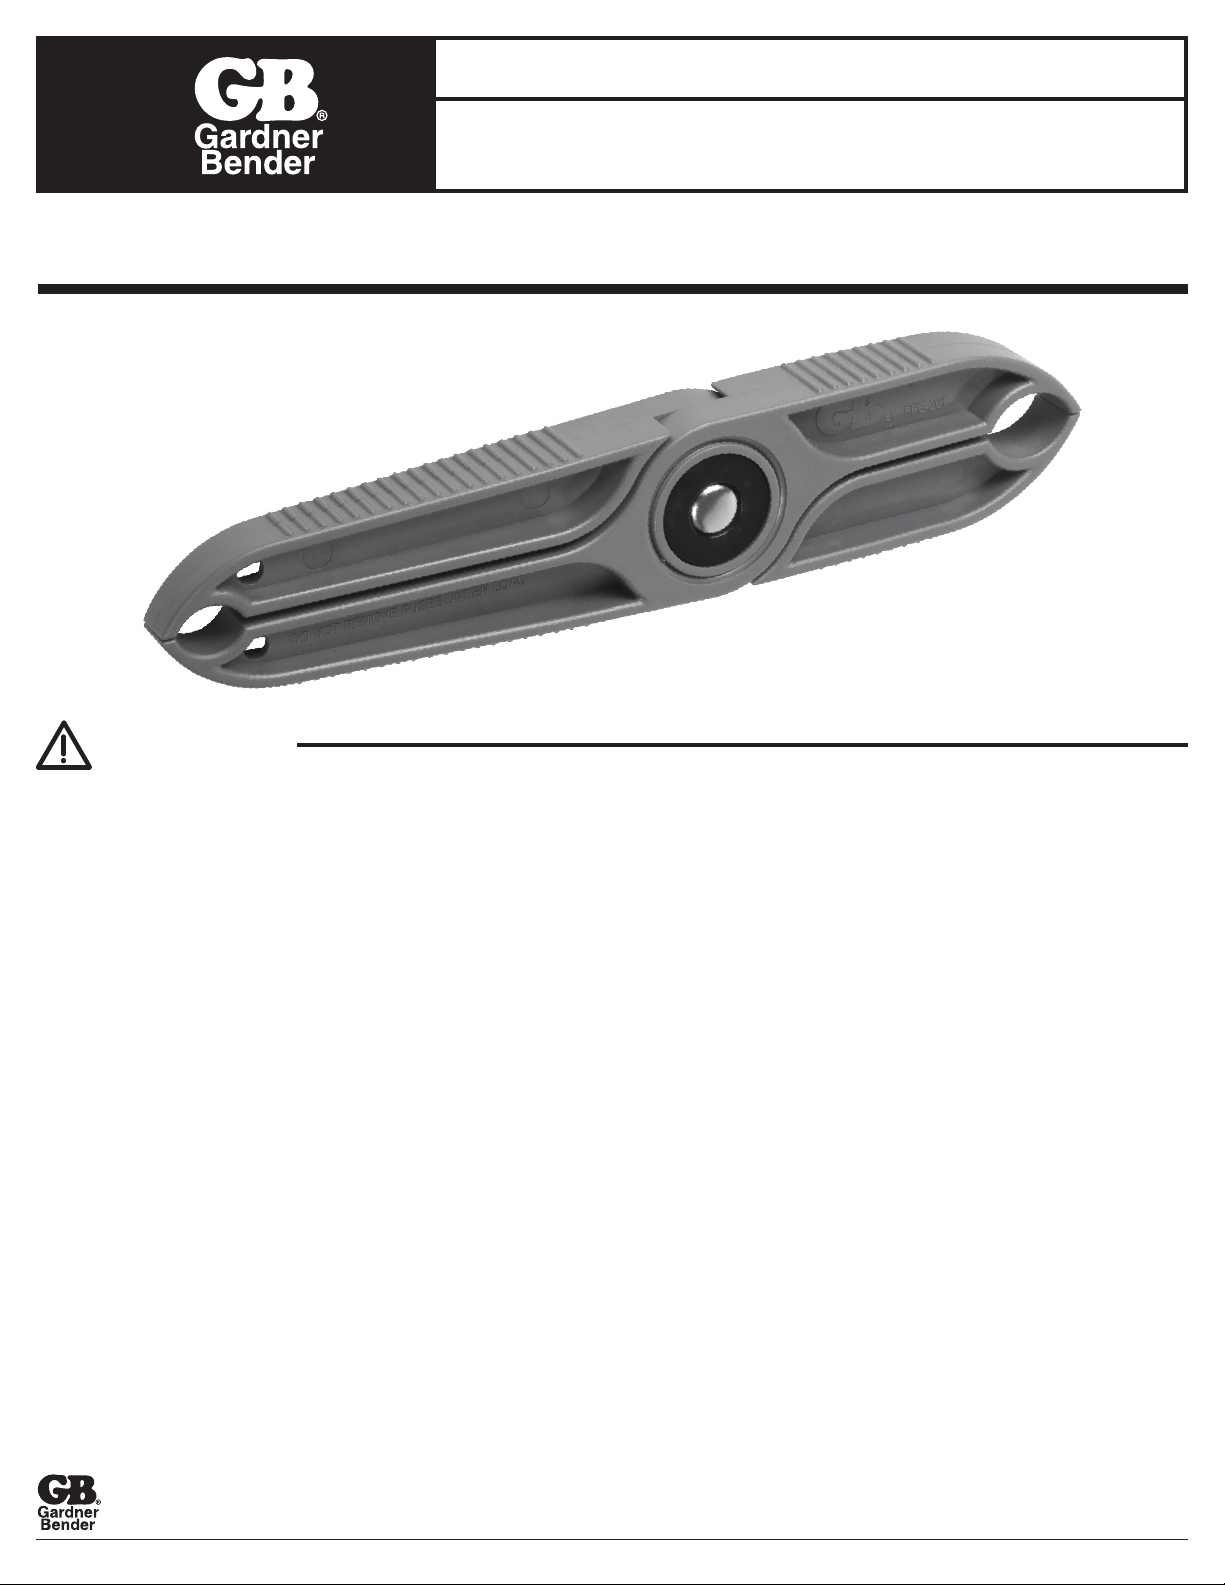
Extracteur de fusible et testeur de continuité
MODÈLE FPE-20T
IMPORTANT : INSTRUCTIONS À LA RÉCEPTION Examiner visuellement tous les composants à la recherche de dommages. En cas de dommages,
informer immédiatement le transporteur. Les dommages pendant le transport ne sont PAS couverts par la garantie. Le transporteur est responsable de tous
les coûts de réparation ou de remplacement résultant de dommages pendant le transport.
GAR_TL_087_0720_FPE-20T800.822.9220 • Milwaukee, WI 53209 • gardnerbender.com
LA SÉCURITÉ D’ABORD!
Couper l’alimentation avant d’intervenir sur un circuit. Ne pas retirer les fusibles sous charge.
Utiliser des matériels homologués et conformes à tous les codes électriques.
• Retirer en toute sécurité les fusibles à cartouche classe CC, G, H, J, K, R, T de 9mm à 27mm de diamètre
• Construction en plastique antichoc durable
• Prise striée antidérapante
POUR TESTER LA CONTINUITÉ D’UN FUSIBLE EXTRAIT :
1. Tout en maintenant le fusible, placer une extrémité du fusible sur le contact de fusible au centre de l’extracteur de fusible.
2. Avec l’autre main, placer le contact à encastré sur le côté opposé du contact de fusible.
3. Si la continuité du fusible est bonne, la LED autour du contact de fusible s’allume en vert.
REMPLACEMENT DES PILES :
Ce testeur utilise deux (2) piles bouton LR44. Pour remplacer les piles :
1. Appuyer fermement sur le contact de fusible noir au centre du testeur, du côté qui indique
« PRESS THIS SIDE TO REMOVE » pour retirer le contact de fusible.
2. Tirer les languettes vers l’arrière de chaque côté du contact de fusible pour libérer le couvercle des piles.
3. Retirer le module de piles du logement du contact de fusible et extraire les piles.
4. Les remplacer par deux piles neuves. Elles doivent être introduites avec la même orientation,
avec le côté positif orienté vers le bas, vers le symbole « + » situé au fond du module de piles.
5. Réinstaller le module de piles dans le logement de contact de fusible. L’encoche sur le côté du module
de piles doit être alignée avec l’encoche située à l’intérieur du logement de contact de fusible. Réinstaller le module de piles.
6. Repousser le contact de fusible dans le centre de l’outil.
ATTENTION
