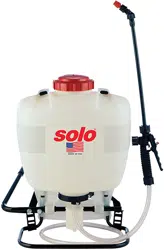
Loading ...
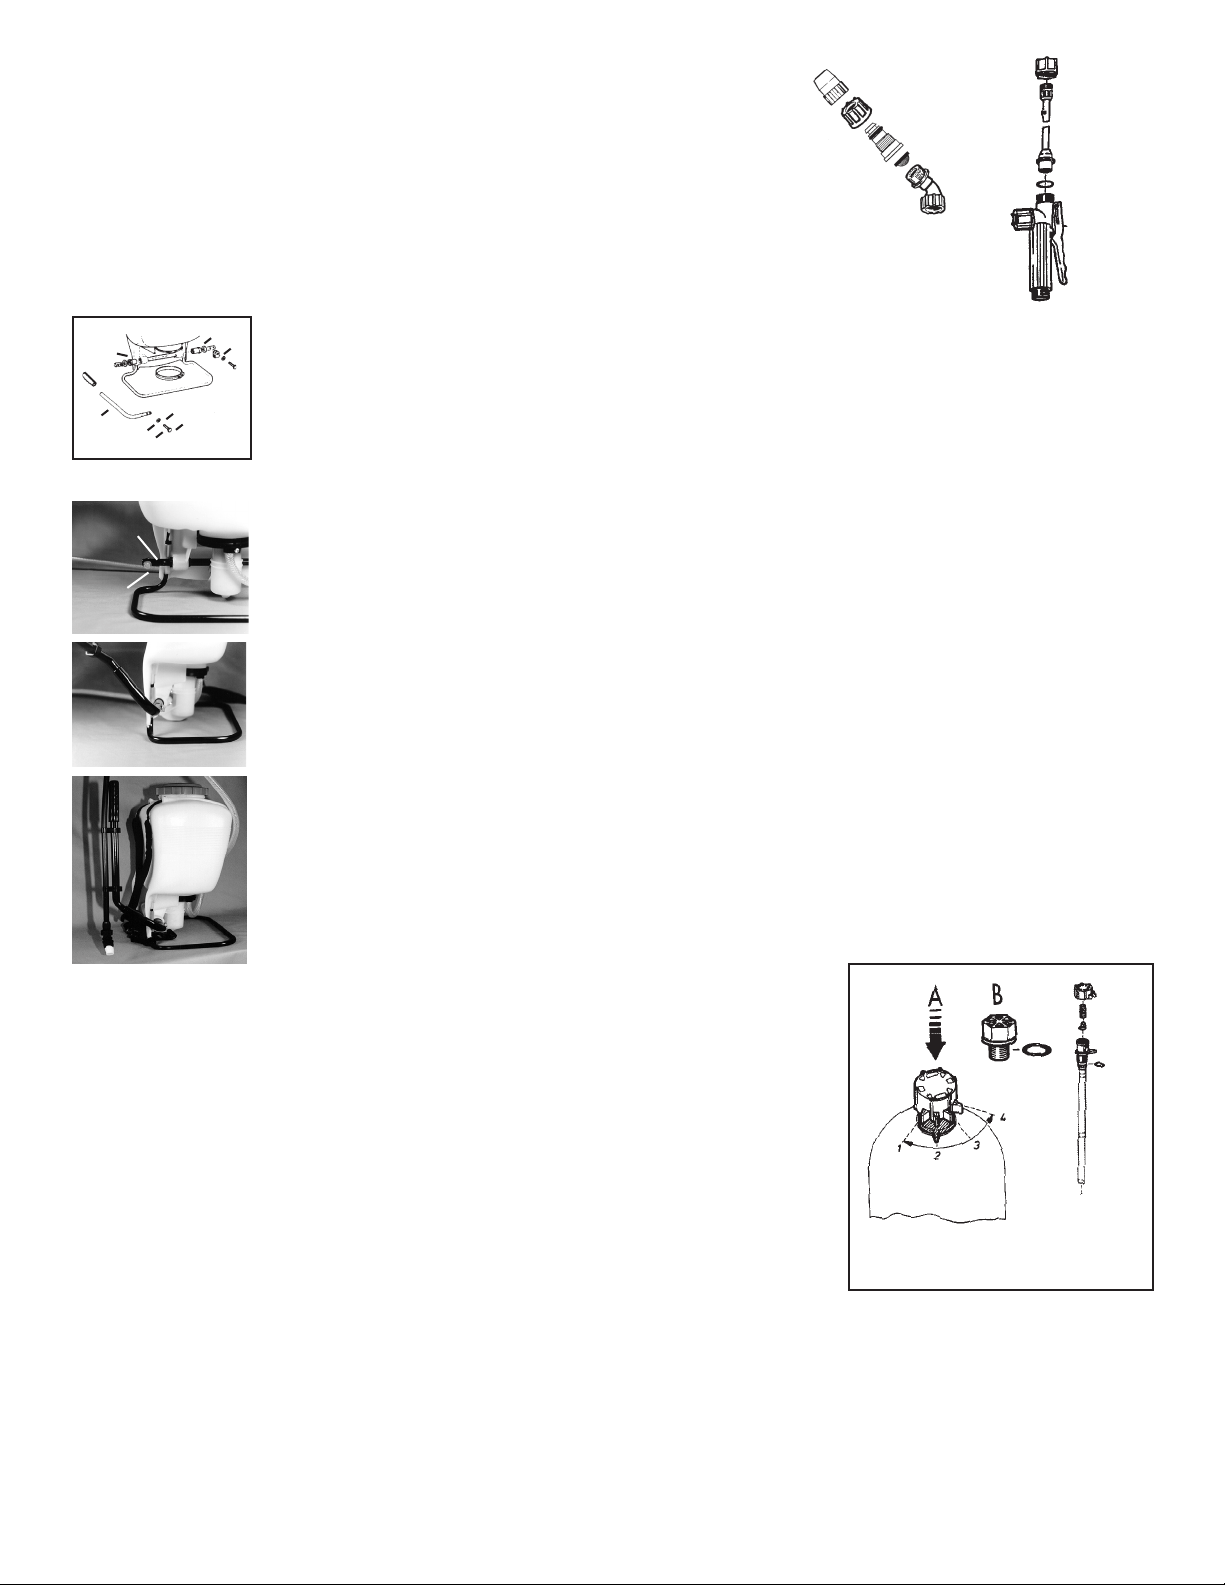
REMOVING PLASTIC ADJUSTABLE NOZZLE
Unscrew the nozzle cap (1) from the nozzle body (3). This is best
accomplished while the retaining nut (2) is fastened tightly to the
elbow (5). Next, unscrew the retaining nut (2). Push the nozzle
body (3) out of the retaining nut (2). The filter with gasket (4) will
come out with the body. To reinstall the nozzle, reverse the above
instructions.
ASSEMBLY INSTRUCTIONS FOR WAND
1. Insert wand into shut-off valve as shown.
2. Tighten the screw cap clockwise onto the shut-off valve.
PUMP LEVER INSTALLATION: All hardware necessary for pump lever installation is
included with the sprayer. The pump lever (C) should be installed as follows: place lever
handle (C) onto the shaft (A). Align bolt holes and install the two bolts (E) and washers (F); then tighten.
To install pump lever on the opposite side on a Diaphragm Pump sprayer, remove the stop plate (D)
and washer, install the pump lever as above. The stop plate (D) should be mounted on the inner
bolt hole with the closed end of the stop plate pointing downward on the opposite side of the pump
shaft.
FOLD-AWAY PUMP HANDLE INSTALLATION (FOR SELECT MODELS ONLY):
2
1. Nozzle
2. Retaining Nut
3. Nozzle Body
4. Filter with Gasket
5. Elbow
Screw Cap
Wand
Install Wand
O-Ring
Gauge Mount
Shut-Off
A
B
D
C
E
E
F
F
A
B
➔
➔
➔
➔
➔
➔
Remove bolt and nut from pump handle.
Slide handle assembly over the pump rod and align the holes so that the rear (elbow) portion
of the handle points up and slightly forward (approximately 45 degrees) and away from the
Solo logo. Reinstall bolt and locknut. Pump handle can be installed on the opposite side of
the sprayer for right hand pumping. (For Diaphragm Pump Sprayer, stop plate will need to be
relocated to the left side.)
The handle can be rotated to either down (pumping) or up (storage) positions. Note: The handle
swings away from the sprayer, then up or down as desired. The spray wand attaches to the
clamps on the handle assembly for storage (does not apply to the brass or stainless steel
wands).
1.
2.
3.
SHOULDER STRAP INSTALLATION:
The top of the shoulder straps are pre-attached to the sprayer by means of a buckle or pin. The
lower end of the straps are attached by fastening the strap hooks to the metal frame between where
frame exits the plastic tank and where the frame makes a bend.
REGULATING THE PRESSURE: (FOR DELUXE MODELS ONLY)
The Solo backpack sprayer is equipped with a built-in regulator to control output pressure. This
regulator is operator adjustable. Make adjustments prior to filling tank. To adjust the regulator,
remove the tank cap and the filter basket. Look inside the
spray tank; you will see the top of the regulator. There are 4 fingers on the regulator
knob. The finger farthest to the left is #1; to the right is #4. They are numbered 1, 2,
3, 4. 1 = 15 psi, 2 = 30 psi, 3 = 45 psi, 4 = 60 psi. The higher the pressure, the more
chemical applied from the sprayer in a given amount of time, but the droplets will be
smaller with more drift. If the spray pressure must be changed, excess pressure in
the pressure cylinder must be released back into the tank through the spray tube.
To adjust, push down on the knob and rotate to align the desired number with the
alignment pin. To operate the 425-DELUXE and 435 at higher than 60 psi, first release
the excess pressure and then replace the pressure control valve with the optional
plug (#4200215).
FILLING:
Mix the spray formula and the proper volume of water in a separate container. Pour
the mix through the filter basket in the tank opening. This keeps debris from entering
the sprayer. Pump the sprayer handle to prime the pump and pressurize the pressure cylinder. The volume of liquid in the
sprayer tank will appear to decrease as the pressure cylinder is pressurized. Remember that it’s not necessary to completely
fill the sprayer tank each time. Mix only the amount needed to get the job done. Chemicals should not be stored in the
sprayer.
Always read and carefully follow the manufacturer’s instructions printed on the product label. This can save money and help
prevent injury and crop and environmental damage.
Setting #1 15 psi
#2 30 psi
#3 45 psi
#4 60 psi
Loading ...
Loading ...
Loading ...