Loading ...
Loading ...
Loading ...
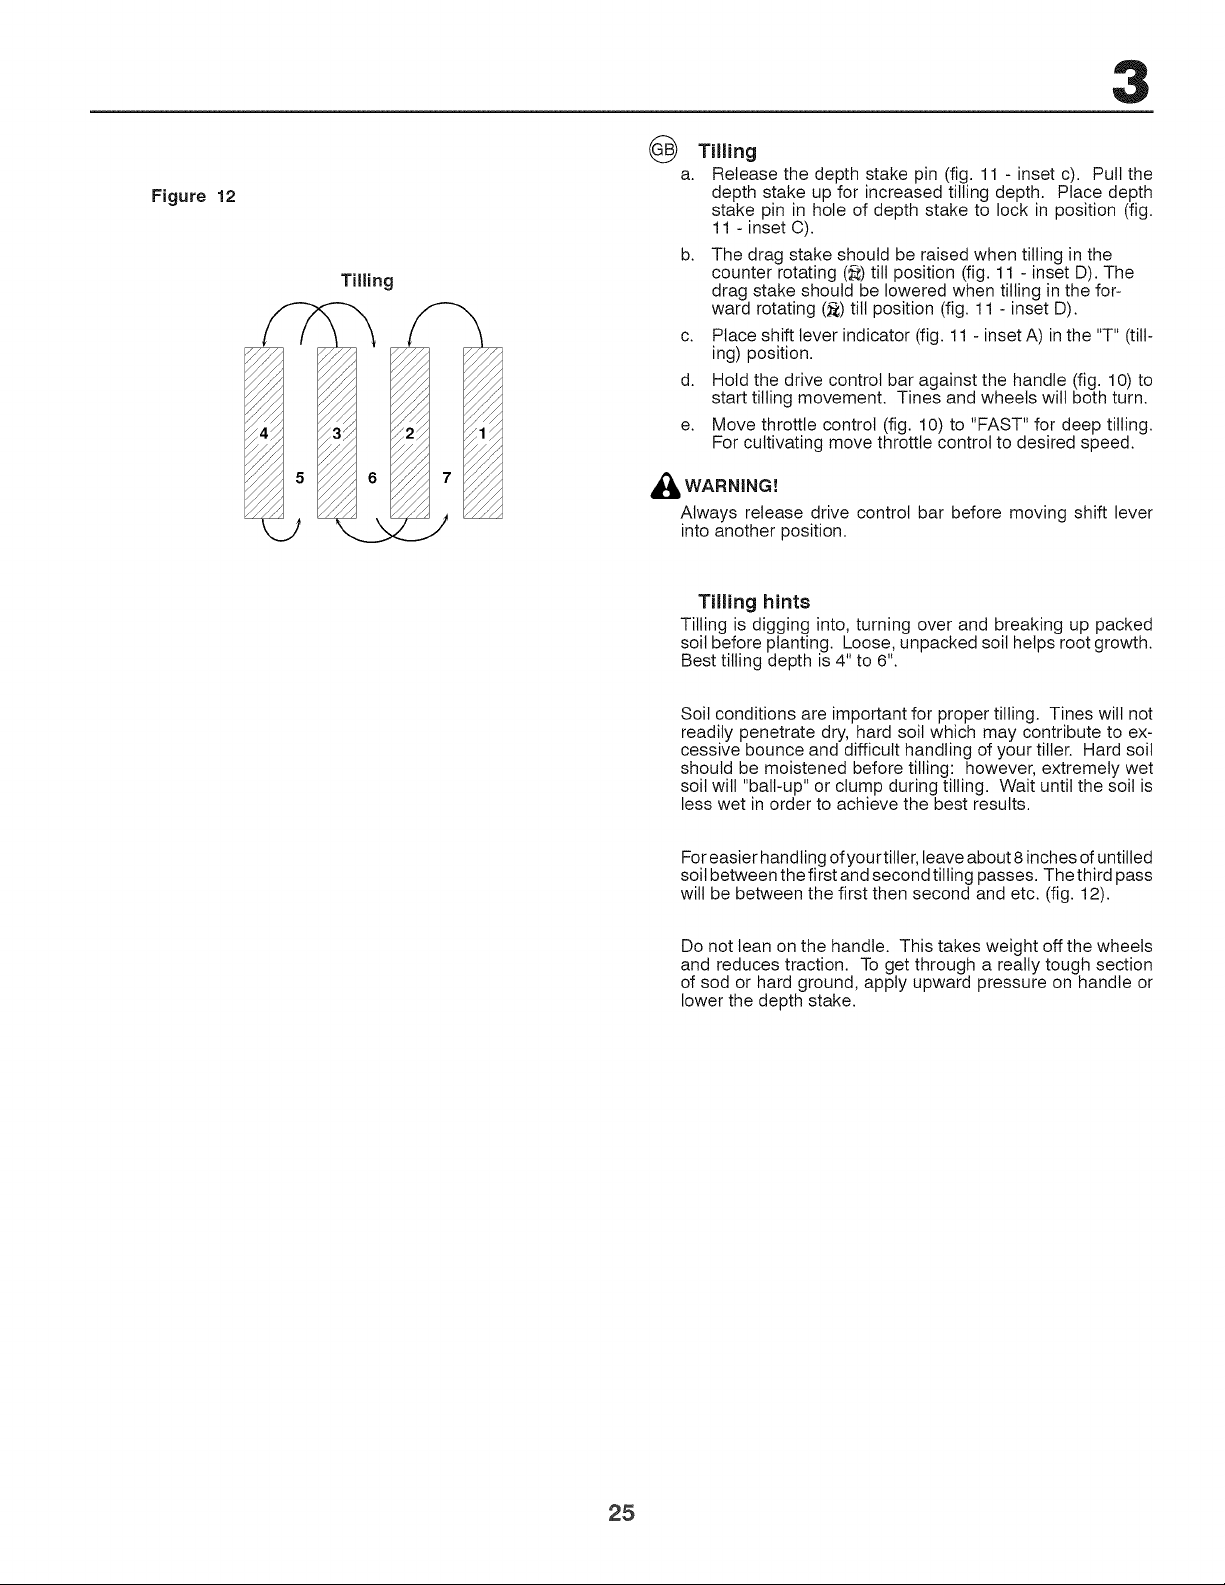
Figure 12
Tilling
Tilling
a. Release the depth stake pin (fig. 11 - inset c).
Pull the
depth stake up for increased tilling depth. Place depth
stake pin in hole of depth stake to lock in position (fig.
11 - inset C).
b. The drag stake should be raised when tilling in the
counter rotating (_,) till position (fig. 11 - inset D). The
drag stake should be lowered when tilling in the for-
ward rotating (_) till position (fig. 11 - inset D).
c. Place shift lever indicator (fig. 11 - inset A) in the "T" (till-
ing) position.
d. Hold the drive control bar against the handle (fig. 10) to
start tilling movement. Tines and wheels will both turn.
e. Move throttle control (fig. 10) to "FAST" for deep tilling.
For cultivating move throttle control to desired speed.
_IL WARNINGt
Always release drive control bar before moving shift lever
into another position.
Tilling hints
Tilling is digging into, turning over and breaking up packed
soil before planting. Loose, unpacked soil helps root growth.
Best tilling depth is 4" to 6".
Soil conditions are important for proper tilling. Tines will not
readily penetrate dry, hard soil which may contribute to ex-
cessive bounce and difficult handling of your tiller. Hard soil
should be moistened before tilling: however, extremely wet
soil will "ball-up" or clump during tilling. Wait until the soil is
less wet in order to achieve the best results.
For easier handling of your tiller, leave about 8 inches of untilled
soil between the first and second tilling passes. The third pass
will be between the first then second and etc. (fig. 12).
Do not lean on the handle. This takes weight off the wheels
and reduces traction. To get through a really tough section
of sod or hard ground, apply upward pressure on handle or
lower the depth stake.
25
Loading ...
Loading ...
Loading ...