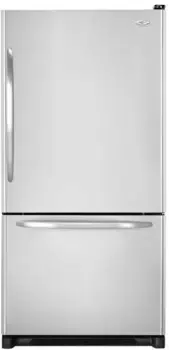
Loading ...
Loading ...
Loading ...
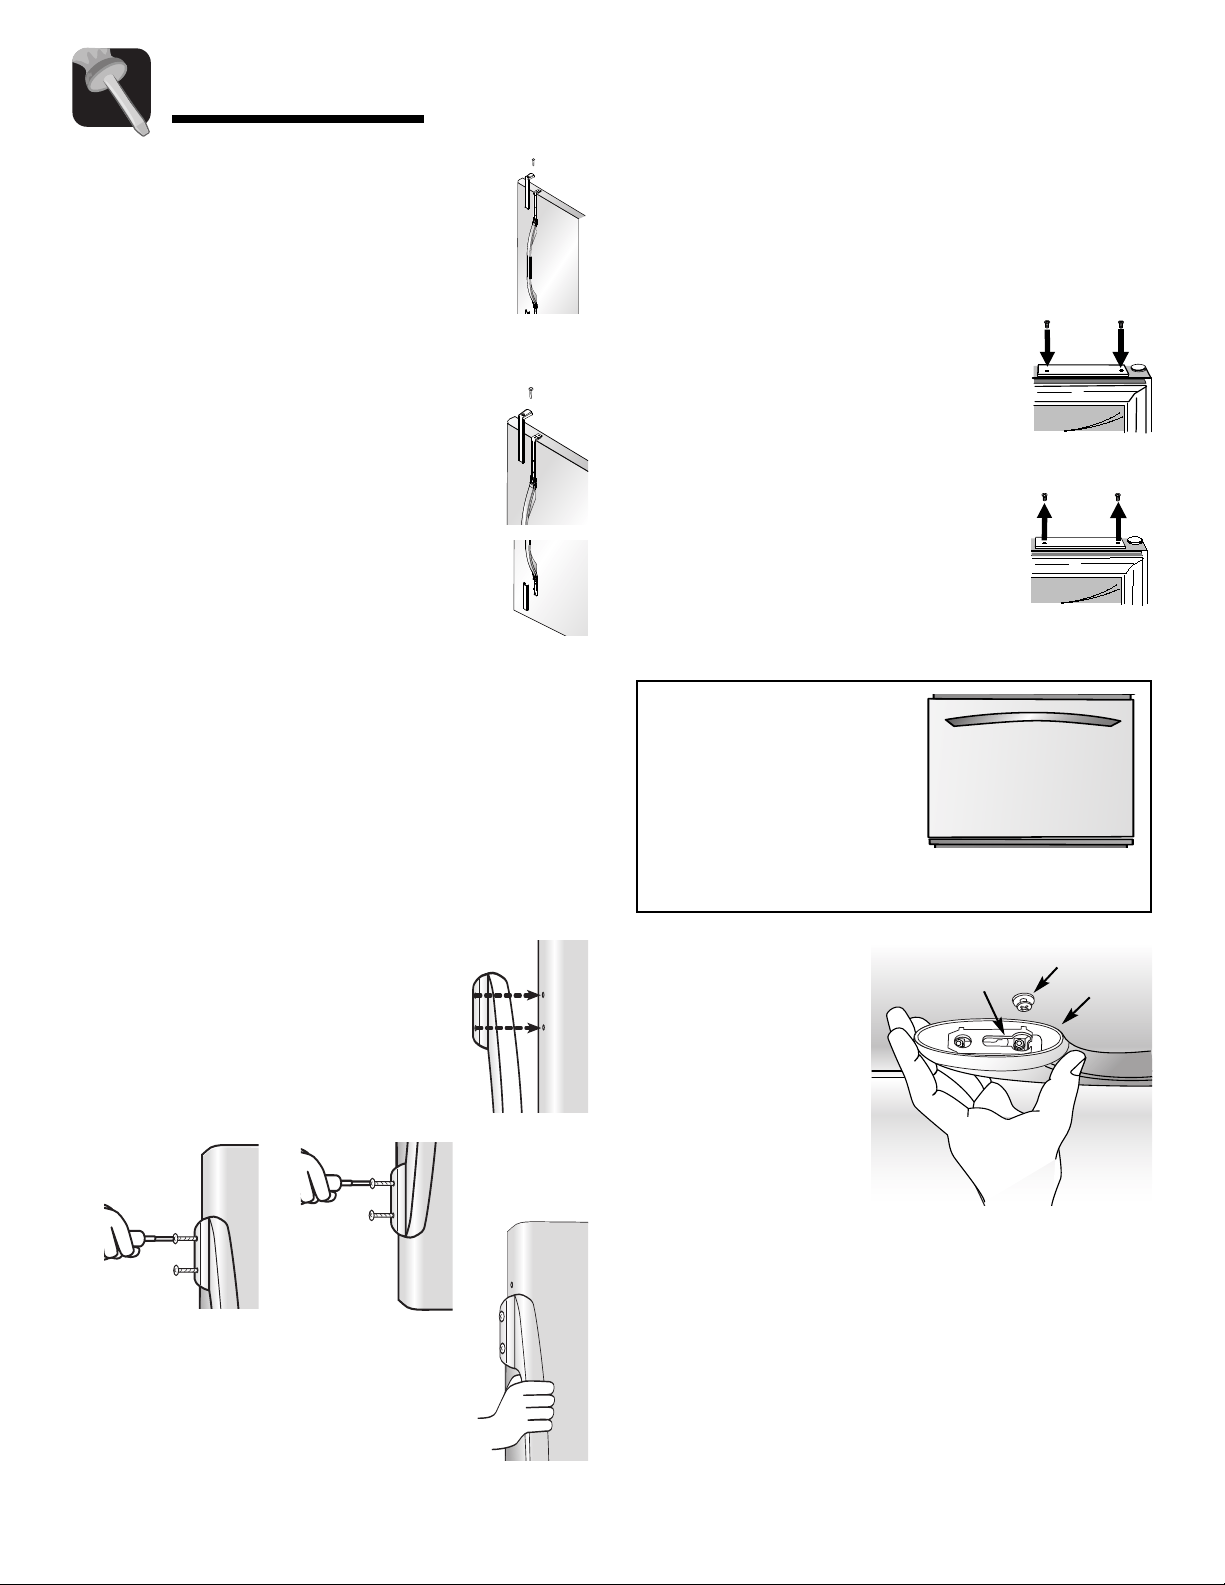
3. Locate handle trim in literature pack and
install over top and bottom of handle, as
illustrated.
• Secure top handle trim with remaining
screw removed in step 1.
• Snap bottom trim over bottom portion
of handle.
To Remove:
1. Remove top handle trim by removing top
handle screw.
• Retain trim and screw for later
replacement.
2. Pry bottom handle trim from handle with
screwdriver flat blade wrapped in
masking tape.
• Ret
ain trim for later replacement.
3. Remove two hex head screws.
• Retain screws for later replacement.
Side Mount Handle
Materials Needed:
• Phillips screwdriver
To Install:
1. Remove screws from the side of the
door.
2. Align the side mount handle with the
predrilled hole
s in the door panel.
3. Insert the screws in the sequence as
shown.
7
Installation
4. Ensure the door handle is snug to the
door panel.
To Remove:
Reverse inst
allation procedure.
Upper
Handle
Lower
Handle
1
3
2
4
Freezer Handles
Partial-Width Handle
Materials Needed:
• Phillips screwdriver
To Install:
1. Install handle by fastening with
screws removed from edge of door.
• If reversing freezer door, remove
door plugs from top edge of door
and insert into screw holes.
To Remove:
1. Remove handle screws with Phillips
screwdriver and retain screws for
later use.
Notes:
• There is a slight curve to
this style of freezer
handle.
• For proper installation, be
sure handle is oriented as
shown.
Front Mount Plastic Freezer Handle
To Install:
1.
Align door handle
clips to the studs
attached to the
freezer door
.
2.
Ensure the large
hole in the
mounting clip is
positioned to the
right on both ends
of the handle.
3. Rotate the handle so that the handle is flat against
the door.
4. Grasp the handle firmly and slide handle to the
right.
To Remove:
1. With both hands, firmly grasp the handle toward
the right side.
2. Slide toward the
left, lift and remove from the
surface.
Handle
Clip
Handle
Base
Door Stud
Loading ...
Loading ...
Loading ...