Loading ...
Loading ...
Loading ...
4.1 Overall cleaning
Dusts behind the refrigerator and on the ground shall be timely cleaned to improve the cooling effect and
energy saving.
fect and
Check the door gasket regularly to make sure there are no debris. Clean the door gasket with a soft cloth
dampened with soapy water or diluted detergent.
The interior of the refrigerator should be cleaned regularly to avoid odor.
Please turn off the power before cleaning interior, remove all foods, drinks ,shelves, drawers, etc.
Please unplug the refrigerator for defrost and cleaning.
.
Use a soft cloth or sponge to clean the inside of the refrigerator, with two tablespoons of baking soda and
a quart of warm water. Then rinse with water and wipe clean. After cleaning, open the door and let it dry
naturally before turning on the power.
For areas that are difficult to clean in the refrigerator (such as narrow sandwiches, gaps or corners), it is
recommended to wipe them regularly with a soft rag, soft brush, etc. and when necessary, combined with
some auxiliary tools (such as thin sticks) to ensure no contaminants or bacterials accumulation in these
areas.
Do not use soap, detergent, scrub powder, spray cleaner, etc., as these may cause odors in the interior
of the refrigerator or contaminated food.
Wipe the outer surface of the refrigerator with a soft cloth dampened with soapy water, detergent, etc.,
and then wipe dry.
Do not use hard brushes, clean steel balls, wire brushes, abrasives
(such as toothpastes), organic solvents (such as alcohol, acetone,
banana oil, etc.), boiling water, acid or alkaline items, which may
damage the fridge surface and interior. Boiling water and organic
solvents such as benzene may deform or damage plastic parts.
Do not rinse directly with water or other liquids during cleaning to
avoid short circuits or affect electrical insulation after immersion.
Clean the bottle frame, shelves and drawers with a soft cloth dampened with soapy water or diluted
detergent. Dry with a soft cloth or dry naturally.
Cleaning of door tray
(The picture above is only for reference. The actual configuration will depend on
the physical product or statement by the distributor)
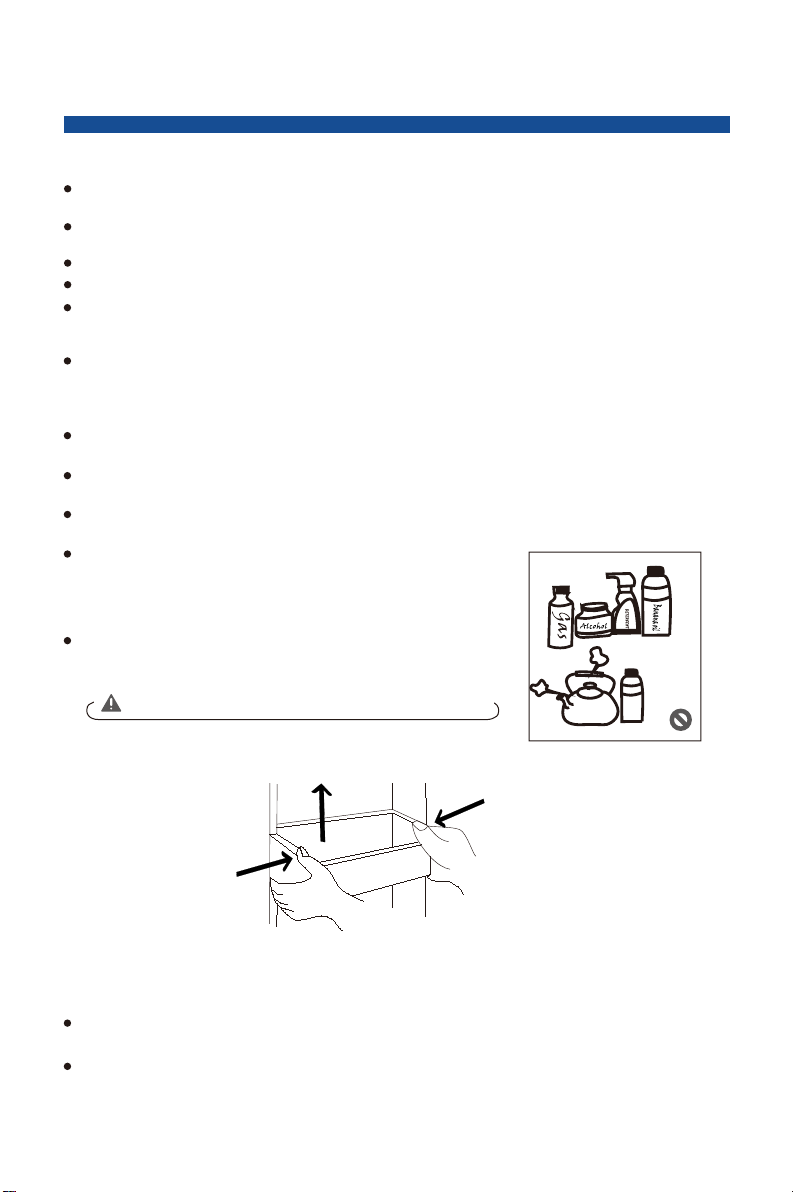
4.2
According to the direction arrow in the figure below, use both hands to squeeze the tray,
and push it upward, then you can take it out.
After washing the tray having been taken out, you can adjust its installing height
in accordance with your requirement.
21
4. MAINTENANCE AND CARE OF THE REFRIGERATORS
Loading ...
Loading ...
Loading ...