Loading ...
Loading ...
Loading ...
9 — English
WARNING:
Make sure the latch on the bottom of the battery pack
snaps in place and the battery pack is fully seated and
secure in the battery port before beginning operation.
Failure to securely seat the battery pack could cause the
battery pack to fall out, resulting in serious personal injury.
Lower the battery cover.
NOTE: This product has four active battery ports, two ports
on the left (PAIR A) and two ports on the right (PAIR B). To
use the blower there must be at least two 40V batteries on
either the left side (PAIR A) or the right side (PAIR B). For
optimal performance, install four 40V battery packs of 4Ah
or greater is recommended. If only one battery is installed on
either the left or the right side, that battery will not provide
power to the unit.
To remove battery packs:
Raise the battery cover.
Press and hold the battery latch button at the bottom of
the battery pack.
Remove battery pack from the snow blower.
WARNING:
To avoid serious personal injury, always remove the bat-
tery pack when moving or transporting the tool.
For complete battery use and charging instructions, see the
operator’s manuals for your battery pack and charger.
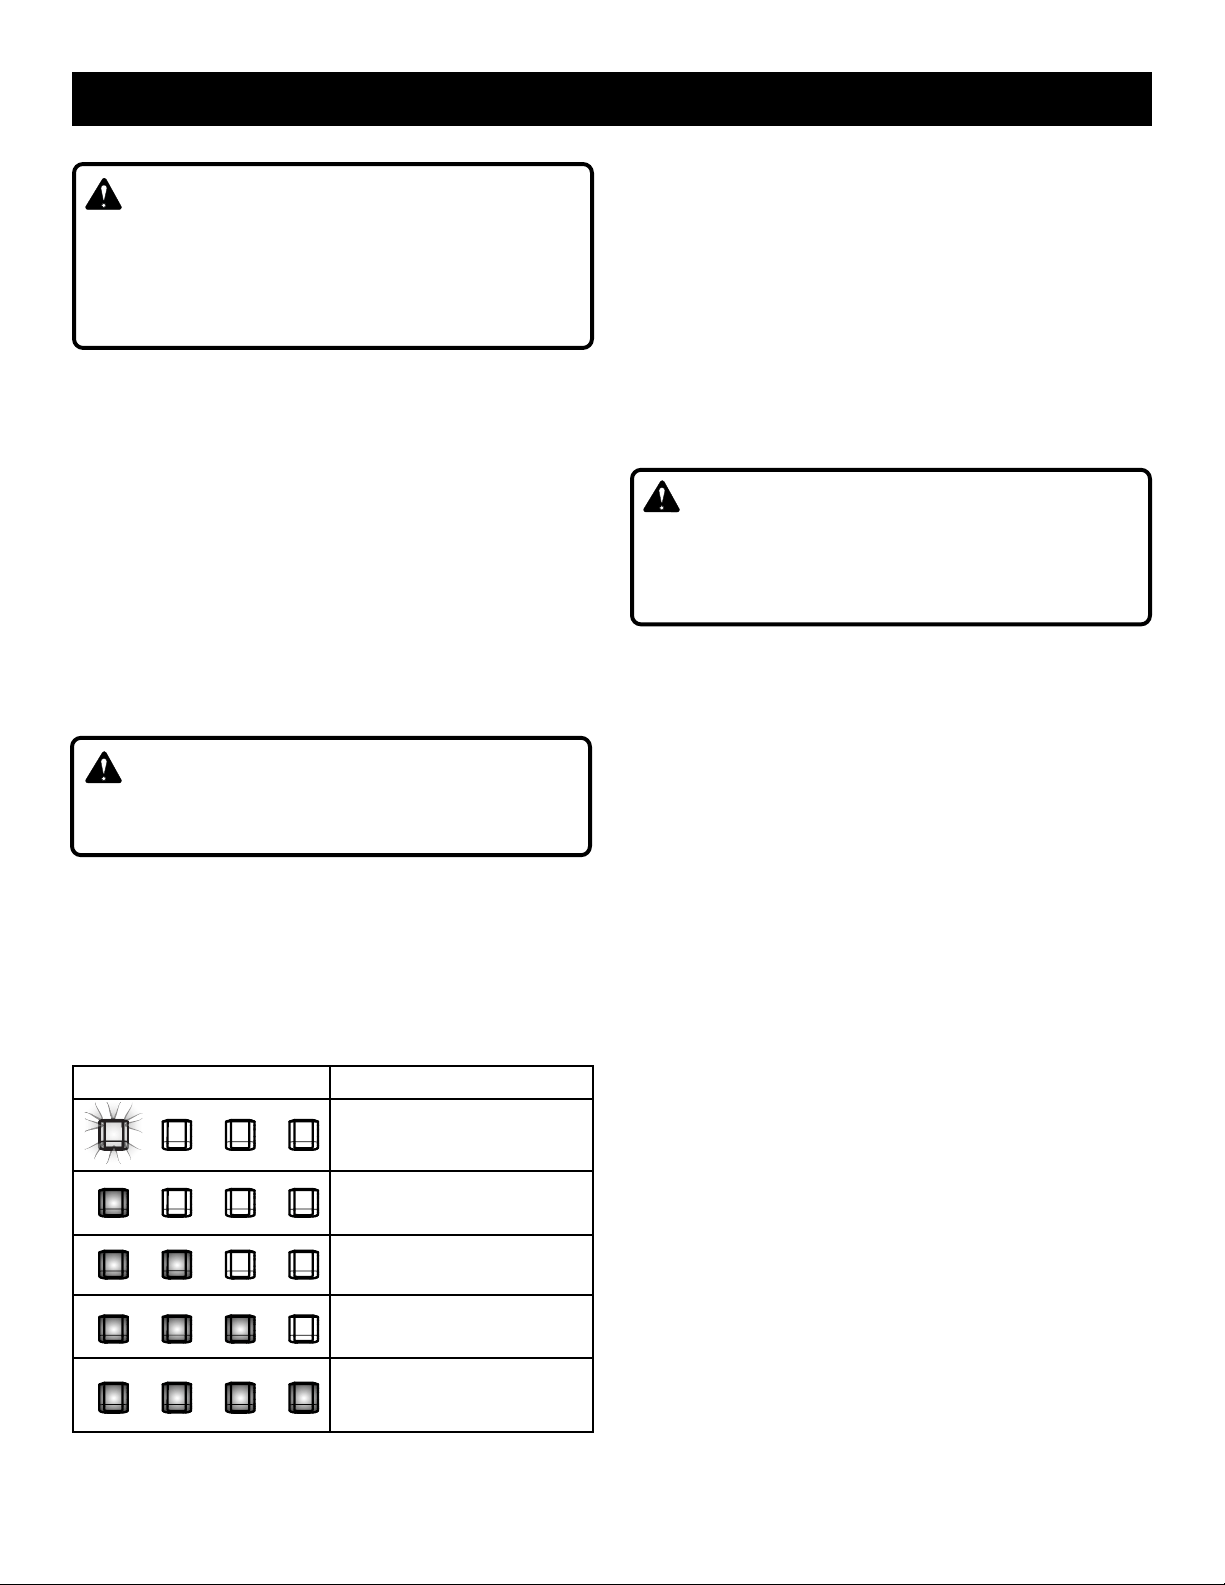
BATTERY FUEL GAUGES
See Figure 7.
The fuel gauges display the amount of charge left in the
batteries on the left (PAIR A) and the batteries on the right
(PAIR B).
LED FUNCTIONS CHARGE STATUS
0 - 10%
10 - 25%
25 - 50%
50 - 75%
75 - 100%
OPERATION
HEATED HANDLE GRIPS
See Figures 7 - 8.
To activate the heating elements, press the hand warmer
button. To deactivate the heating elements, press the but-
ton again.
NOTE: If the hand warmer button is pressed while the snow
blower is stopped or if the snow blower is turned off, the
heating elements will remain active for approximately one
minute then shut off automatically.
STARTING/STOPPING THE AUGER
See Figures 7 - 8.
WARNING:
Never engage the auger when transporting the snow
blower from one location to another. Only engage the
auger when you are ready to throw snow. Failure to follow
these instructions can result in serious personal injury.
Install battery packs as previously described.
Press and hold the start button. Squeeze auger paddle
and release the start button when the auger starts.
To stop the auger, release the auger paddle.
To adjust the speed of the auger:
Push the auger speed control lever forward to increase
the speed of the auger.
Pull the auger speed control lever rearward to decrease
the speed of the auger.
SELF-PROPELLED OPERATION
(AUGER STOPPED)
See Figures 7 - 8.
The self-propelled feature can be used without engaging
the auger to power the blower from one location to another.
Install battery packs as previously described.
Squeeze the self-propel paddle.
To disengage the self-propelled feature, release the self-
propel paddle.
To adjust the speed and direction of movement:
Push the drive speed control lever forward to increase
the movement speed.
Pull the drive speed control lever rearward to decrease
the speed.
For reverse, pull the drive speed control lever fully rear-
ward.
Loading ...
Loading ...
Loading ...