Loading ...
Loading ...
Loading ...
Automatic raceand
Water Dispenser
(continued)
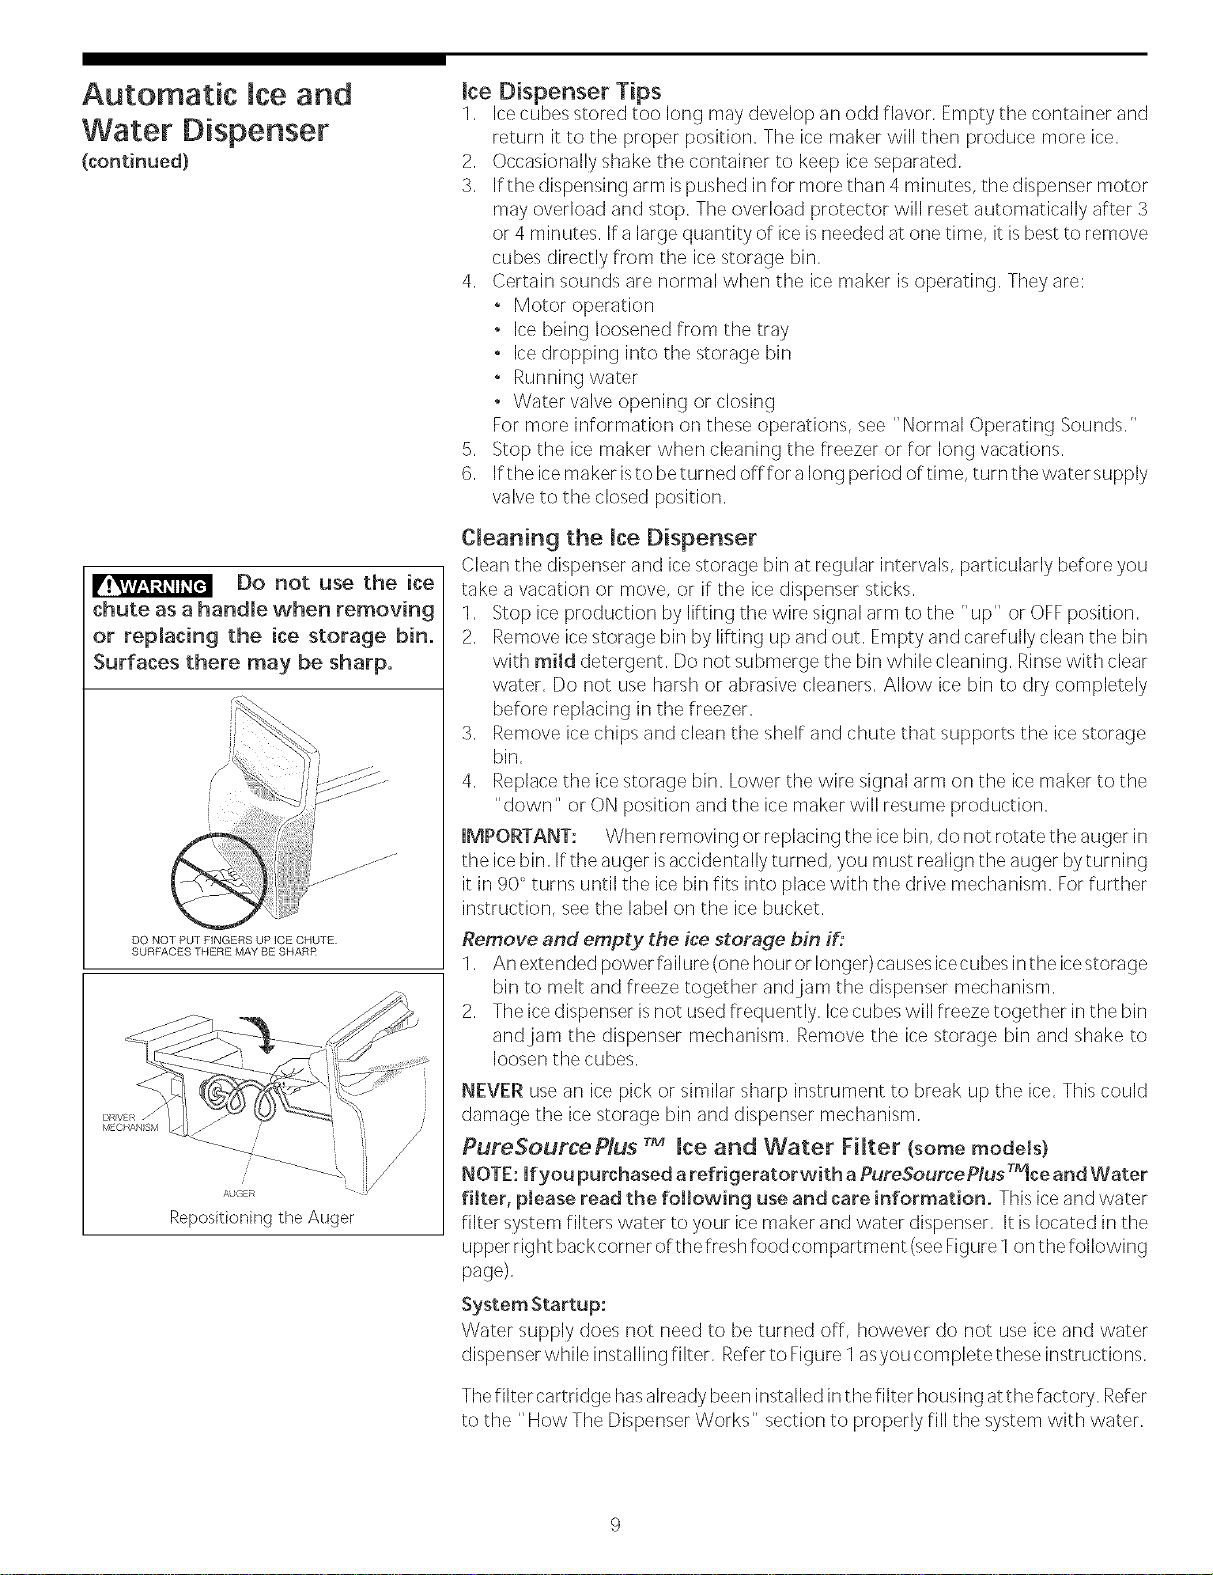
Do not use the ice
chute as a handle when removing
or replacing the ice storage bin.
Surfaces there may be sharp.
/
DO NOT PUT FINGERS UP ICE CHUTE
SURFACES ]-HERE MAY BE SHARR
ASGER
Repositioning the Auger
Ice Dispenser Tips
1. Icecubes stored too long may,develop an odd flavor. Empty the container and
return it to the proper position. The ice maker will then produce more ice.
2. Occasionally shake the container to keep iceseparated.
3. If the dispensing arm ispushed in for more than 4 minutes, the dispenser motor
may overload and stop. The overload protector will reset automatically after 3
or 4 minutes. If a large quantity of iceisneeded at one time, it isbest to remove
cubes directly from the ice storage bin.
4. Certain sounds are normal when the ice maker is operating. They,are:
, Motor operation
, Icebeing loosened from the tray
o Ice dropping into the storage bin
o Running water
o Water valve opening or closing
For more information or] these operations, see "Normal Operating Sounds."
5. Stop the ice maker when cleaning the freezer or for long vacations.
6. If the icemaker isto beturned off for along period of time, turn thewatersupply
valve to the closed position.
Cleaning the Ice Dispenser
Clean the dispenser and icestorage bin at regular intervals, particularly before you
take a vacation or move, or if the ice dispenser sticks.
1. Stop ice production by lifting the wire signal arm to the "up" or OFFposition.
2. Remove ice storage bin by,lifting up and out. Empty and carefully clean the bin
with miId detergent. Do not submerge the bin while cleaning. Rinsewith clear
water. Do not use harsh or abrasive cleaners. Allow ice bin to dry completely
before replacing in the freezer.
3. Remove ice chips and clean the shelf and chute that supports the icestorage
bin.
4. Replace the icestorage bin. Lower the wire signal arm on the icemaker to the
"down" or ON position and the ice maker will resume production.
IMPORTANT: When removing or replacing the icebin, do not rotate the auger in
the ice bin, If the auger isaccidentally turned, you must realign the auger byturning
it in 90' turns until the ice bin fits into place with the drive mechanism, Forfurther
instruction, seethe label or] the ice bucket,
Remove and empty the ice storage bin if:
1. An extended power failure (one hour or longer)causes icecubes inthe icestorage
bin to melt and freeze together andjam the dispenser mechanism,
2, The icedispenser isnot usedfrequently, Icecubes will freeze together in the bin
and jam the dispenser mechanism, Remove the ice storage bin and shake to
looser] the cubes,
NEVER use an ice pick or similar sharp instrument to break up the ice. This could
damage the ice storage bin and dispenser mechanism,
PureSourcePlus TM Ice and Water Filter (some models)
NOTE: If you purchased a refrigerator with a PureSourcePlusT_ce and Water
filter, please read the following use and care information, This iceand water
filter system filters water to your ice maker and water dispenser, It islocated in the
upper rig ht backcorner of the freshfood corn partment (seeFigure1on the following
page).
System Startup:
Water supply does not need to be turned off, however do not use ice and water
dispenser while installing filter. Referto Figure 1asyou completethese instructions.
Thefilter cartridge hasalready been installed in the filter housing atthe factory, Refer
to the "How The Dispenser Works" section to properly fill the system with water,
Loading ...
Loading ...
Loading ...