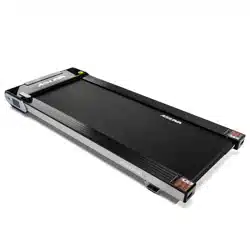
SUNNY TreadPad
SF-
T7970
USER MANUAL
IMPORTANT! Please retain owner’s manual for maintenance and adjustment instructions. Your
satisfaction is very important to us, PLEASE DO NOT RETURN UNTIL YOU HAVE CONTACTED
US: [email protected] or 1- 877 - 90SUNNY (877-907-8669).

1
IMPORTANT NOTE:
The belt must be lubricated before the first use! Please see Page 11 for instructions on how to
properly apply lubricant.
IMPORTANT SAFETY INFORMATION
We thank you for choosing our product. To ensure your safety and health, please use this equipment
correctly. It is important to read this entire manual before assembling and using the equipment. Safe
and effective use can only be achieved if the equipment is assembled, maintained, and used
properly. It is your responsibility to ensure that all users of the equipment are informed of all warnings
and precautions.
1. Before starting any exercise program, you should consult your physician to determine if you have
any medical or physical conditions that could put your health and safety at risk or prevent you
from using the equipment properly. Your physician’s advice is essential if you are taking
medication that affects your heart rate, blood pressure, or cholesterol level.
2. Be aware of your body’s signals. Incorrect or excessive exercise can damage your health. Stop
exercising if you experience any of the following symptoms: pain, tightness in your chest,
irregular heartbeat, shortness of breath, lightheadedness, dizziness, or feelings of nausea. If you
do experience any of these conditions, you should consult your physician before continuing with
your exercise program.
3. Keep children and pets away from the equipment. The equipment is designed for adult use only.
4. Use the equipment on a solid, flat level surface with a protective cover for your floor or carpet.
To ensure safety, the equipment should have at least 8 feet (240 CM) of free space behind it and
2 feet (60 CM) on each side. Do not place the treadmill on any surface that blocks air openings.
To protect the floor or carpet from damage, place a mat under the treadmill.
5. Ensure that all nuts and bolts are securely tightened before using the equipment. The safety of
the equipment can only be maintained if it is regularly examined for damage and/or wear and
tear.
6. Always use the equipment as indicated. If you find any defective components while assembling
or checking the equipment, or if you hear any unusual noises coming from the equipment during
exercise, discontinue use of the equipment immediately and do not use until the problem has
been rectified.
7. Wear suitable clothing while using the equipment. Avoid wearing loose clothing that may become
entangled in the equipment.
8. Do not place fingers or objects into the moving parts of the equipment.
9. The maximum weight capacity of this unit is 220 pounds (100 KG).
10. The equipment is not suitable for therapeutic use.
11. To avoid bodily injury and/or damage to the product or property, proper lifting and moving are
required.
12. Your product is intended for use in cool and dry conditions. You should avoid storage in extreme
cold, hot or damp areas as this may lead to corrosion and other related problems.
13. This equipment is designed for indoor and home use only; it is not intended for commercial use.
14. When running, try to use shoes with rubber soles, otherwise there will be the possibility of static
electricity.

2
IMPORTANT OPERATING INSTRUCTIONS
1. Please use athletic shoes when using the SUNNY TreadPad.
2. Please do not stand up on the SUNNY TreadPad if it is recalibrating.
3. It is not recommended to use the SUNNY TreadPad on uneven surfaces.
4. Use caution when folding the SUNNY TreadPad to avoid injury.
5. Do not fold the SUNNY TreadPad if it is turned on.
6. Please pull out the power cord from the outlet when the SUNNY TreadPad is not in use.
7. Always face forward to prevent dizziness from occurring.
8. Never allow multiple users to operate the SUNNY TreadPad at the same time.
9. Please keep pets and children away from the SUNNY TreadPad.
10. Do not stand on the front end of the SUNNY TreadPad.
11. Minors must be accompanied by an adult while using the SUNNY TreadPad.
12. Running or walking sideways or backwards on the SUNNY TreadPad is prohibited.
13. Please do not use the SUNNY TreadPad if you are not within the age recommendations
or if you are pregnant.

3
EXPLODED DIAGRAM 1

4
EXPLODED DIAGRAM 2

5
PARTS LIST
No.
Description
Spec.
Qty.
No.
Description
Spec.
Qty.
1
Upright Post
2
32
Device Holder
1
2
Handrail
1
33
Upright Post Side
Cover
2
3
Wheel Support
2
34
Fastener
2
4
Side Trim Cover
Retainer
4
35
Side Trim Cover
Retainer
4
5
Connector Spacer
2
36
Display Seat
1
6
Foot Pad Support
2
37
Wheel
2
7
Motor Gasket
2
38
Bushing
2
8
Knob
2
39
Left Bottom
Protective Strip
1
9
Cylindrical Pin
Φ5.1*28
2
40
Right Bottom
Protective Strip
1
10
Cross Recessed
Countersunk Tapping
Screw
ST2.9*16
10
41
Side Strip
2
11
Front Aluminum Seat
1
42
Top Cover for Device
Holder
1
12
Handrail Seat
2
43
Display PC Film
1
13
Left Shaft Seat
1
44
PC Film
2
14
Right Shaft Seat
1
45
Rear Foot Pad
2
15
Rear Drum Left Support
1
46
Front Foot Pad
2
16
Rear Drum Right
Support
1
47
Motor Cushion
Supply
1
17
Motor Retainer
1
48
Rubber Cover for
Power
1
18
Left Aluminum
1
49
Rubber Hole Plug
3
19
Right Aluminum
1
50
Rubber Cushion for
Front Trim Cover
1
20
Cross Recessed
Countersunk Screw
M4*10 full
tooth
6
51
Motor Left Cushion
1
21
Motor Bottom Cover
1
52
Silicone Lanyard
1
22
Motor Upper Cover
1
53
Front Roller
Φ38
1
23
Motor Top Cover
1
54
Rear Roller
Φ38
1
24
Rear End Cover
1
55
Running Belt
2534*480
1
25
Side Trim Cover for Rear
End Cover
2
56
Running Board
1
26
Front Trim Cover
1
57
Multi Slot Belt
1
27
Side Trim Cover
2
58
Motor
Φ105, 1.0HP
1
28
Handrail Trim Cover
2
59
Side Strip Foam
2
29
Upright Post Trim Cover
2
60
Speaker Mesh
492*160
1
30
Upright Post Trim Strip
2
61
Speaker Mesh
Decorative Cord
2
31
Shaft Trim Cover
4
62
Cross Recessed
Countersunk Tapping
Screw
ST4.2*10
18

6
No.
Description
Spec.
Qty.
No.
Description
Spec.
Qty.
63
Hexagon Bolt
M8*1.25P*25
full tooth
2
82
Upper Control Board
1
64
Cross Recessed Pan
Screw
M1.6*10 full
tooth
2
83
Display Panel
1
65
PTFE Gasket
31*39*1.0
2
84
Lower Control Board
1
66
Safety Key Slot
1
85
Hexagon Socket
Cylindrical Head Bolt
M8*1.25P*4
2 full tooth
4
67
Safety Key
1
86
Three-piece Bolt
M6*1.0P*15
full tooth
22
68
Status Indicator
Connection Line
Length
350mm
1
87
Flat Cushion
Φ8.5*Φ16*1
.5
4
69
Middle Line for Safety
Key
Length
1020mm
1
88
Cross Recessed
Countersunk Head
Bolt
M6*12 full
tooth
8
70
Lower Line for Safety
Key
Length
570mm
1
89
Cross Recessed Pan
Head Bolt
M4*10 full
tooth
21
71
Communication Line
Length
150mm
1
90
Cross Recessed Pan
Head Bolt
M4*16 full
tooth
4
72
Cross Recessed
PanTapping Screw
ST2.9*10
6
91
Cross Recessed Pan
Tapping Screw
ST4.2*15
15
73
Speed Up Switch
Length
570mm
1
92
Cross Recessed Pan
Tapping Screw
ST6.0*20
7
74
Ground Wire
One-in two-
out head
180mm
1
93
Filter
JNT-10A-
T(031)
1
75
Connecting Line
between Socket and
Switch
120mm Red
1
94
Inductance
Φ24.9*Φ15.
2*12
1
76
Connecting Line
between Lower Control
and Switch
180mm Red
1
95
Music Box
4Ω5W
1
77
Connecting Line
between Socket and
Lower Control
260mm Black
1
96
Ground Wire
200mm
Yellow and
Green
1
78
Remote Control
1
97
Connecting Line
between Socket and
Filter
300mm
Black
1
79
Socket
1
98
Connecting Line
between Switch and
Filter
1
80
Overload Protection
Switch
K1-
N15B1A1A
K1-15A/250V
1
99
Filter Support Plate
1
81
Power Line
1.5m
1
7
Power Line
Safety Key
Battery
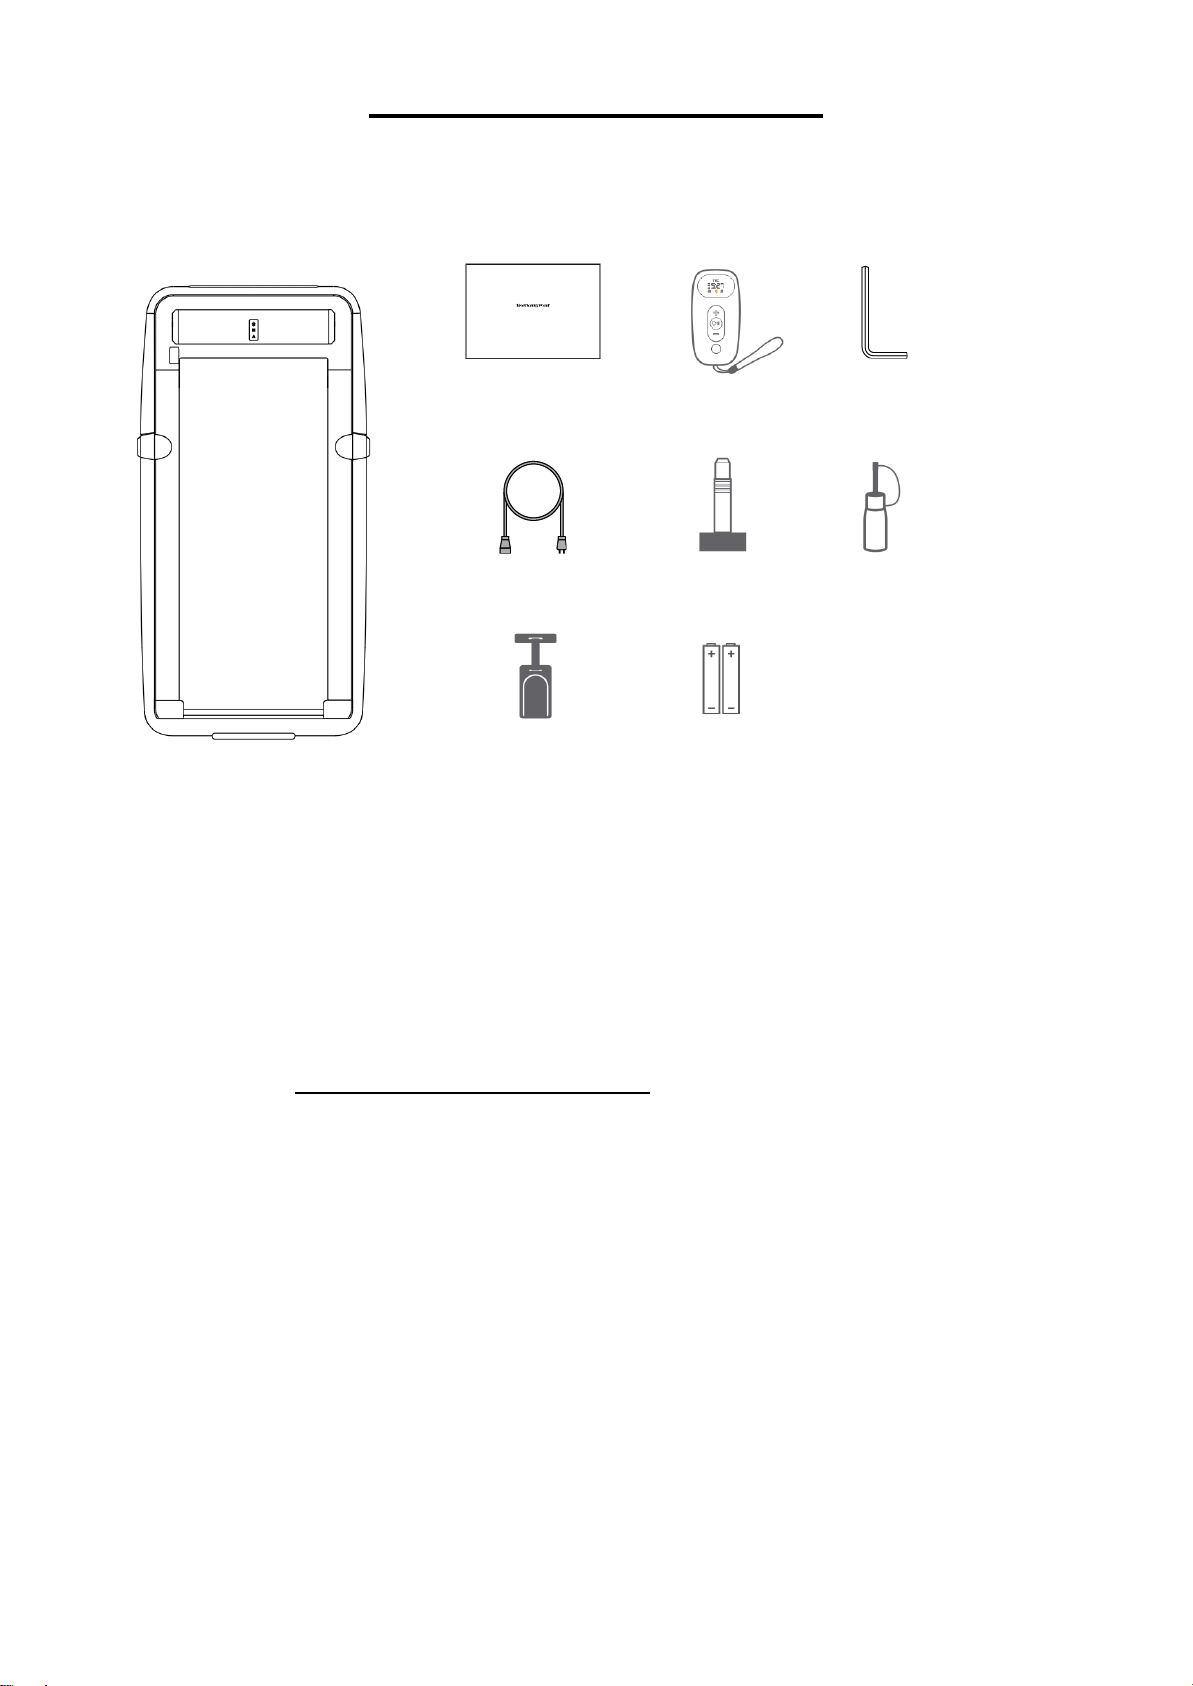
ASSEMBLY CONTENTS
WHEN OPENING THE CARTON, THE FOLLOWING PARTS CAN BE FOUND:
Main Product
Ordering Replacement Parts (U.S. and Canadian Customers only)
Please provide the following information in order for us to accurately identify the part(s) needed:
✓ The model number (found on cover of manual)
✓ The product name (found on cover of manual)
✓ The part name found on the “EXPLODED DIAGRAM” and “PARTS LIST” (found near the front of
the manual)
Please contact us at [email protected] or 1- 877 - 90SUNNY (877-907-8669).
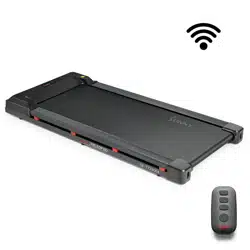
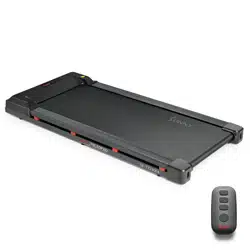
Remote Control
Knob
Allen Wrench
Silicone Oil
User Manual

8
ASSEMBLY INSTRUCTIONS
We value your experience using Sunny Health and Fitness products. For assistance with parts or
troubleshooting, please contact us at [email protected] or 1-877-90SUNNY (877-
907-8669).
STEP 1:
Place the SUNNY TreadPad on a flat
surface. It is not recommended to place the
Sunny TreadPad on a soft or uneven
surface.
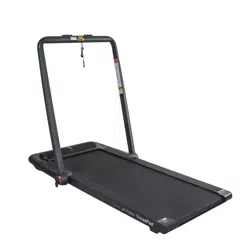
Turn the Handrail (No. 2) upwards.
STEP 2:
Take out 2 Knobs (No. 8) from the accessory
box, insert them into the bottom holes on the
2 Upright Posts (No. 1), and rotate clockwise
to tighten the 2 Upright Posts (No. 1).
STEP 3:
Take the Safety Key (No. 67) out of the
accessory box, insert it into the safety key slot
located in the middle of the Handrail (No. 2).
2
8 2PCS
1
8
2
67

9
We value your experience using Sunny Health and Fitness products. For assistance with parts or
troubleshooting, please contact us at [email protected] or 1-877-90SUNNY (877-
907-8669).
STEP 4:
Connect the SUNNY TreadPad to an appropriate
power supply.
STEP 6:
Align the hole and insert one end of Safety
Key (No. 67) into the Safety Key Slot (No.
66). Clip the other end of Safety Key (No. 67)
to your clothing.
NOTE: If the Remote Control (No. 78) is not
connected to the SUNNY TreadPad, please
resync the Remote Control (No. 78)
according to “REMOTE CONTROL PAIRING
METHOD” on Page 15.
The assembly is complete!
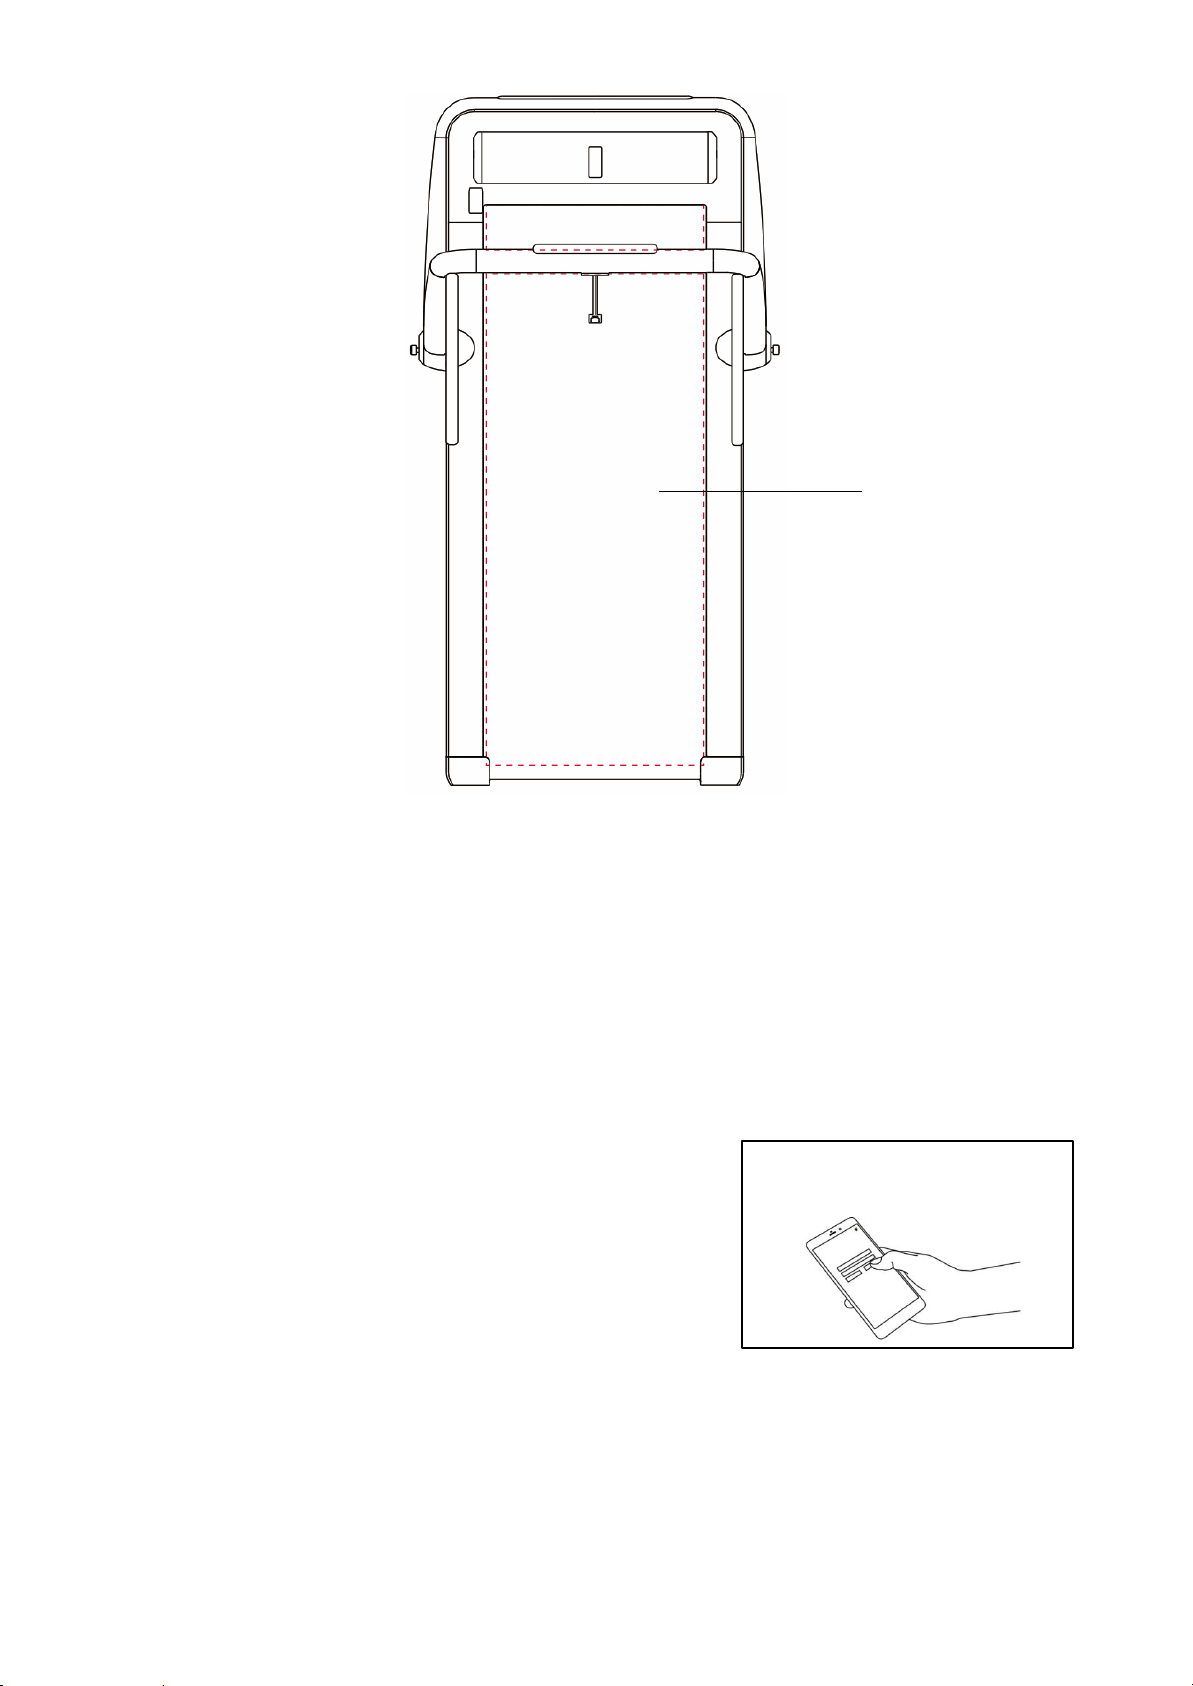
STEP 5:
Scan the QR barcode to directly locate the
SUNNY HEALTH & FITNESS App in the App
Store on your device. In order to scan the QR
Code, you must first download the QR
READER App on your device. Available in
both Apple App Store & Google Play Store.
Use the Remote Control (No. 78) to directly
skip 5 steps.
Open the APP to complete registration and
connect the device step by step.
67
66
10
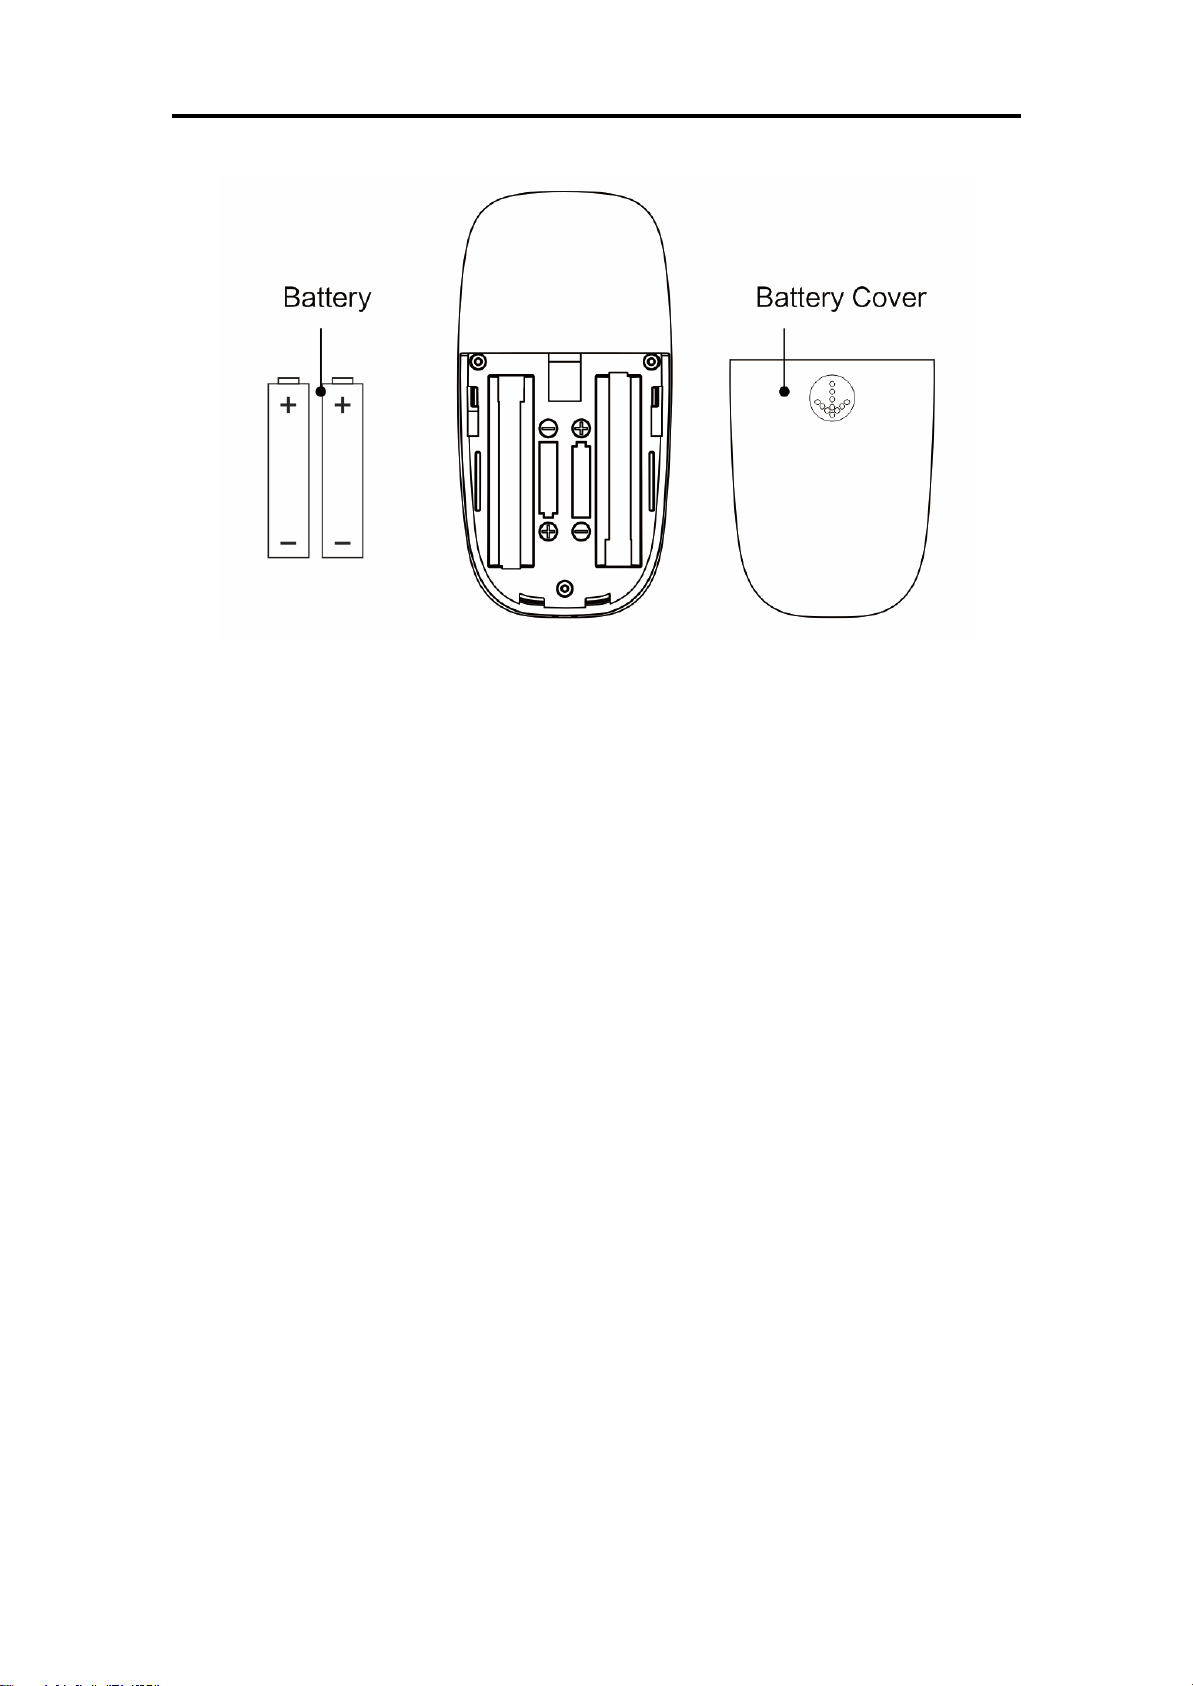
BATTERY INSTALLATION & REPLACEMENT
BATTERY INSTALLATION:
1. Remove the battery cover from the back of the Remote Control (No. 78).
2. Take out the 2 AAA batteries that are included inside the remote control box.
3. Install the 2 AAA batteries into the battery holder. Pay attention to the battery + and – ends before
installing.
4. Put the battery cover back.
The installation is complete!
BATTERY REPLACEMENT:
1. Remove the battery cover from the back of the Remote Control (No. 78).
2. Take out the 2 old AAA batteries inside of the Remote Control (No. 78).
3. Install the 2 new AAA batteries into the battery holder. Pay attention to the battery + and – ends
before installing.
4. Put the battery cover back.
The replacement is complete!
NOTE: Always change both batteries at the same time. Do not mix battery types and do not mix old
and new batteries. Dispose of batteries according to your state and regional guidelines.

11
MAINTENANCE & ADJUSTMENTS GUIDE
Cleaning the SUNNY TreadPad:
• Unplug the SUNNY TreadPad from the electrical source before you begin.
• Pour a small amount of gentle detergent on a cotton rag or towel. Do not pour the detergent on
the running belt directly and do not use acidic or corrosive cleaners.
• Wipe down the frame, motor encasement, and running belt. Do not wipe underneath the
running belt.
• After long periods of use, it is normal for dust to accumulate. Please wipe all dust off gently.
Adjusting the Running Belt:
• Start the SUNNY TreadPad and set the speed at 2.5 mi/h.
• If the running belt moves to the left: Turn the left adjusting screw half-turn clockwise.
• If the running belt moves to the right: Turn the right adjusting screw half-turn clockwise.
• If the running belt is slipping: Turn both left and right adjusting screws half-turn clockwise at
same time.
• Check if an adjustment is needed after using the SUNNY TreadPad for 1 to 2 minutes.
Lubricating the Running Belt:
• Unplug the SUNNY TreadPad from the electrical source before you begin.
• Lift up the running belt and apply the silicone lubricant underneath the surface of the running
belt.
• Power on the SUNNY TreadPad.
• Allow the Sunny TreadPad to operate at 2.5 mi/h for 10 to 20 seconds.
• Do not add more than 5 ml - 10 ml of lubricant. Excessive lubricate will cause the running belt
to slip.
• Apply silicone lubricant once every 3 months.

12
DISPLAY CONSOLE
KEY FUNCTIONS
MODE INSTRUCTIONS:
Standby Mode
Light for Standby Mode is on.
Motor and sensor stop responding.
Constant Speed Mode
Light for the fixed speed mode is on.
Control the speed through the remote control or APP.
Automatic Mode
Light from Automatic Mode is on.
Speed is automatically controlled.
STANDBY MODE:
In this mode, the SUNNY TreadPad stops responding to prevent non-users from triggering the
treadmill.
The SUNNY TreadPad will automatically go on standby and lock when not in use for more than 10
minutes. It can also be locked manually by pressing the MODE button for more than 2 seconds when
stopped and not in use. Press the START or MODE buttons for 2 seconds to unlock again.
CONSTANT SPEED MODE (PRIMARY MODE):
In this mode, the speed of the SUNNY TreadPad can be controlled by the Remote Control (No.
78). Beginners are advised to use the Constant Speed Mode first. Once adjusted to the SUNNY
TreadPad, Automatic Mode can be used. If the SUNNY TreadPad is not in use for more than 30
seconds, it will stop automatically in this mode.
When the Handrail (No. 2) is opened, the maximum speed is 7.5mi/h which is suitable for running.
Plug in the Safety Key (No. 67), and press the START button on the Remote Control (No. 78) or
in the APP.
When the Handrail (No. 2) is closed, the maximum speed is 3.75mi/h which is suitable for walking.
You can start the SUNNY TreadPad by pressing the START button on the Remote Control (No.
78) or in the APP.

13
AUTOMATIC MODE:
This mode is an advanced mode with a higher running level, and can be completely separated from
the Remote Control (No. 78) after starting. This mode is recommended for users with better
coordination or experience in using this SUNNY TreadPad.
When the Handrail (No. 2) is opened, the maximum speed is 5mi/h which is suitable for running.
Plug in the Safety Key (No. 67), and press the START button on the Remote Control (No. 78) or
in the APP.
When the Handrail (No. 2) is closed, the maximum speed is 3.75mi/h which is suitable for walking.
You can start the SUNNY TreadPad by pressing the START button on the Remote Control (No.
78) or in the APP.
14
In Automatic Mode, the SUNNY TreadPad will accelerate until the speed is consistent with the
running pace frequency of the user. When the stride length slows down, the SUNNY TreadPad’s
speed will gradually slow down until its speed is consistent with the stride of the user. When the
speed decreases to less than 1.5mi/h, the SUNNY TreadPad will stop automatically.
Note: Automatic acceleration and deceleration on the SUNNY TreadPad is a process of learning
and adaptation. Some users may not adapt to it at first, but this will become easier after frequent
use of the SUNNY TreadPad.
BLUETOOTH FUNCTION:
Connect to Speaker:
Open your device’s Bluetooth and search for a device named
SUNNY. Next, click on the device’s name to connect. When
it’s connected, you can play music from your device through
the SUNNY TreadPad’s speaker.
SAFETY LOCK FUNCTION:
Removing the Safety Key (No. 67) from the Handrail (No. 2) will stop the SUNNY TreadPad
immediately. Once the SUNNY TreadPad reaches a full stop, the Remote Control (No. 78) will
show “SAFE” and the SUNNY TreadPad will beep. To start the SUNNY TreadPad again, insert the
Safety Key (No. 67) into the Safety Key Slot (No. 66) on the handrail. Press the START button on
the Remote Control (No. 78) or in the APP.
Running area
SUNNY Connect

15
SPECIFICATIONS
Performance & Indicators
Detail Parameters
Expansion Dimensions
58.2'' x 31.2'' x 41.7''
Folding Dimensions
60.2" x 31.2" x 5.5"
Running Belt
47" x 18.9"
Gross Weight
89 LBS
Net Weight
77LBS
Maximum Load
220 LBS/100 KG
Recommended Age Range
14-60 years old
Applicable Height
Unlimited
Minimum Speed
0.5 mi/h
Maximum Speed
7.5 mi/h
Power Input
700W
Rated Voltage
110-120V~
Sport Mode
Standby mode/ Constant speed mode/Automatic mode
IMPORTANT NOTE:
REMOTE CONTROL NOTICE:
If the Remote Control (No. 78) does not activate the SUNNY TreadPad, or you have changed to a
replacement remote, the Remote Control (No. 78) and SUNNY TreadPad will need to be paired.
REMOTE CONTROL PAIRING METHOD:
Restart the SUNNY TreadPad. Press and hold down the MODE button on the Remote Control (No.
78) immediately for about 3 seconds. Hearing a "Beep" indicates that the pairing is successful.
During the pairing, the Remote Control (No. 78) should be as close to the SUNNY TreadPad as
possible.
ERROR CODES:
When the SUNNY TreadPad is running normally, error codes will not display. When an error occurs,
the Remote Control (No. 78) will display one of the following error codes:
Error code
Code meaning
When reporting an error, please cut off the power
supply for more than 10 seconds and restart. If the
code no longer appears, continue to use normally. If
the code continues to appear, please contact
customer service.
E01
Software Overload
E02
Hardware Overload
E03
IPM too hot
E04
Low-Voltage
E05
Over-Voltage
E06
Motor Phase-Lack Issues
E07
Motor Shaft Lock
E08
The Motor Failed
E09
Motor Overload
E10
Overload
E11
No Hall Signal
E12
Communication Error

16
IMPORTANT ELECTRICAL INFORMATION
IMPORTANT NOTE: This SUNNY TreadPad requires a power source of 110 Volts in order to
properly operate. For your safety, as well as the safety of others, please verify that the power source
is correct before powering the SUNNY TreadPad. Any power supply source above or below this
level could cause significant damage to the SUNNY TreadPad and/or user.
GROUNDING METHODS:
This SUNNY TreadPad must be grounded. Should the SUNNY TreadPad malfunction or breakdown,
grounding provides a path of least resistance for electric current to reduce the risk of electric shock.
This SUNNY TreadPad is equipped with a plug that has an equipment-grounding conductor and a
grounding plug. The plug must be plugged into an appropriate outlet that is properly installed and
grounded in accordance with all local codes and ordinances.
CAUTION:
Improper connection of the SUNNY TreadPad can result in risk of electric shock. Check with a
qualified electrician or serviceman if you are unsure whether the SUNNY TreadPad has been
properly grounded. Do not modify the plug provided with this SUNNY TreadPad. If it will not fit the
outlet, have a proper outlet installed by a qualified electrician. Ensure that the SUNNY TreadPad is
connected to an outlet with the same configuration as the plug. Do not use an adaptor for this
SUNNY TreadPad.
WARNING!
1. NEVER use a ground fault circuit interrupt (GFCI) outlet with this SUNNY TreadPad. Route the
power cord away from all moving parts of the SUNNY TreadPad, including the Air Pressure
Cylinder and transportation wheels.
2. NEVER operate the SUNNY TreadPad using a generator or UPS power supply.
3. NEVER remove any cover on this treadmill without first disconnecting the power cord.
4. NEVER expose the SUNNY TreadPad to rain or moisture. This SUNNY TreadPad is not
designed for outdoor use or use in any high humidity environment.

17
Caution: The user is cautioned that changes or modifications not expressly approved by the party
responsible for compliance could void the user's authority to operate the equipment.
This device complies with Part 15 of the FCC Rules. Operation is subject to the following two
conditions: (1) this device may not cause harmful interference, and (2) this device must accept any
interference received, including interference that may cause undesired operation.
NOTE: This equipment has been tested and found to comply with the limits for a Class B digital
device, pursuant to Part 15 of the FCC Rules. These limits are designed to provide reasonable
protection against harmful interference in a residential installation. This equipment generates, uses
and can radiate radio frequency energy and, if not installed and used in accordance with the
instructions, may cause harmful interference to radio communications. However, there is no
guarantee that interference will not occur in a particular installation.
If this equipment does cause harmful interference to radio or television reception, which can be
determined by turning the equipment off and on, the user is encouraged to try to correct the
interference by one or more of the following measures:
-- Reorient or relocate the receiving antenna.
-- Increase the separation between the equipment and receiver.
-- Connect the equipment into an outlet on a circuit different from that to which the receiver is
connected.
-- Consult the dealer or an experienced radio/TV technician for help.
FCC Radiation Exposure Statement
This equipment complies with FCC radiation exposure limits set forth for an uncontrolled
environment. This equipment should be installed and operated with a minimum distance of 20cm
between the radiator and your body.
This transmitter must not be co-located or operating in conjunction with any other antenna or
transmitter.
Version:1.1

18