Loading ...
Loading ...
Loading ...
Basic Operations
11English
(DDX9907XR / DDX9707S / DMX957XR only)
5 Touch [Display Adjustment].
6 Adjust a viewing angle and a tilt position.
7 Touch [
].
For details, see Display Adjustment
( P.12).
(DMX907S / DMX9707S only)
5 Touch [Viewing Angle].
6 Select a viewing angle.
7 Touch [
].
For details, see Viewing Angle (P.13).
For details, see Display Setup (P.84).
■ [Camera]
Set the parameters for the camera.
1 Touch [Camera].
2 Set each item and touch [
].
For details, see Camera Setup (P.76).
■ [OEM SETUP]
This function requires a commercial adaptor.
Consult your KENWOOD dealer for details.
■ [DEMO]
Set the demonstration mode. Default is “ON”.
2
Touch [Finish].
NOTE
• These settings can be made from the SETUP
menu. See Setup (P.81).
Calendar/clock settings
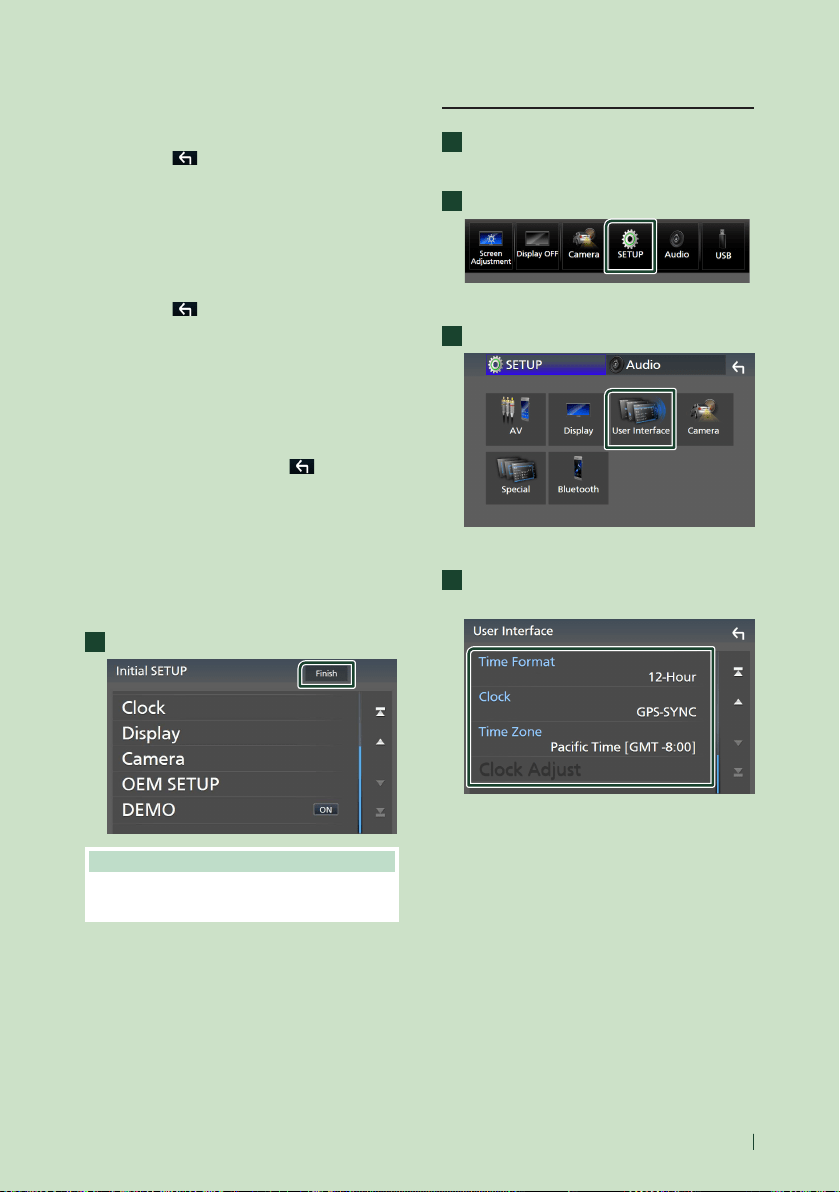
1
Press the [MENU] button.
Popup menu appears.
2
Touch [SETUP].
SETUP Menu screen appears.
3
Touch [User Interface].
User Interface screen appears.
4
Set each item as follows.
Scroll the page to show hidden items.
■ [Time Format]
Select the time display format.
[12-Hour ](Default)/24-Hour]
■ [Clock]
[GPS-SYNC ](Default): Synchronizes the clock
time with the GPS.
[Manual]: Set the clock manually.
■ [Time Zone]
Select the time zone.
■ [Clock Adjust]
If you select [Manual] for Clock, adjust the
date and time manually. ( P. 83)
Loading ...
Loading ...
Loading ...