Loading ...
Loading ...
Loading ...
5
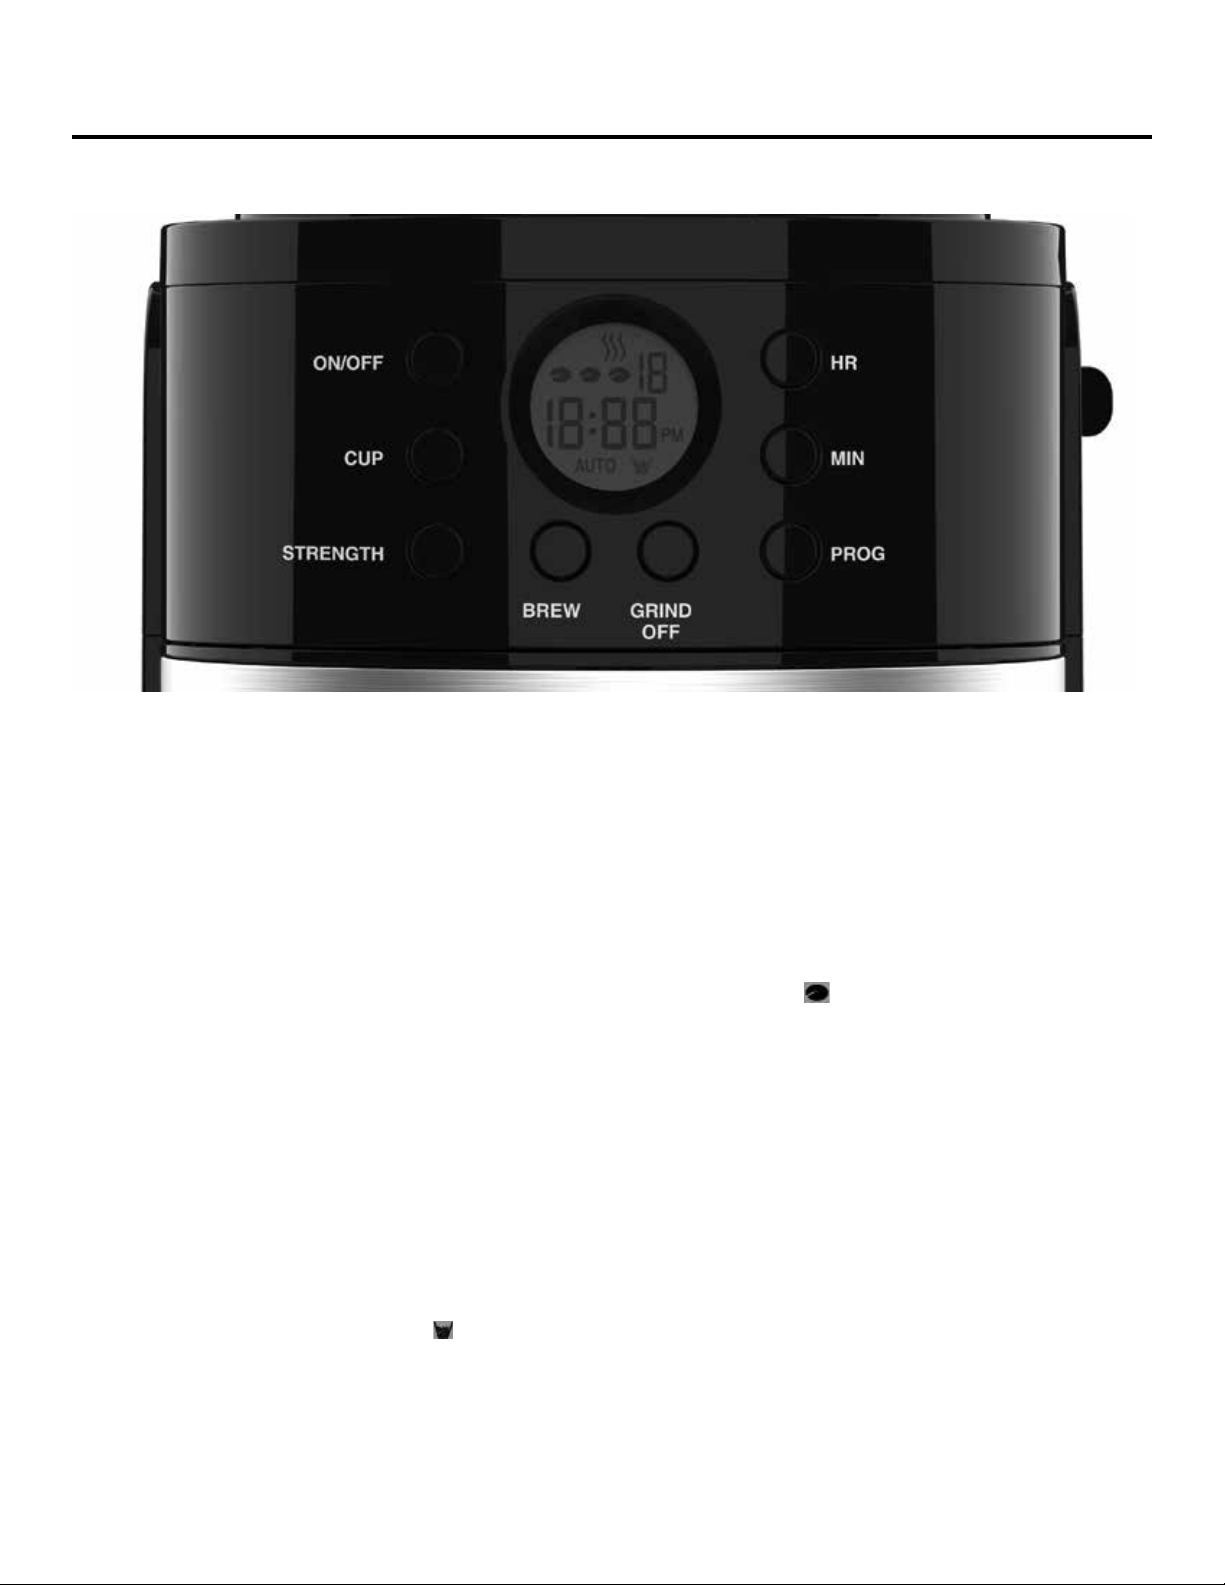
The Control Panel
ON/OFF Button: Once the appliance is plugged in, press to turn the appliance on or off.
CUP Button: Press to set the number of cups of coffee you are brewing. The number at the top right of the display
panel will show the number of cups of coffee you select. Use the markings on the Water Tank Window to ensure that
the water you add to the Water Tank matches the number of cups of coffee being brewed.
STRENGTH Button: Press to set the strength of the coffee you are brewing. The icons on the display panel will
illuminate to show the selected coffee strength level (1–3).
PROG Button: Press and then use the HR Button and MIN Button to set a time to start brewing coffee. The coffee’s
digital clock must be set before attempting to program a delayed brew time (see the “Setting a Delay Timer” section).
When the delay timer is set, the “AUTO” icon will illuminate on the display panel.
HR Button: Press to adjust the appliance’s digital clock hour setting. The “PM” icon will illuminate on the display panel
to indicate that the digital clock is being set after 12 pm. After pressing the PROG Button, press to adjust the hour
setting of the brew time.
MIN Button: Press to adjust the appliance’s digital clock minute setting. After pressing the PROG Button, press to ad-
just the minute setting of the brew time.
GRIND OFF Button: Press to disable the grind function during the brewing process (use with pre-ground coffee).
When the grind setting is disabled, the icon will disappear.
BREW Button: Press to start brewing coffee.
Loading ...
Loading ...
Loading ...