Loading ...
Loading ...
Loading ...
1514
EN
ENGLISH
Using the machine for the rst time
Unbox the coffee machine and remove packaging and any other
items that are not part of the product (labels, ties, etc.). (Fig. 1)
Clean the coffee machine with a damp sponge or cloth. (Fig. 2)
Run your machine for the rst time without coffee, i.e.
by just adding water to the tank (B) up to the maximum
level indicated.
BREWING COFFEE
1. Place the machine on a solid, at surface. Connect the appliance to
a 120 V~ electrical outlet. (Fig. 3)
2. Fill the water tank with cold water to desired water level (Max 60 oz).
(Fig. 4-6)
Note: Do not exceed the Max line (60 oz) when brewing into
coffee pot. Doing so could cause coffee maker to overow.
3. Place the coffee pot (J) with its lid on the warming plate (G).
CAUTION: Make sure the coffee pot is correctly placed on the
warming plate before starting the brew cycle. If the coffee pot
is not correctly positioned on the warming plate, hot water or
coffee could overow from the appliance.
4. Place lter holder (E) correctly in the coffee machine, then put
permanent lter (D) in the correct position. (Fig. 7–8)
A Lid
B Water tank
C Measuring spoon
D Permanent filter
E Filter holder
F Holder of the filter holder
G Warming plate
H Coffee pot lid
I Flavortube
J Coffee pot
K PROG (Timer programming)
L HOUR
M MIN (Minute)
N STRENGTH (Coffee strength)
O START/PAUSE
5. Add the desired amount of ground coffee directly into the lter,
then close the top cover (A). The amount of coffee to use will vary
depending on the desired strength and taste. (Fig. 9)
6. Press the START/PAUSE button (O); an LED light will come on. The
appliance will start the brew cycle and coffee will pass through the
avortube (I), providing a balanced coffee in each cup. (Fig. 10)
During the brew cycle, only the START/PAUSE button (O) will work.
7. The cycle can be interrupted at any time by pressing the START/
PAUSE button (O); the LED will turn off.
8. When the brew cycle has nished, the unit will beep. Wait a few
minutes for the rest of the coffee to nish dripping into the coffee
pot (J) before removing it. (Fig. 11)
9. The coffee maker automatically goes to Keep Warm function after
the brew cycle and the “Time since brew” display will appear on
the LCD screen. Default keep warm time is 2 hours after coffee
brewing has nished. The keep-warm time can be adjusted, see
“Setting the Keep Warm Time” section (p. 17) for more information.
Note: You can end the keep warm time any time by pressing the
“START/PAUSE” button (O). The LED light and the appliance will turn
off. Wait a few minutes before making a second pot of coffee.
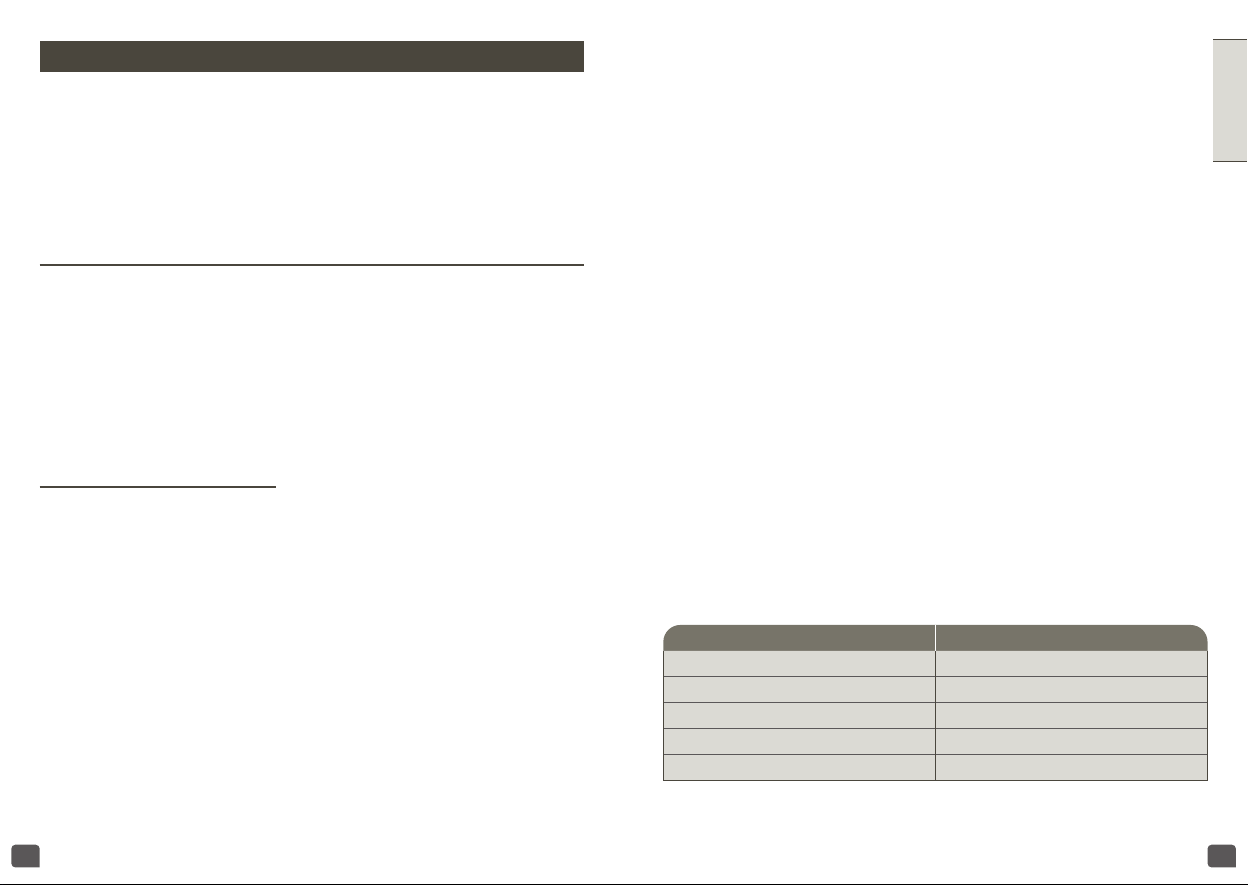
USEFUL INFORMATION AND TIPS
The amount of coffee prepared will be less than the volume of
water you lled the tank with, as the ground coffee and lter
partially absorb it.
Approximate cups of coffee Approximate amount of water ( oz)
4 20
6 30
8 40
10 50
12 60
DESCRIPTION
Loading ...
Loading ...
Loading ...