ASSEMBLY & INSTRUCTION MANUAL
INcjh038_US
824-050V80
120V~60Hz 45W
IMPORTANT, RETAIN FOR FUTURE REFERENCE: READ CAREFULLY

READ CAREFULLY BEFORE ATTEMPTING TO ASSEMBLE, INSTALL,
OPERATE OR MAINTAIN THE PRODUCT DESCRIBED. PROTECT YOURSELF
AND.OTHER BY OBSERVING ALL SAFETY INFORMATION. FAILURE TO
COMPLY WITH INSTRUCTIONS COULD RESULT IN PERSONAL INJURY
AND/OR PROPERTY DAMAGE!
IMPORTANT SAFETY INFORMATION
1. Read all instructions carefully before using the FAN.
2. Use this FAN only as described in this manual. Any other
use not recommended by the manufacturer may cause fire,
electrical shock, or injury to persons.
3. Remove the package and ensure that the FAN is
undamaged. In case of doubt do not use FAN and contact
with your supplier.
4. Don not let children play parts of package.
5. Before use the FAN, check if the voltage marked on the
rating label corresponds to the mains in your home.
6. Extreme caution is necessary when the FAN is used by or
near children or Invalids and whenever the FAN is left
operating unattended.
7. Avoid using extension cord as the extension cord may
overheat and cause a risk of fire.
8. Do not pull the power cord to disconnect with power source.
Always grasp the plug to pull out.
9. Do not insert any objects into the FAN as it may cause an
electric shock or injure or damage to the FAN. Do not block
or tamper with the FAN in any manner while it is in
operation.
10. Do not leave the FAN unattended. Always unplug FAN when
not in use.
11. This FAN is not intended for use in wet or damp locations.
Never locate a FAN where it may fall into a bathtub or other
water container.
1

12. Do not use FAN outdoors.
13. Disconnect the fan from the mains power when not in use,
and before servicing or performing any maintenance.
14. Keep the fan clean and maintain in good condition (use an
authorized service agent).
15. Use recommended parts only (non genuine parts may be
dangerous, and will invalidate your warranty).
16. When not in use store in a safe, dry, childproof location.
17. This appliance can be used by children aged from 8 years
and above and persons with reduced physical, sensory or
mental capabilities or lack of experience and knowledge if
they have been given supervision or instruction concerning
use of the appliance in a safe way and understand the
hazards involved. Children shall not play with the appliance.
Cleaning and user maintenance shall not be made by
children without supervision.
18. The back housing shall not dismantle, removal will be
dangerous .
19. This appliance is not intended for use by persons (including
children) with reduced physical, sensory or mental
capabilities, or lack of experience and knowledge, unless
they have been given supervision or instruction concerning
use of the appliance by a person responsible for their safety.
20. Children should be supervised to ensure that they do not
play with the appliance.
WARNING :
The Main Power Switch and the On/Off
switch should not be used as the sole
means of disconnecting power. Always
unplug the power cord before servicing or
moving the unit.
2

WARNING :
To avoid danger of electric shock, unplug
from outlet when not in use and before
cleaning. If the supply cord is damaged, it
must be replaced by the manufactory or it’s
service agent or a similarity qualified
person in order to avoid a hazard.
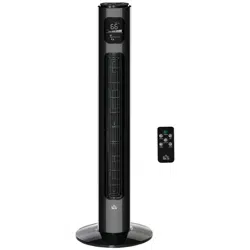
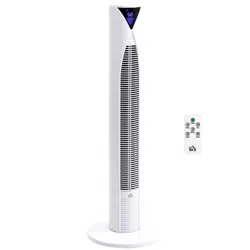
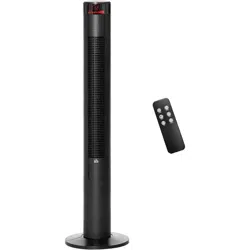
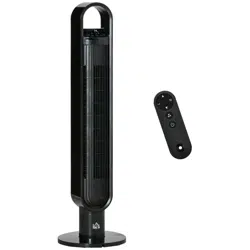
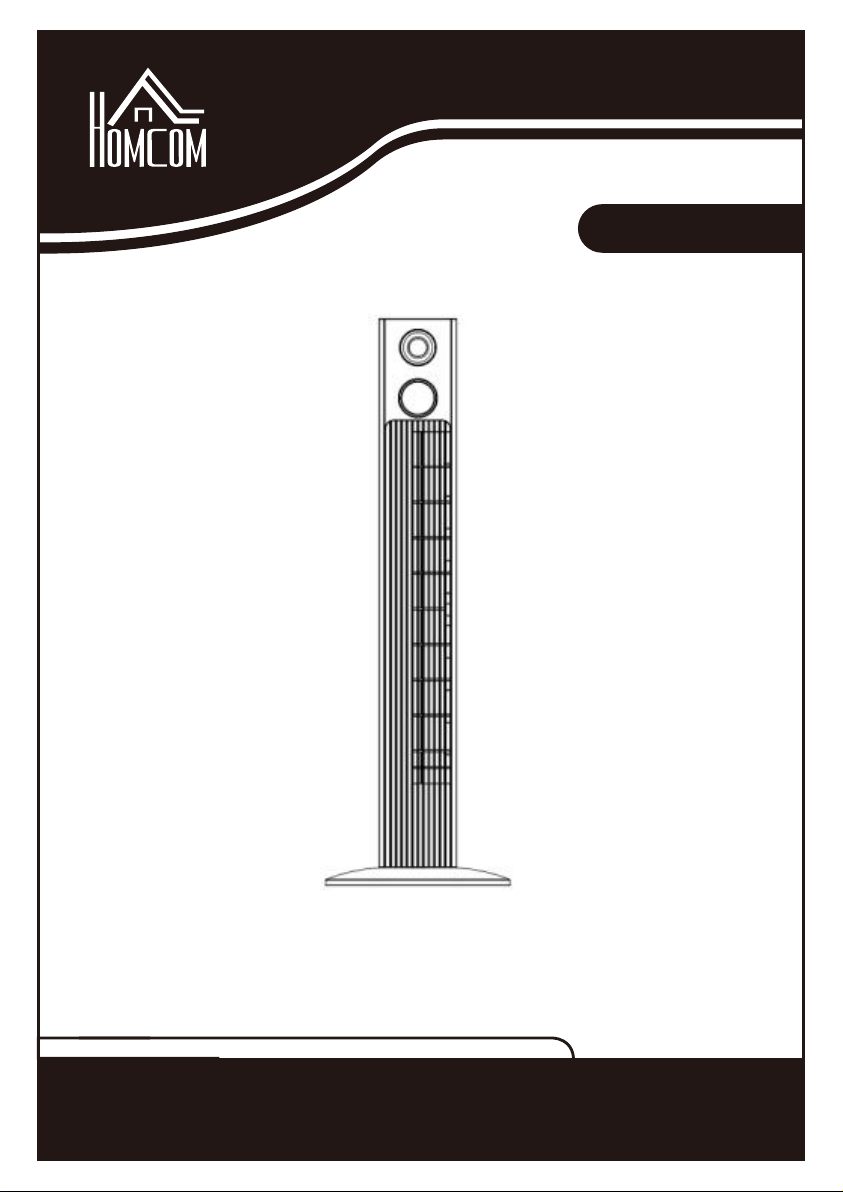
PARTS NAME
ASSEMBLY
The base of the tower fan comes in two parts, which fit around the oscillation
base. Both parts fit easily together. The back half is the one with cut-outs for
the power supply cord.
1. First attach the front half of the base, aligning the holes in base with the
screw holes in the oscillation base, and leading the power cord through
the centre hole.
2. Then snap the back half of the base to the front half and secure with the
four screws (supplied)
3. Thread the power supply cord through the two cut-outs at the bottom of
the base.. (shown in Fig 1)
3

(Fig 1 )
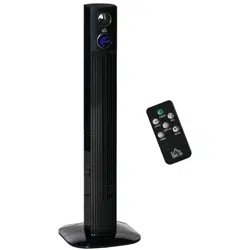
REMOTE CONTROL
1.Included a button cell battery (the type of battery CR2025).
2.The Remote Control Power button is labeled as such. All the functions
performed with the Remote Control work identicall y to the Manual
Controls.( Fig 2)
( Fig 2) ( Fig 3)
4
MO DE
PO WE R
TI ME R
OS C

OPERATION
The FAN may be operated by the manual controls located on the FAN (as
shown in Fig 3) or by your remote control (shown in Fig 2) .
1. Place the FAN on a stable flat surface. Plug the cord set into a 120V~
electrical outlet.Plug on the FAN, existing room temperature will be
displayed at display panel.
2. POWER : Turn the FAN on by pressing the ‘POWER’ button; Turn the
FAN off by pressing the ‘POWER’ button again.
3. SPEED : You can adjust the fan speed to the desired level: low,
medium, or high by pressing ‘SPEED’ . The speed setting is displayed on
the LED panel (shown in Fig 4).
4. MODE : Pressing the ‘MODE’ button will set the FAN into NORMAL,
NATURAL, and SLEEP mode .
- NORMAL Mode : Fan will start work at any speed you set up.
- NATURAL Mode :Fan will start work at low speed(5s)→medium
speed(5s)→high speed(5s)→medium speed(5s), it works as per this recycle.
- SLEEP Mode : 1) If you set the mode at high speed, fan will work at
high speed at 30 mins, then transfer to medium speed at 30 mins and
transfer to low speed until fan stop working. 2)If you set the mode at medium
speed, fan will work at medium speed at 30 mins, then transfer to low speed
until fan stop working. 3)If you set the mode at low speed, fan will work at
low speed until fan stop working. The LED Display will turn off if you don’t
control the fan in 30 seconds, touch any button to turn on the display.
5. TIMER : The fan is equipped with a timer that allows you to set it's
length of operation from 1 hour to 12 hours.The LED Display will turn off if
5

you don’t control the fan in 30 seconds, touch any button to turn on the
display.
6. OSC : Pressing the ‘OSC’ button will start and stop the oscillation
function. The symbol is displayed on the LED panel.
( Fig 4) ( Fig 5)
7. Display : Can be switched off temporarily by press the LED button
on the remote or by pressing and holding the SPEED button on the control
panel for more than 3 seconds, the display will light up again once any
control button is activated.
8. Aroma box: The aroma box is located at the top back side of fan, if you
want to use it, please drop some aroma into the box. (shown in Fig 5).
Note:
When the current temperature is between 0-99℉, the display temperature
will show the current temperature.
When the current temperature is higher than 99℉, the display temperature
will show 99.
When the current temperature is lower than 0℉ or temperature censor has
problem(short circuit or broken circuit), the display temperature will show 00.
Aroma box
6

MAINTENANCE
1. T his can only be done by an authorized service agent such as your local
Sealer dealer or any agent qu alified to undertake electrical repairs.
2. If the unit requires external cleaning make sure it is switched off and
unplugged from the mains supply. Use a soft tissue or cloth for general
cleaning. To remove more persistent dirt or grime wipe down with a cloth that
has been dampened with warm soapy water. Do not use any solvents ( such
as thinners ) as these m ay damage
the plastic casing.
USER SERVICING INSTRUCTIONS
Instructions concerning how to physically replace the fuse:
a. Grasp plug and remove from the receptacle or other outlet de vice. Do
not unplug by pulling on cord.
b. Slide open f use access cover on top of attachment plug towards blades。
c. Remove fuse carefully.
d. Risk of fire. Replace fuse only with 2.5 Amp, 125 Volt fuse.
e. Slide closed the fuse access cover on top of attachment plug.
CAUTION: Do not attempt to replace the plug itself. Discard the product
entirely if the plug itself is damaged.
1. When you replace the fuse,please don ’t operate suddenly or overexert, or
else the product will be damage or caus e accident.
2. When you feel it hard to be operat ed,please make sure you have got the
right way.
3. Keep all plastic bags away from children.
7
Fuse
Fuse cover