RHHV1001 Revision 6
Operating Manual
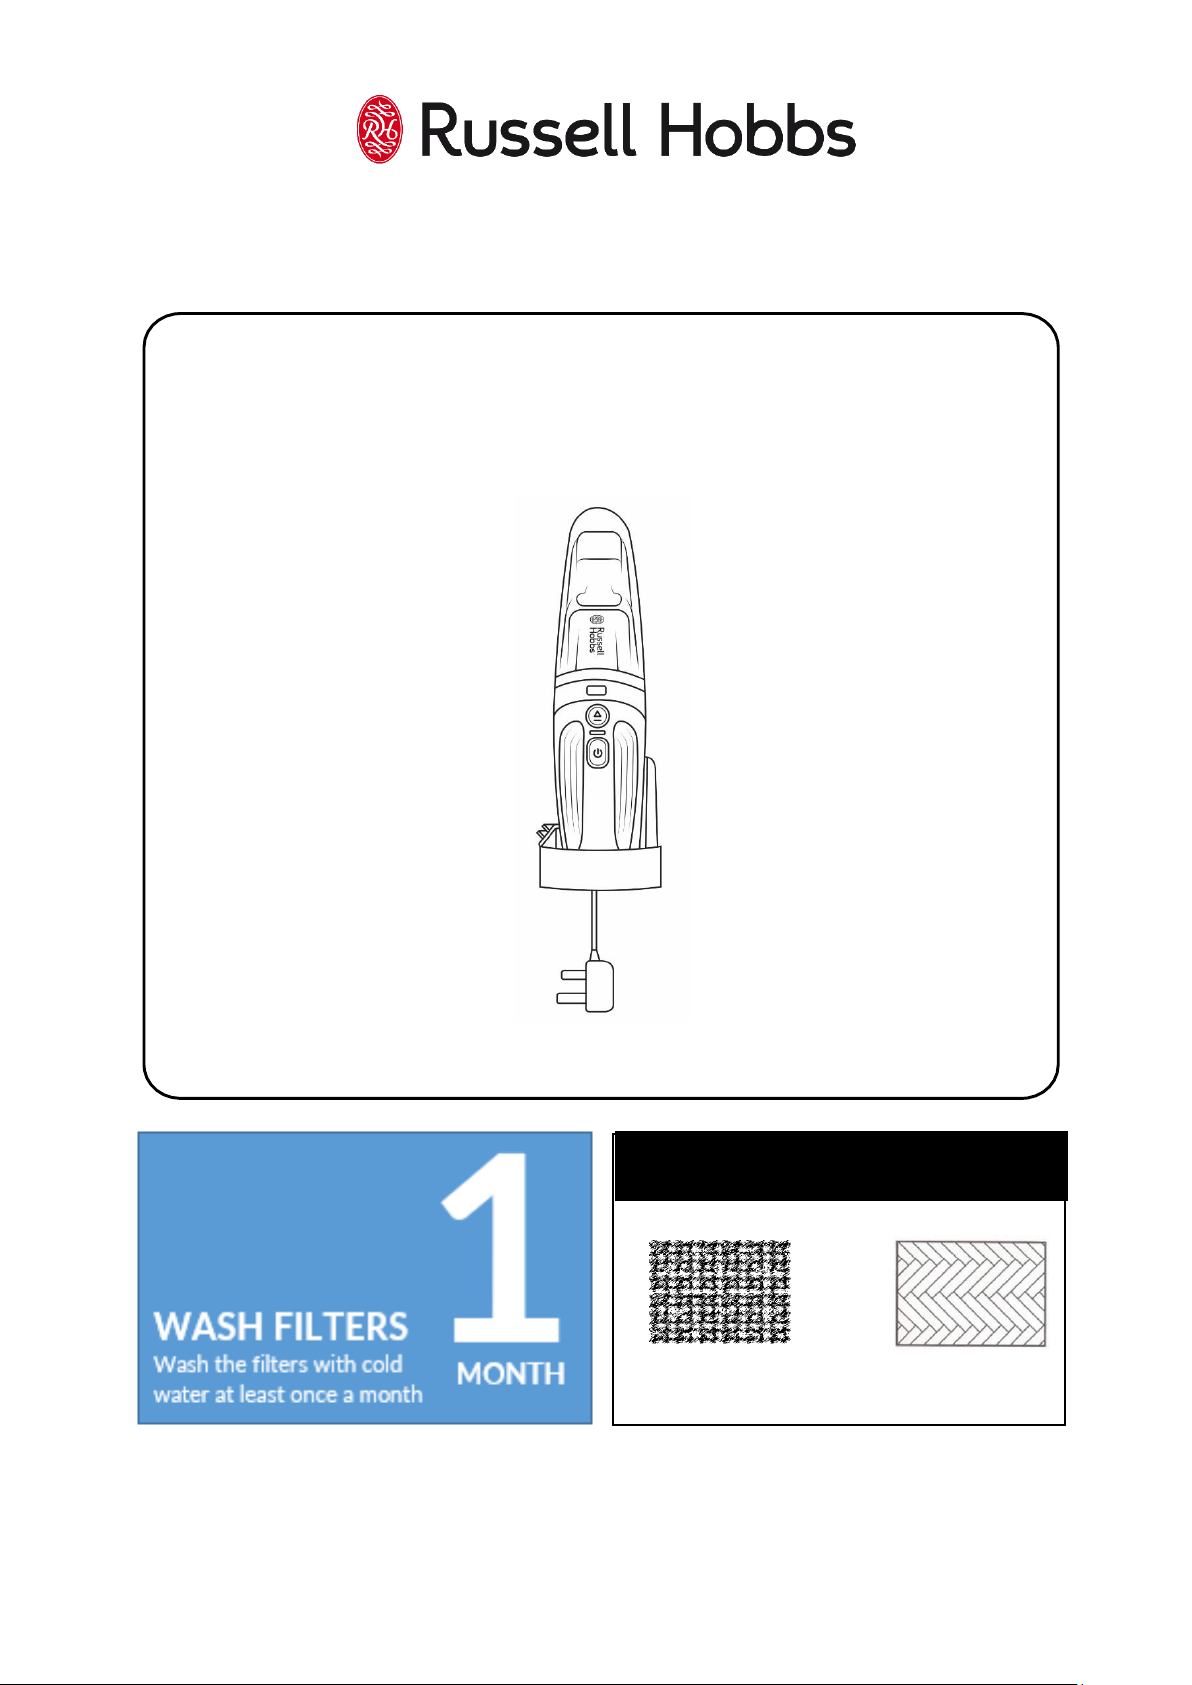
ALL SURFACES
SUITABLE FOR USE ON
Russell Hobbs
Cordless Handheld Mini Vac
Model Number: RHHV1001
RHHV1001 Revision 6
GUARANTEE
At Russell Hobbs, we take all our customer feedback seriously.
Feel free to contact our Product Care Team, on 0345 209 7461 who will be more
than happy to assist you.
This product is guaranteed for 12 months from the date of the original purchase. If any
defect arises due to faulty materials or workmanship, the faulty product must be
returned to the place of purchase.
Refund or replacement is at the discretion of the retailer.
The following conditions apply:
• The product must be returned to the retailer with the original proof of purchase.
• The product must be installed and used in accordance with the instructions
contained in this instruction guide and any other instructions for use which are
supplied.
• It must be used for domestic purposes only and for its intended use.
• This guarantee does not cover wear and tear, damage, misuse or consumable
parts.
• This does not affect your statutory rights.
REGISTER
ONLINE
Visit our website to
register your full parts
and labour guarantee online.
mda.russellhobbs.com
REGISTER
BY PHONE
Call our friendly Product Care team.
0345 209 7461
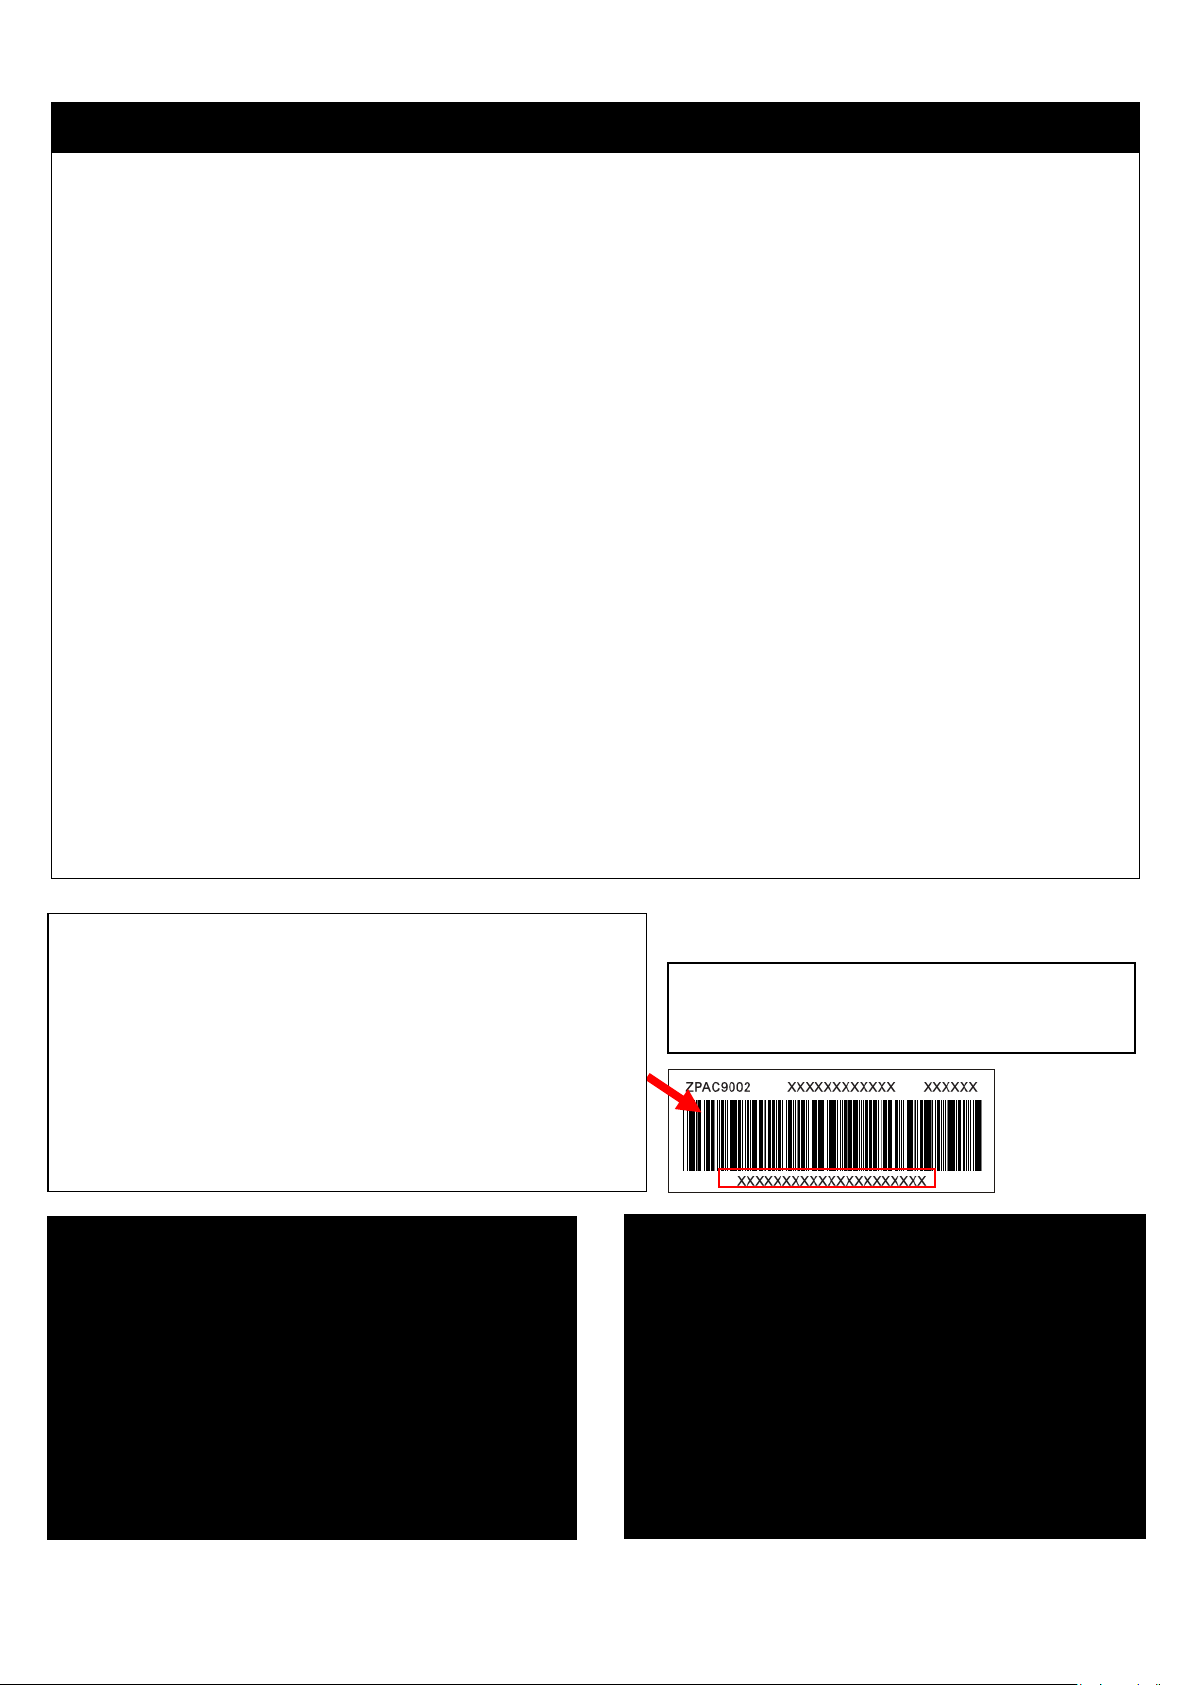
Note your serial number below for future reference.
Image for
illustration
purposes only
RUSSELL HOBBS CONTACT DETAILS
Website: mda.russellhobbs.com
Telephone: 0345 209 7461
Address: Product Care Customer Service, Green Bank
Business Park, Hindley Green, Wigan, WN2 4AY
RHHV1001 Revision 6
IMPORTANT SAFETY INSTRUCTIONS
• It is hazardous for anyone other than a competent person to
carry out any service or repair operation that involves the
removal of a cover which gives protection against exposure to
electrical parts.
• If the supply cord is damaged, it must be replaced by the
manufacturer, its service agent or similarly qualified persons in
order to avoid a hazard. Do not use with damaged cord or
plug. Do not run the vacuum cleaner over any cables, or its
own power cable. As this will result in damaging the cable.
• This product is intended for household use only. Do not use
outdoors.
• This appliance can be used by children aged from 8 years and
above and persons with reduced physical, sensory or mental
capabilities or lack of experience and knowledge if they have
been given supervision or instruction concerning use of the
appliance in a safe way and understand the hazards involved.
Children should not play with the appliance. Cleaning and user
maintenance should not be made by children without
supervision.
• Do not direct at people, animals, electrical outlets, or
equipment containing electrical components.
• Do not use this appliance to pick up water or any other liquids,
combustible substances or hot/burning objects.
• Unplug from outlet when not in use, and before putting on and
taking off parts, and before cleaning. Do not leave unattended
whilst plugged in.

RHHV1001 Revision 6
IMPORTANT SAFETY INSTRUCTIONS
• Do not use appliance if it has been dropped, damaged, left
outdoors or dropped into water. Do not operate this
appliance for anything other than its intended use.
• Keep the appliance away from water; do not allow it to get
wet.
• If unit is wet, do not plug unit into wall socket or turn unit on.
Do not immerse in water or other liquids for cleaning. Do not
handle the appliance with wet hands.
• Do not pull or carry by cord, use cord as a handle, close door
on cord, pull cord around sharp corners or edges, or expose
cord to heated surfaces.
• The use of accessory attachments not recommended by the
manufacturer may cause fire, electric shock or injury. Only use
the accessories supplied by the manufacturer.
• Only use the appliance when fully assembled.
• Never place your fingers or other objects into any part of the
appliance. Be aware that loose clothing or hair may become
trapped in the cleaner if improperly used.
• Caution: Exhaust air discharged from the sides of the appliance
may extinguish a gas fire, pilot light, or disturb ashes in an
open fire. Always avoid directing the appliance toward naked
flames. Before use, ensure that all of the air vents are clear and
there is no restriction of air flow.
RHHV1001 Revision 6
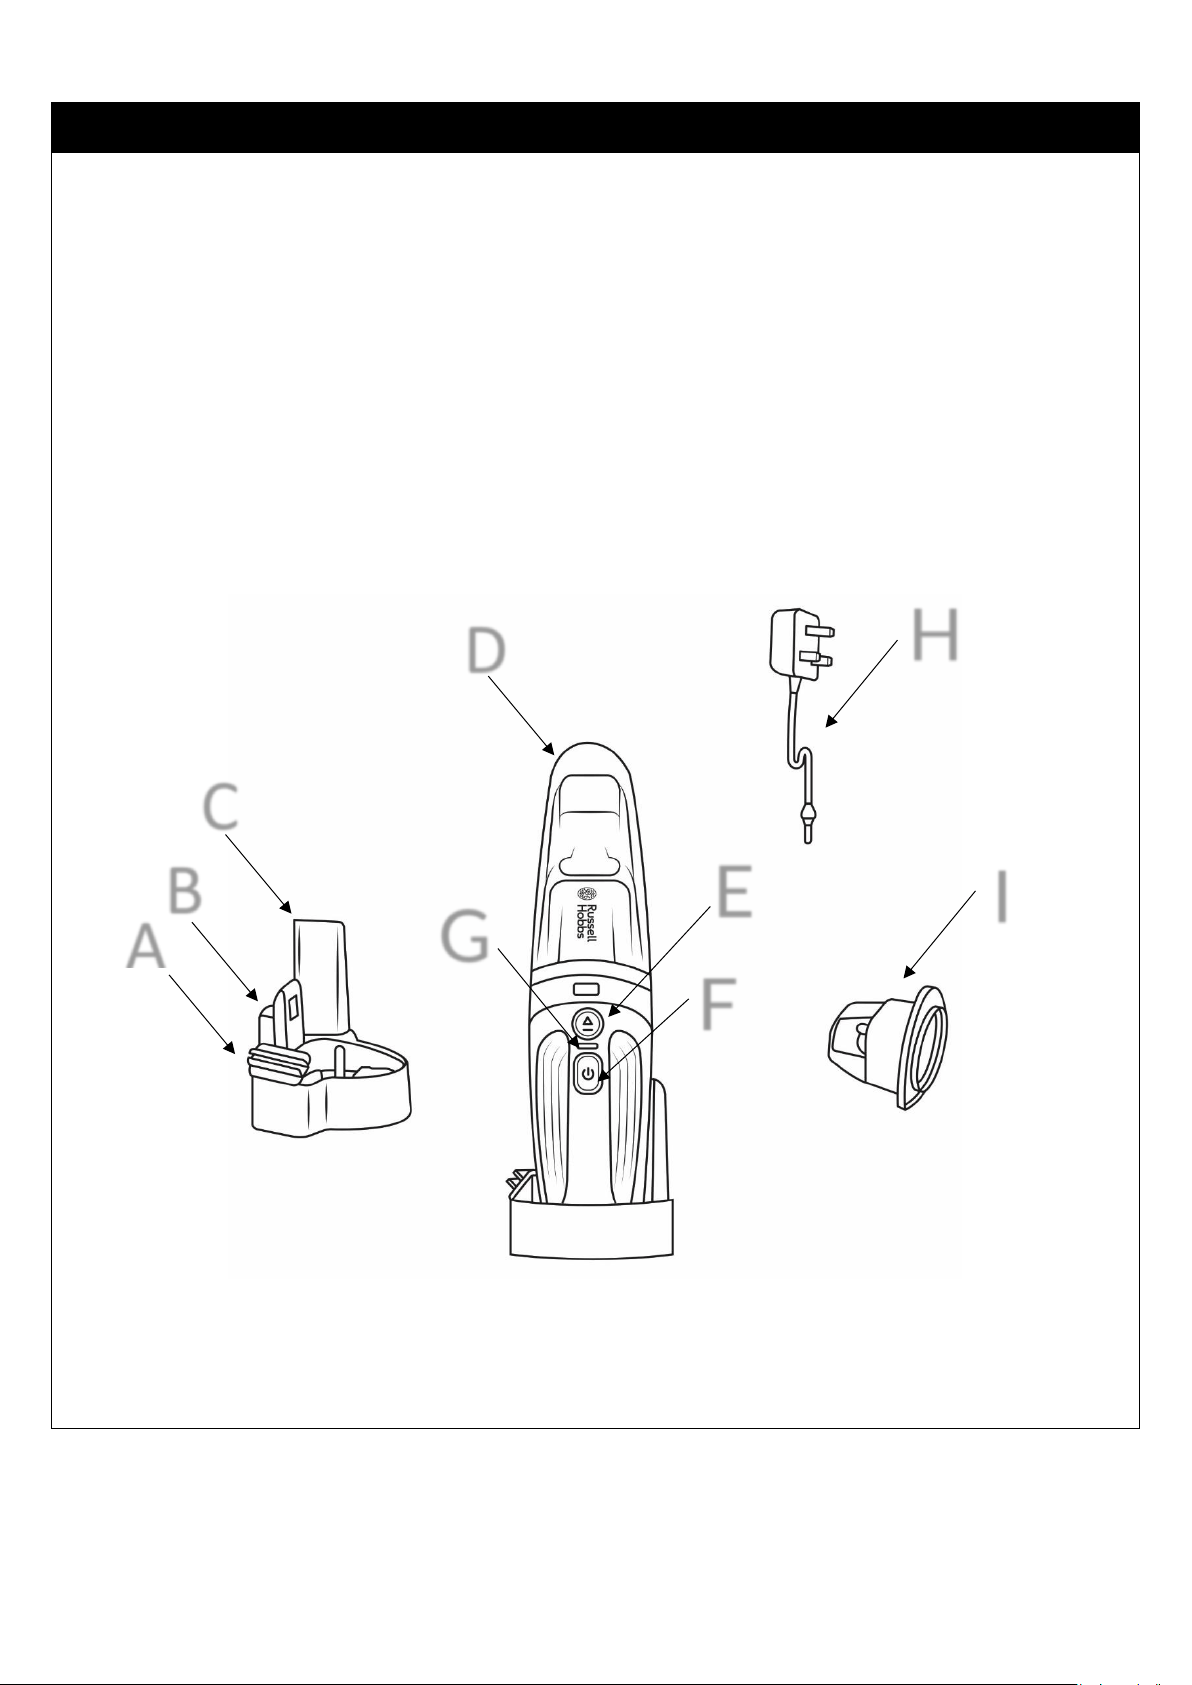
YOUR VACUUM
A. Silicone nozzle
B. Wall bracket
C. Crevice nozzle
D. Dirt container
E. Dust container release button
F. Power (on / off) switch
G. Power indicator
H.Adaptor and cable
I. Filter
A
B
C
D
E
F
G
H
I

RHHV1001 Revision 6
NOTES

RHHV1001 Revision 6
CHARGING THE INTERNAL BATTERIES
• The internal Lithium battery is supplied with a small amount of
charge but it will be necessary to initially charge for 4-5 hours
approx. before using the appliance.
• Ensure that the power switch is the OFF.
• Insert the adaptor cord into the DC jack at the end of the
vacuum and plug the adaptor into the mains supply socket.
• The indicator will illuminate red and flash to show that the unit
is in charging mode.
• Allow the unit to fully charge. When the unit is fully charged
the indicator will turn blue. The vacuum can now be used up
to 20 minutes.
Notes
• The indicator will turn red when the battery is running low and
needs to be recharged. If recharge is not started, the indicator
will flash until the vacuum powers off.
• Only charge or recharge the vacuum indoors.
• Do not recharge the battery when the air temperature is
below 0°C or above 37°C.
• Batteries become hot after heavy use and will become difficult
to charge. Allow to cool and wait about an hour before
recharging.
RHHV1001 Revision 6
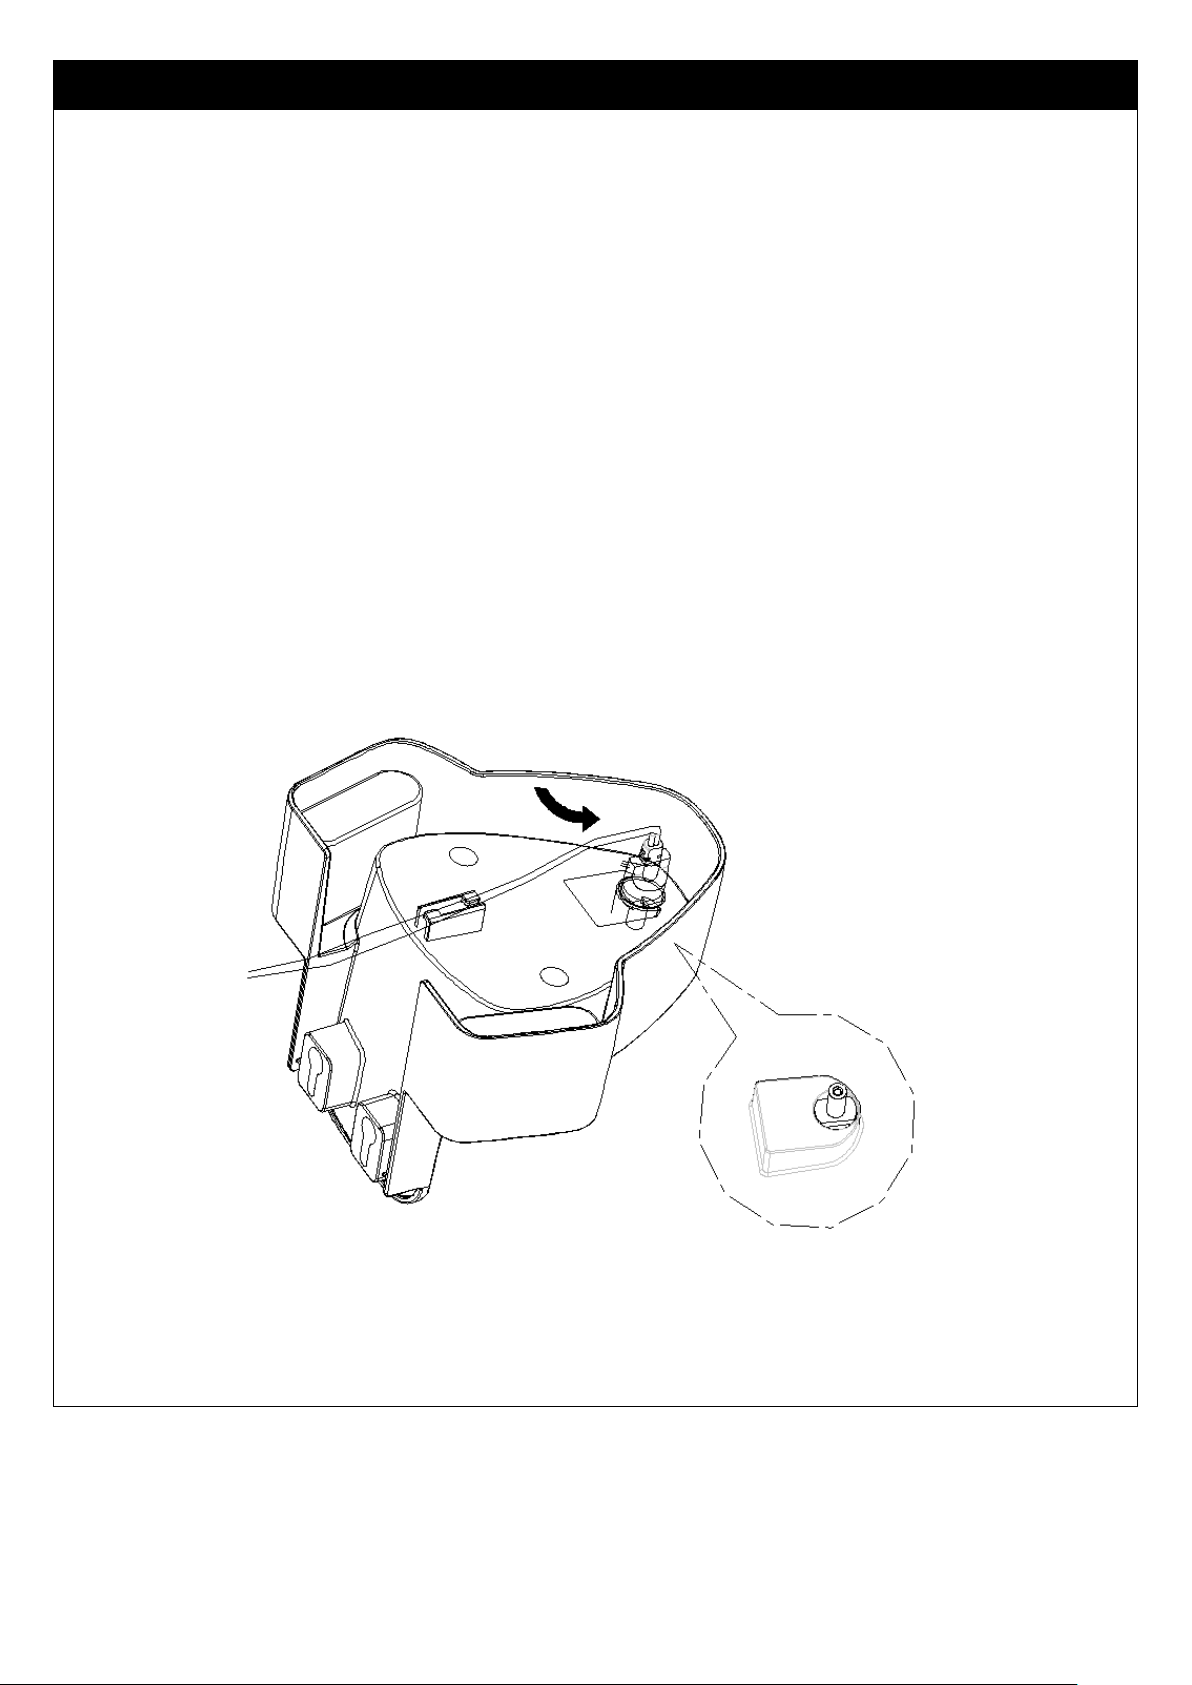
WALL MOUNTING
• Ensure that there are no power cables or other conduits or
pipes in the wall at the location where you intend to bore the
holes for the wall bracket
Important Note: Drilling into a current-carrying electric cable
can be potentially fatal
1. Place the barrel plug of the mains adapter into the wall
bracket as illustrated below
90⁰

RHHV1001 Revision 6
WALL MOUNTING
2. Feed the cable through the cable routing and then fit the
jack through the hole in the base of the bracket so that it
is firmly in place
3. Select a suitable installation location for the wall bracket.
It must be possible to remove the handheld vacuum
cleaner easily and there must be an accessible mains
power socket for the mains adapter
4. Drill two holes about 34 mm apart. Use the wall bracket
to mark the holes to ensure the correct spacing, then drill
holes must be suitable for 6 mm wall plugs
5. Push the wall plugs into the holes and then screw the wall
bracket firmly into place using the screws
6. You can place the nozzles on the accessory’s holder to the
side
7. Connect the mains adapter to a mains power socket
RHHV1001 Revision 6
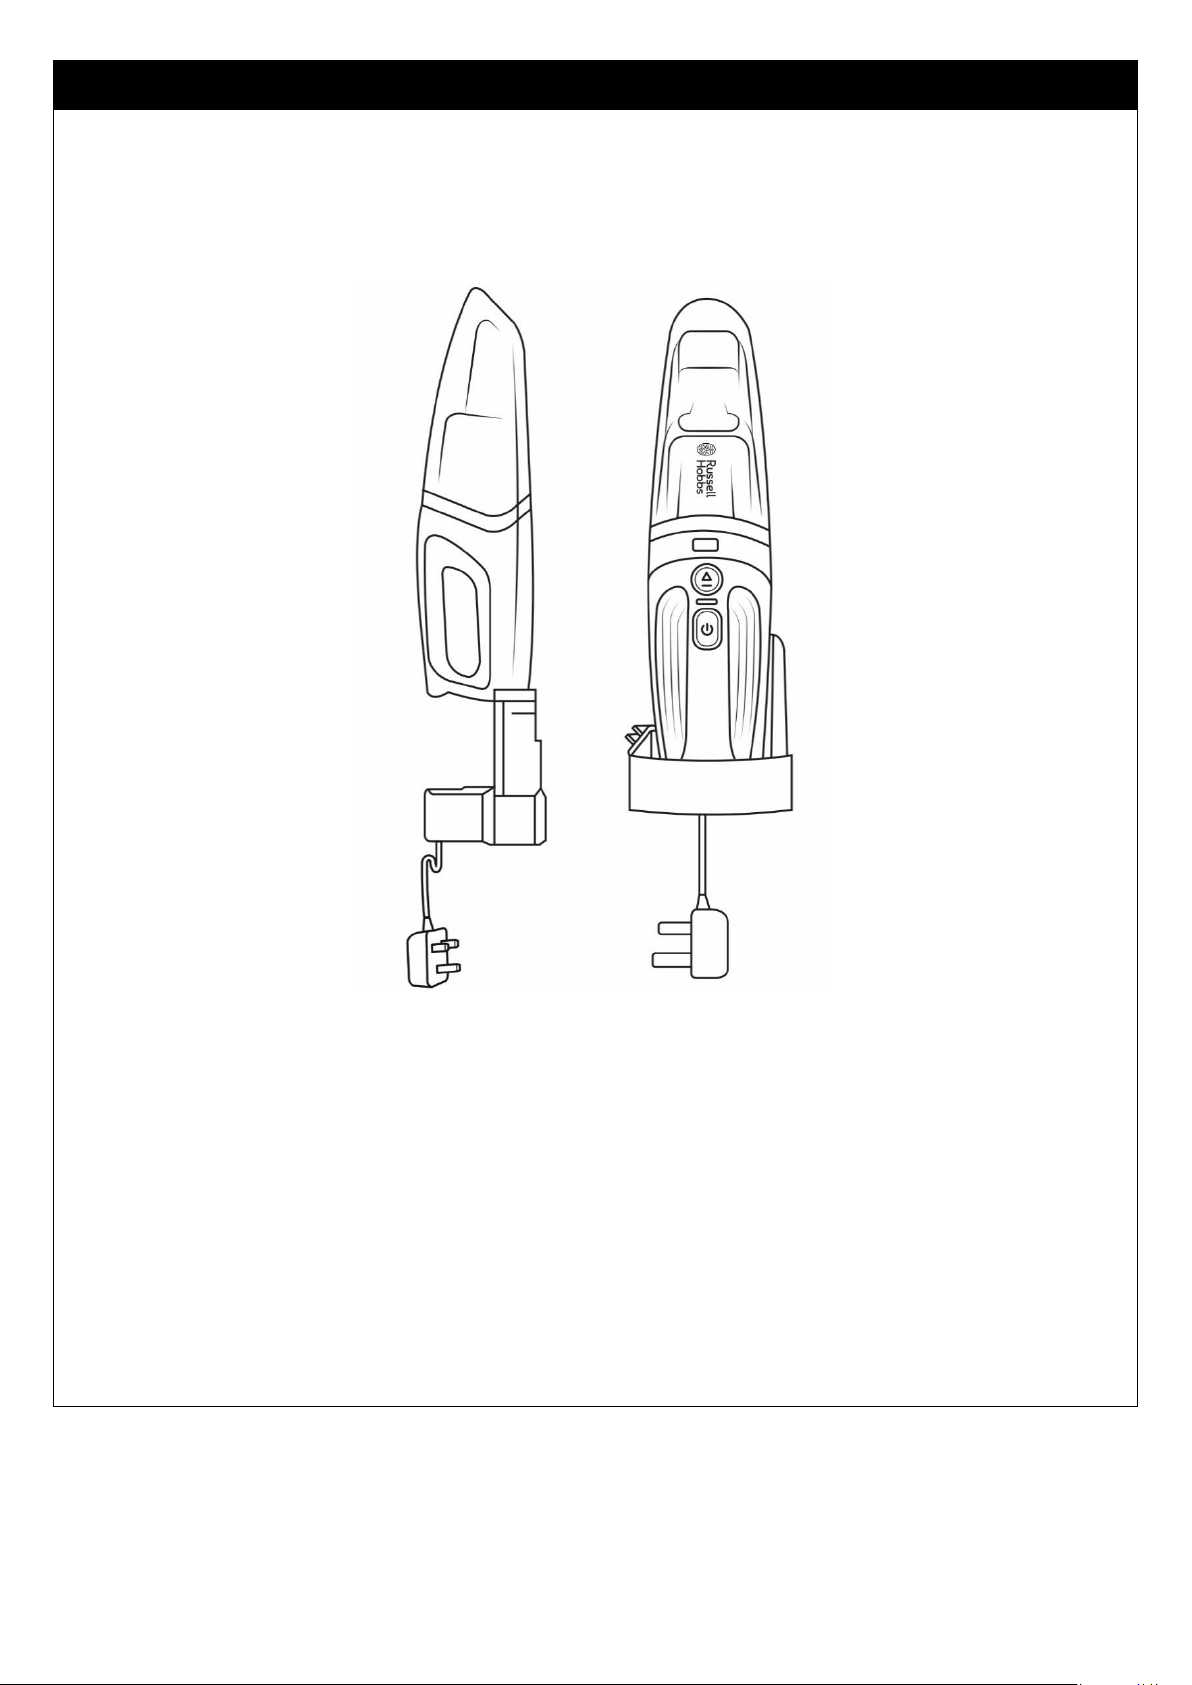
INSTALLING YOUR VACUUM
• Insert the vacuum cleaner into the wall bracket, plug the
adaptor into the mains socket and recharge as necessary.
RHHV1001 Revision 6
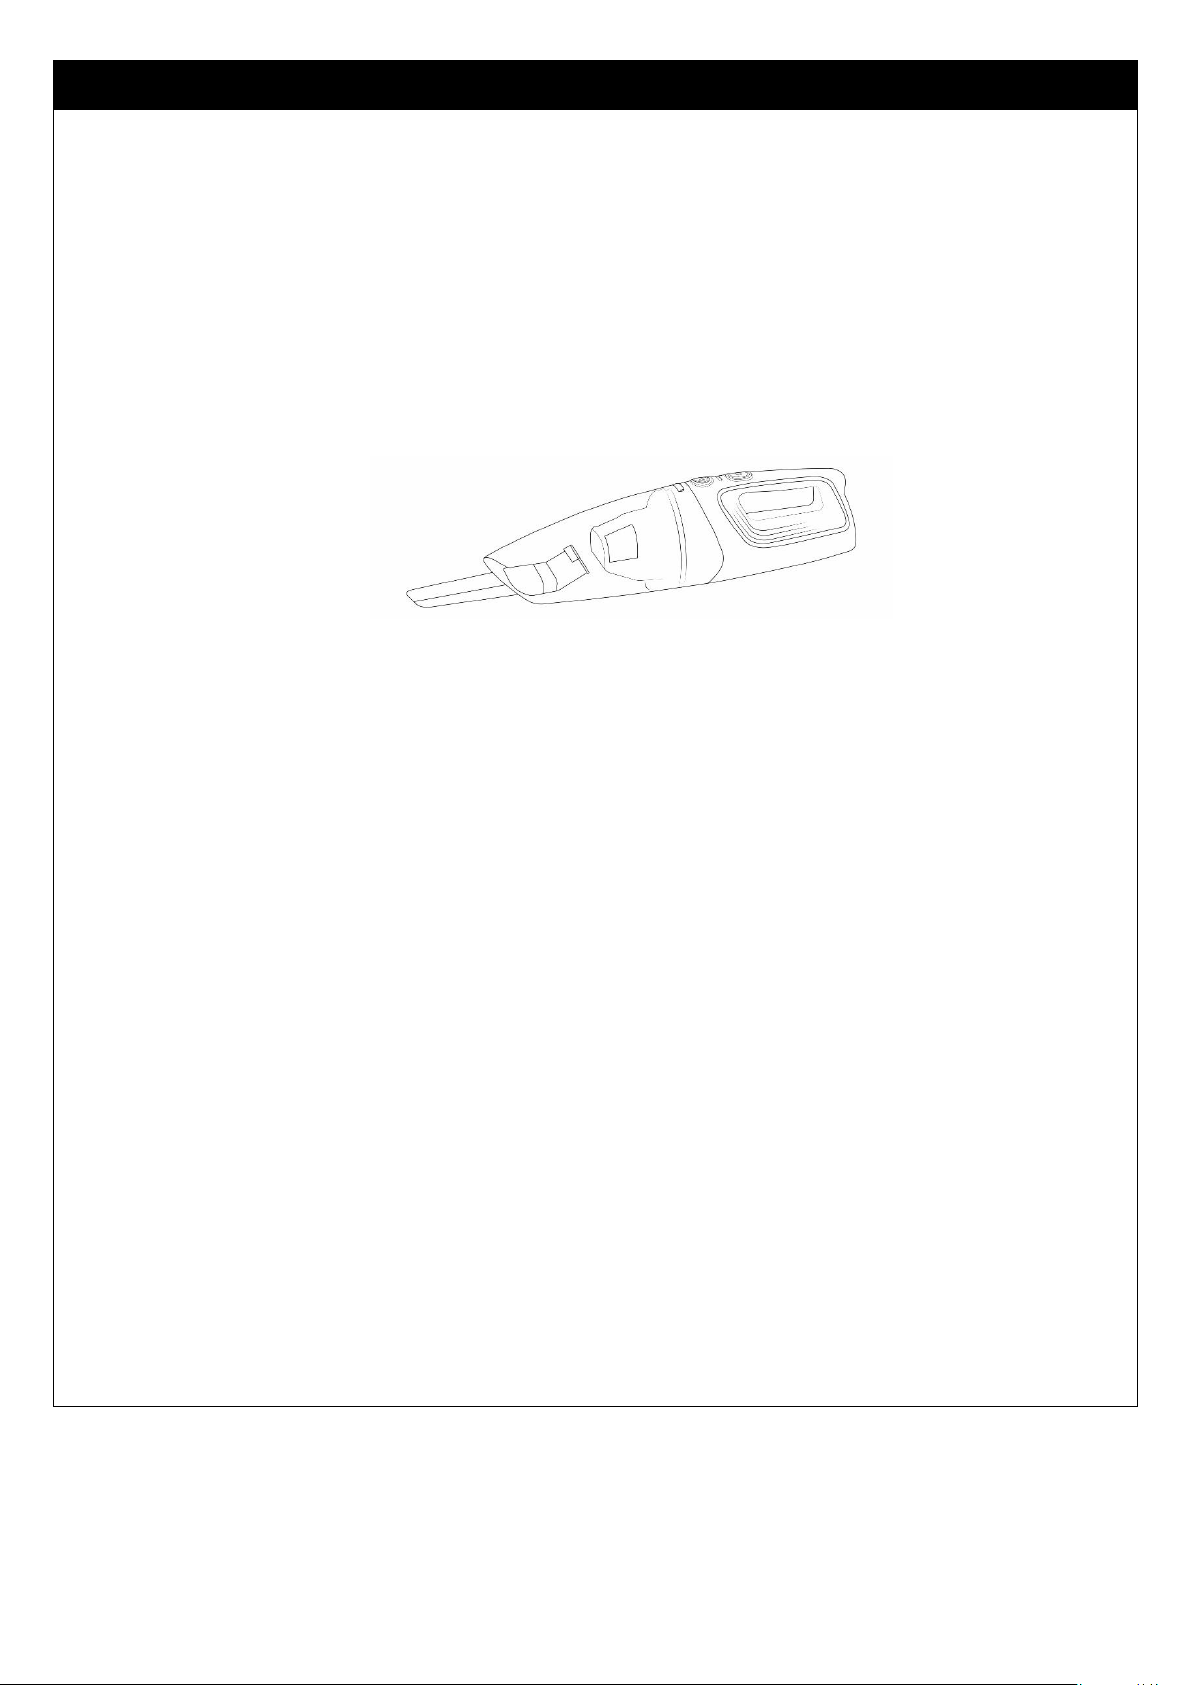
USING YOUR VACUUM
• When the unit is charged, press the POWER button once, the
power indicator will illuminate (blue) and the vacuum cleaner
will start to work. The vacuum cleaner maybe used for
approximately 20 minutes when fully charged.
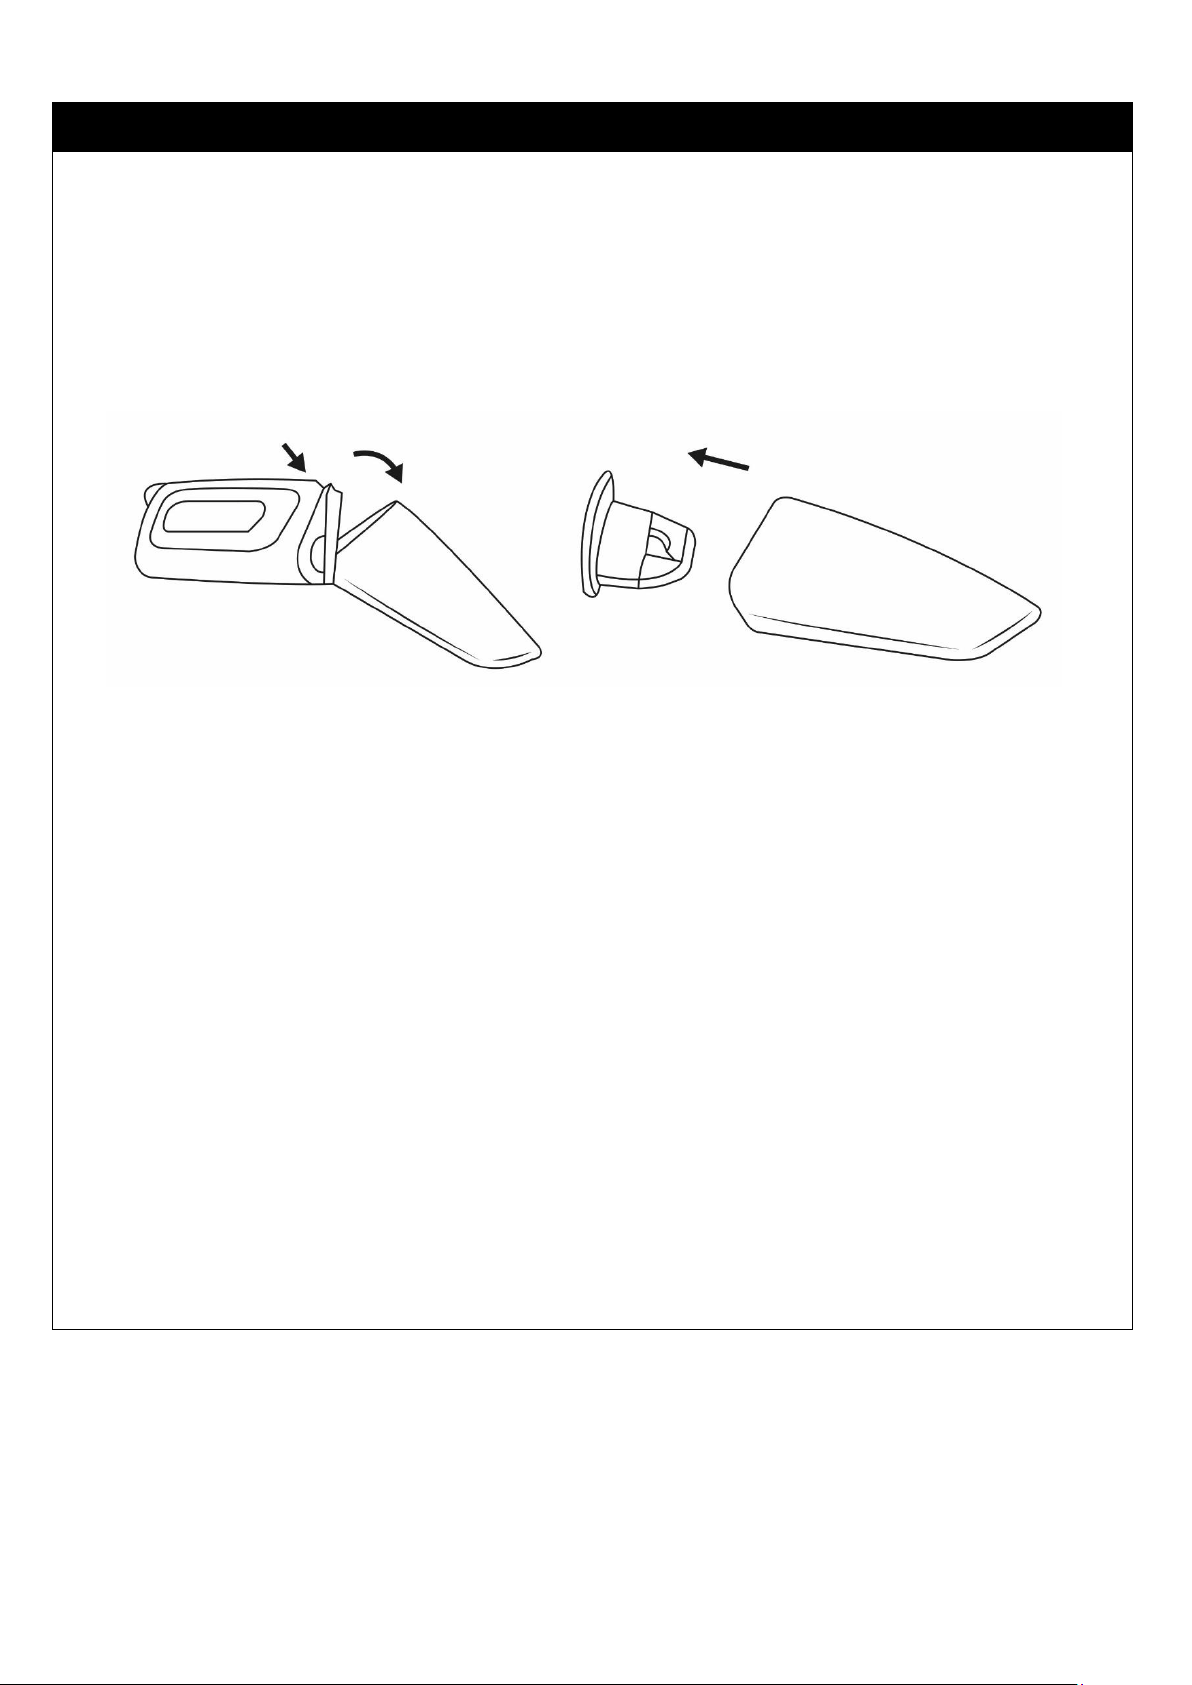
• To use the crevice nozzle, insert the crevice nozzle from the
dust container into position
• Press the power button again to switch the vacuum cleaner
off after use.
• Store the vacuum cleaner in the charging bracket when not in
use.
NOTE
• Place the handheld vacuum cleaner in the wall bracket and
start the charging process once the vacuum power has
become noticeably weaker and the charge indicator lamp
flashes red.

RHHV1001 Revision 6
CARE AND MAINTENANCE
Cleaning the filter
• The frequency that the filter should be cleaned will depend on
appliance usage. For maximum efficiency the filter should be
cleaned every time the dust container is emptied.
• Switch off the cleaner and disconnect from the charging
bracket.
• To clean the filter, remove the dust container and filter
assembly from cleaner
• Push the button to release the filter.
• Tap the filter against a dustbin to remove most of the dust.
• Wash the filter and the filter holder in cool water, rinse under
running water until the water runs clear.
Never wash the filter in a washing machine
• Allow the filter to air dry fully. Using a damp or wet filter will
reduce the suction and damage the motor.

RHHV1001 Revision 6
• Refit the filter into the filter holder.
• Refit the filter into a clean dust container.
Note
• Take care of the filter supplied, as replacements are not
readily available.
Further Care
• To ensure your vacuum cleaner works at optimum efficiency
ensure that the dust container is emptied and the filter is
washed regularly.
• Keep the ventilation holes and vacuum cleaner surface free
from dirt
• Switch off and remove the vacuum cleaner from the charging
bracket. Disconnect the adaptor from the mains supply.

RHHV1001 Revision 6
• Wipe the outside of the vacuum cleaner and charger bracket
with a damp (not wet) cloth and then wipe dry. Do not use
detergents, solvents or abrasives as these may scratch or
damage the surface.
• Never immerse the motor housing, bracket, cable or adaptor in
water.
• When not in use, store in a cool, dry place.
RHHV1001 Revision 6
EMPTYING THE BIN
When the clear dust container looks full or when the suction
power is reduced, it is time to empty the dust container.
• Switch off the vacuum cleaner, press the dust container
release button and remove the dust container.
• Position the dust container over a refuse bin, pull out the filter
and tap the filter against the side of the bin to dislodge any
loose dust
• Finally empty the dust container.
• The inside of the dust container and cover may be wiped
clean with a damp cloth. Dry with a soft dry cloth.
• Refit the filter assembly into the dust container and reattach
the container onto the vacuum.
RHHV1001 Revision 6
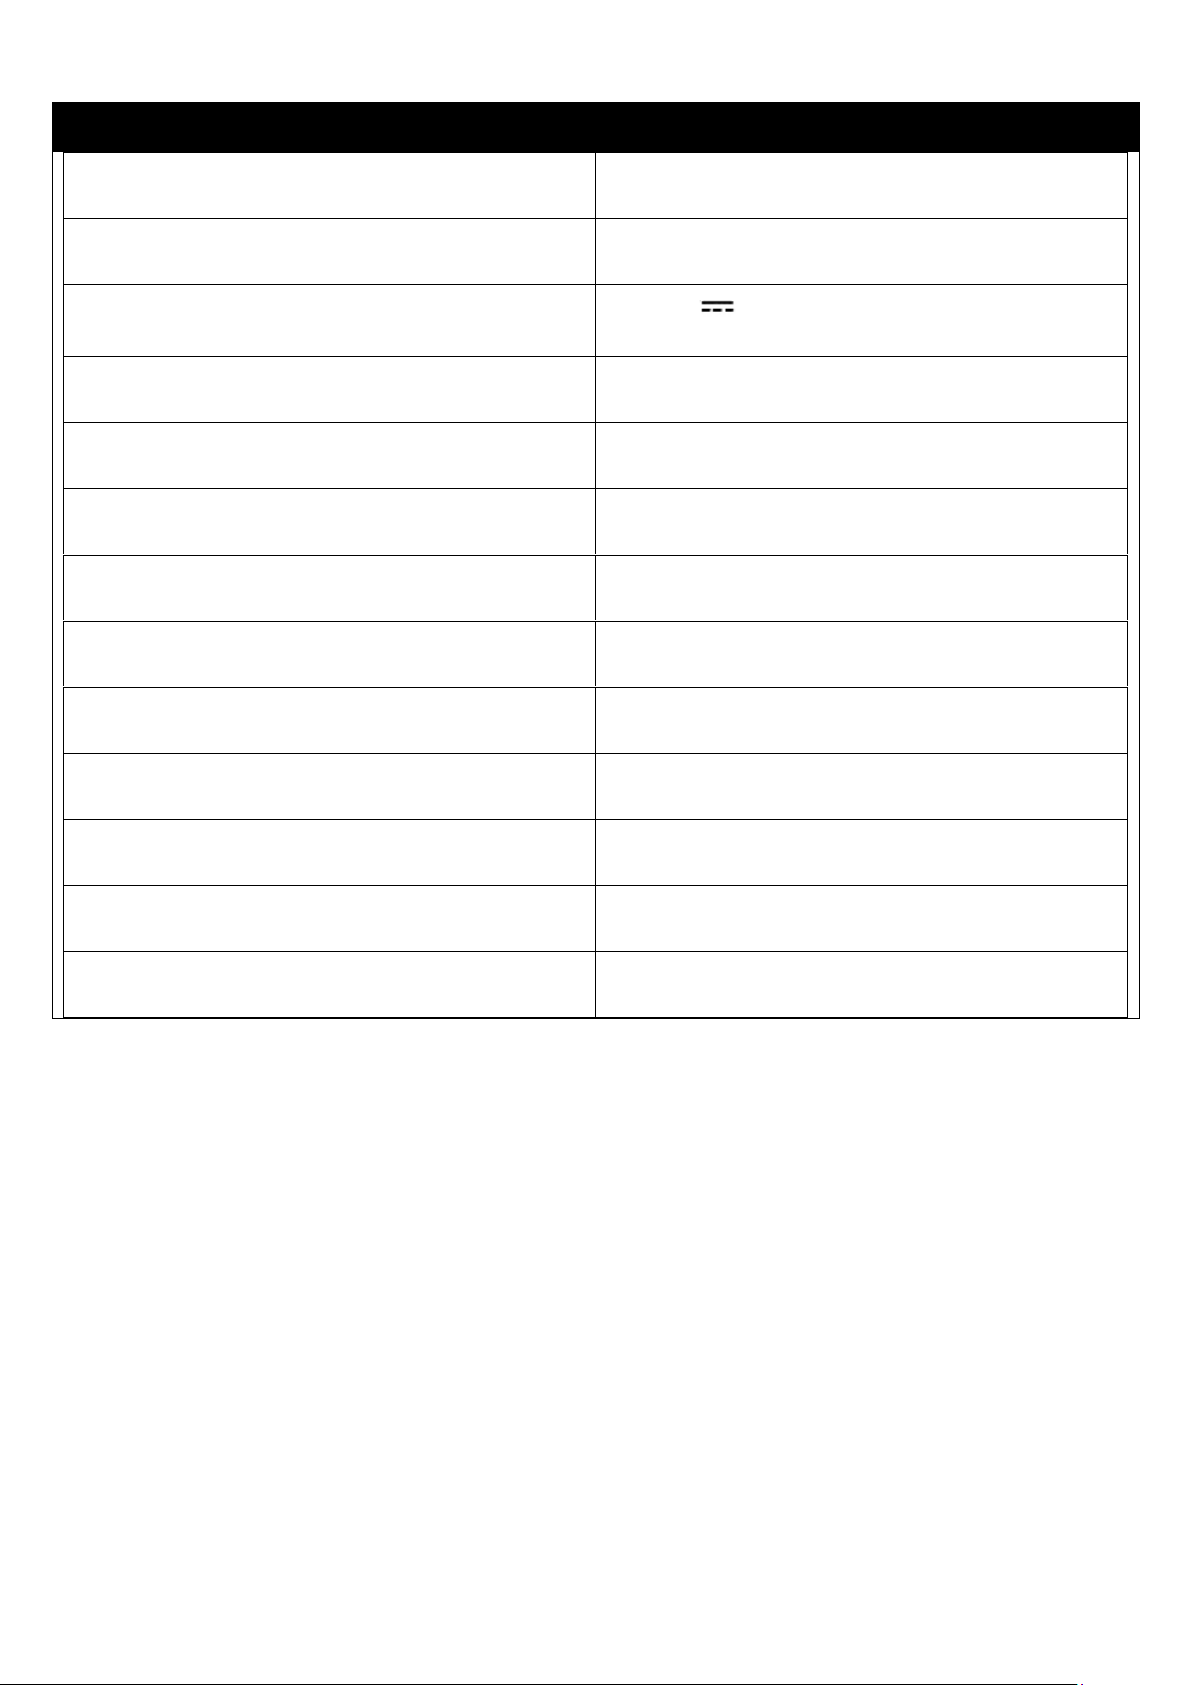
TECHNICAL SPECIFICATION
Model
RHHV1001
Rated voltage (adaptor)
100 – 240V~ 50/60Hz,
Adaptor output
9V 0.5A
Class rating (adaptor)
II (double insulated)
Rated voltage (vacuum)
DC 7.4V
Power consumption
50W
Running time (approx.)
20 min
Recharge time (from empty)
4-5 hr
Capacity
2200mAh
Battery
7.4V (2*3.7V lithium battery)
RHHV1001 Revision 6
PROBLEM SOLVING
Observation
Potential cause / solution
• Vacuum cleaner
does not work
• Does the battery need to recharged?
• Suction power
weak
• Does the dust container need to be
emptied?
• Is the filter clogged and need to be
cleaned?
• Is the something blocking the nozzle?
• Does the battery need to be recharged?
If you are still experiencing difficulties with the appliance, please
contact us BEFORE returning the appliance to the retailer it was
purchased from:
Website: mda.russellhobbs.com
Telephone: 0345 209 7461
Address: Product Care Customer Service, Green Bank Business Park, Hindley Green,
Wigan, WN2 4AY
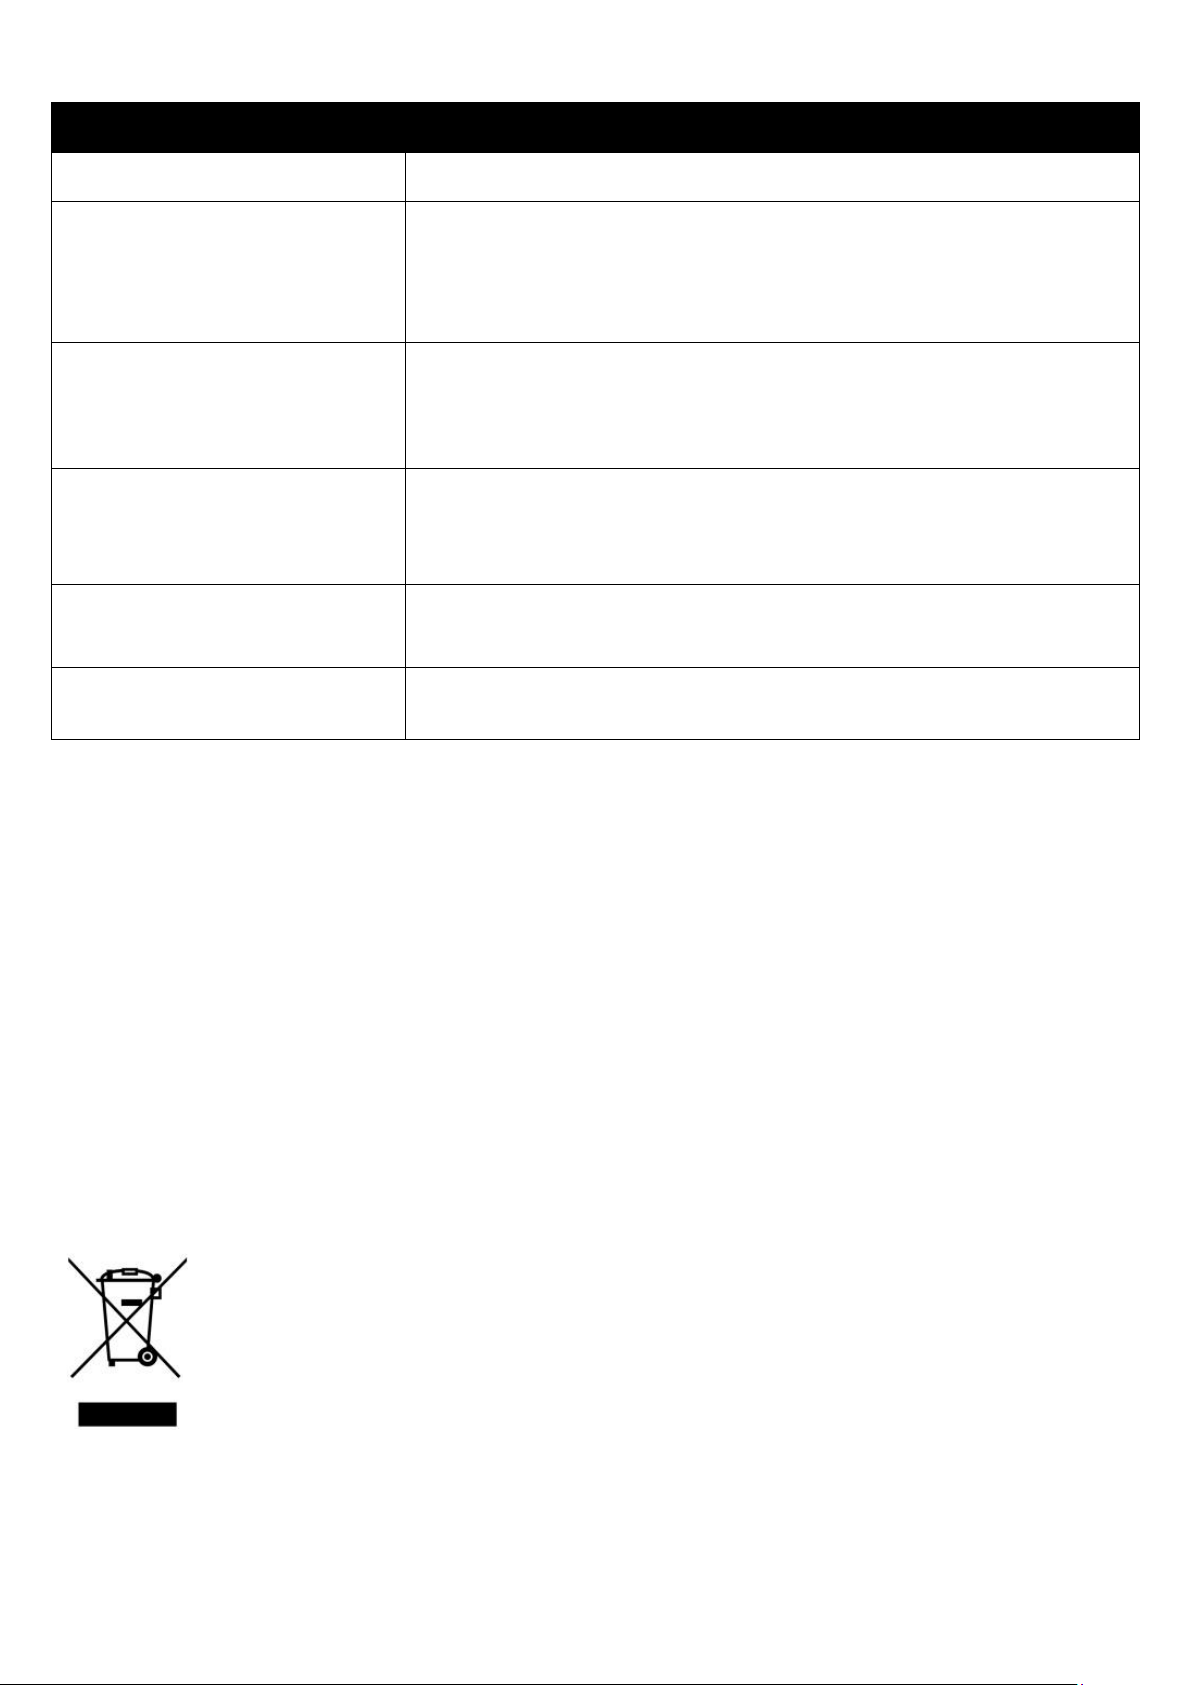
This symbol means an electrical product should not be
disposed of with normal household waste. Please ensure
it is taken to a suitable facility for disposal when finished
with.

RHHV1001 Revision 6

RHHV1001 Revision 6

RHHV1001 Revision 6
Made by Product Care Trading Limited under license from Spectrum
Brands (UK) Limited. Product Care Trading Limited, Wigan, WN2 4AY/
PCT (NI) Ltd, Belfast, BT5 5AD. Russell Hobbs is the registered
trademark of Spectrum Brands (UK) Ltd.
Russell Hobbs Support: call 0345 209 7461 or visit
mda.russellhobbs.com
