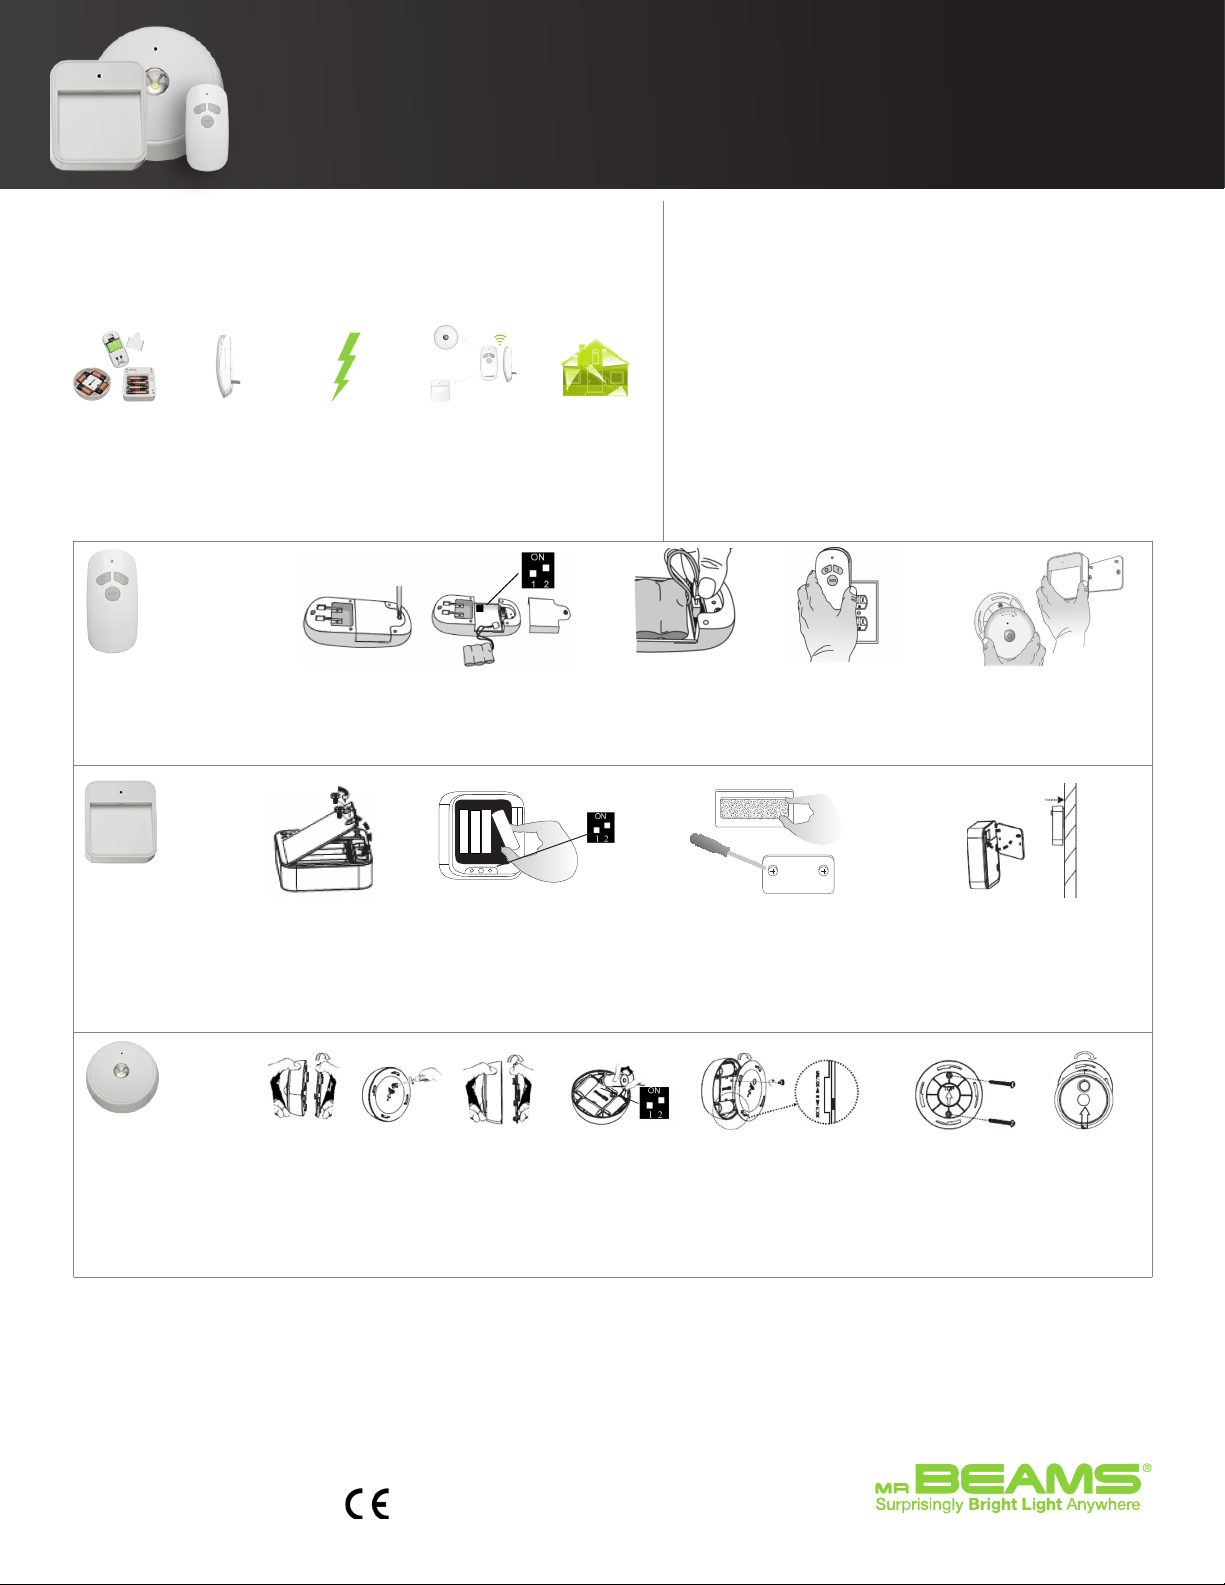
3. Controller
immediately
detects power
outage and
lights up.
*Warning:
RISK OF ELECTRICAL SHOCK. For adult use only. This product is a light that uses 120V AC power.
This product is not a toy and should not be stored or used in locations accessible to children.
For safety, plug into exposed wall outlet where device is ventilated and cannot contact bed
coverings or other materials that may present a fire hazard. Do not use with extension cords.
Protecting against power surges: To protect this product from lightning, storms and power
outages, we strongly recommend it is plugged into a surge protector in order to reduce the
risk of damage.
Battery Caution:
1) Do not mix old and new batteries
2) Do not mix Alkaline, Standard (Carbon-Zinc) or Rechargeable (Nickel Cadmium) or (Nickel
Metal Hydride) batteries
3) Do not dispose of batteries in fire
4)Batteries should be recycled or disposed of as per state and local guidelines
**This device complies with part 15 of the FCC Rules. Operation is subject to do the following
conditions:
1) This device may not cause harmful interference
2) This device must accept any interference received, including interference that may cause
undesired operation.
2. Plug
Power Outage
Controller into
an active wall
outlet.
Auto Shut-off feature when you’re not home: If a power outage
occurs, all lights will activate and then blink at 29 minutes. All
lights will turn off automatically after 30 minutes. To keep lights
on continuously for up to 40 hours, simply unplug MB220 from
outlet or press the ON button to override auto shut-off feature.
RF/Remote Control: MB220 can also turn other lights on remotely
at any time by pressing the ON button. If activated via remote
control, lights will stay on continuously until they are shut off
with the OFF button.
Setting Up Zones: Program specific lights to activate with a
specific controller, creating different zones through out your
home. Set dip switches inside each unit to match the dip switch
setting of the MB220 you’d like it to be controlled by.
Low Battery Indicator Light: A red light near the LED turns on
when batteries need to be replaced.
• 1 Small Screwdriver
• Required Batteries
1. Insert
fresh
batteries
into lights.
4. Controller
sends wireless
signal to other
ReadyBright
lights in home.
5. All Ready
Bright lights
within 70 feet
of controller
will activate.
Installation Instructions
READYBRIGHT
®
Power Outage Lights
Instant Light the Moment You Lose Power
32333 Aurora Rd. Suite 100 Solon, OH 44139
877.298.9082 www.mrbeams.com
Quick Start Guide
Tips/Features
What you need to install:
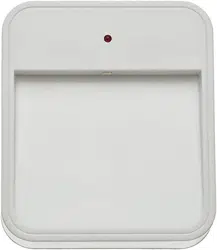
MB220 Power Outage
Controller/Flashlight
MB785 Power Outage
Stair Light
Included Per Light:
1 Stair Light
1 Mounting Bracket
2 Screws & 2 Anchors
1 Adhesive Strip
MB985 Power Outage
Ceiling Light
Included Per Light:
1 Ceiling Light
1 Mounting Bracket
2 Screws & 2 Anchors
1. Loosen the screw and remove the battery
door on the MB220.
2. If you are setting up zones set dip switches
to match the other lights you want to control.
3. Plug battery into
flashlight with red wire
on the left and close
battery lid. Secure
screw.
4. Plug into an outlet near
the center of your home.
Do not use an outlet
controlled by a switch or
an extension cord.
5. Mount the other
lights in the center of
your home. Be sure
they are within 70 ft
of the Detector.
3. Insert 4 new Alkaline AA Batteries,
with correct polarity/position.
4. Do not mix old & new batteries.
5. If you are setting up zones set dip
switches to match the MB220 you
want it controlled by.
6. Replace battery lid, secure with
screws.
7. Mount Bracket to wall with double
sided tape, holding for 10 seconds or
install with 2 small screws.
Note: This is a strong adhesive that may
cause damage to mounting surface.
Please consider your location before
mounting.
8. Slide light onto mounting
bracket attached to wall.
1. Remove mounting
bracket from back of
light.
2. Remove battery door
by removing 2 thumb
screws show above.
1. Remove mounting bracket
from back of light.
2. Remove back plate
of light by removing
thumbscrew and twisting
counter-clockwise.
3 Insert 4 new Alkaline C
batteries.
4. Do not mix old and new
batteries.
5. If you are setting up zones set
dip switch to match the MB220
you want it controlled by.
6. To close, align tab
with notch, rotate
back plate clockwise
until thumb screw holes
match.
7. Insert thumb screw
and tighten.
8. The word TOP should always face you.
If mounting to a wall, position so TOP is at
the highest point.
9. Drive 2 screws (included) through holes
of mounting bracket. To attach twist
clockwise until it stops. Always check
attachment that light is secure for safety.
*Note: MB220 Required to activate this unit
*Note: MB220 Required to activate this unit
* 1 year limited warranty. Visit site for details.
* Visit our website to view installation video.
Included Per Light:
1 Controller
1 Rechargeable 3.6V NiMH Battery