Page 1 / 4
231122
ASSEMBLY AND INSTALLATION
INSTRUCTIONS
T0756
TO AVOID RISK OF ELECTRICAL SHOCK, BE SURE TO SHUT OFF
POWER BEFORE INSTALLING OR SERVICING THIS FIXTURE.
WARNING: Turn off the main power at circuit breaker before installing fixture.
AVERTISSEMENT: Coupez la source d’alimentation principale au panneau
central de disjoncteurs avant d’installer le luminaire.
NOTE: 1. Before installing, consult local electrical codes for wiring and grounding requirements.
2. Read
and save these instructions.
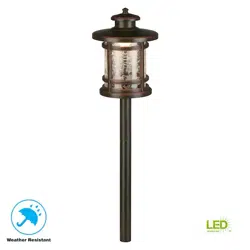
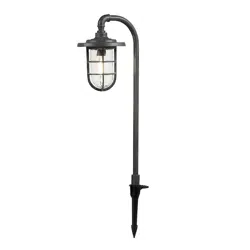
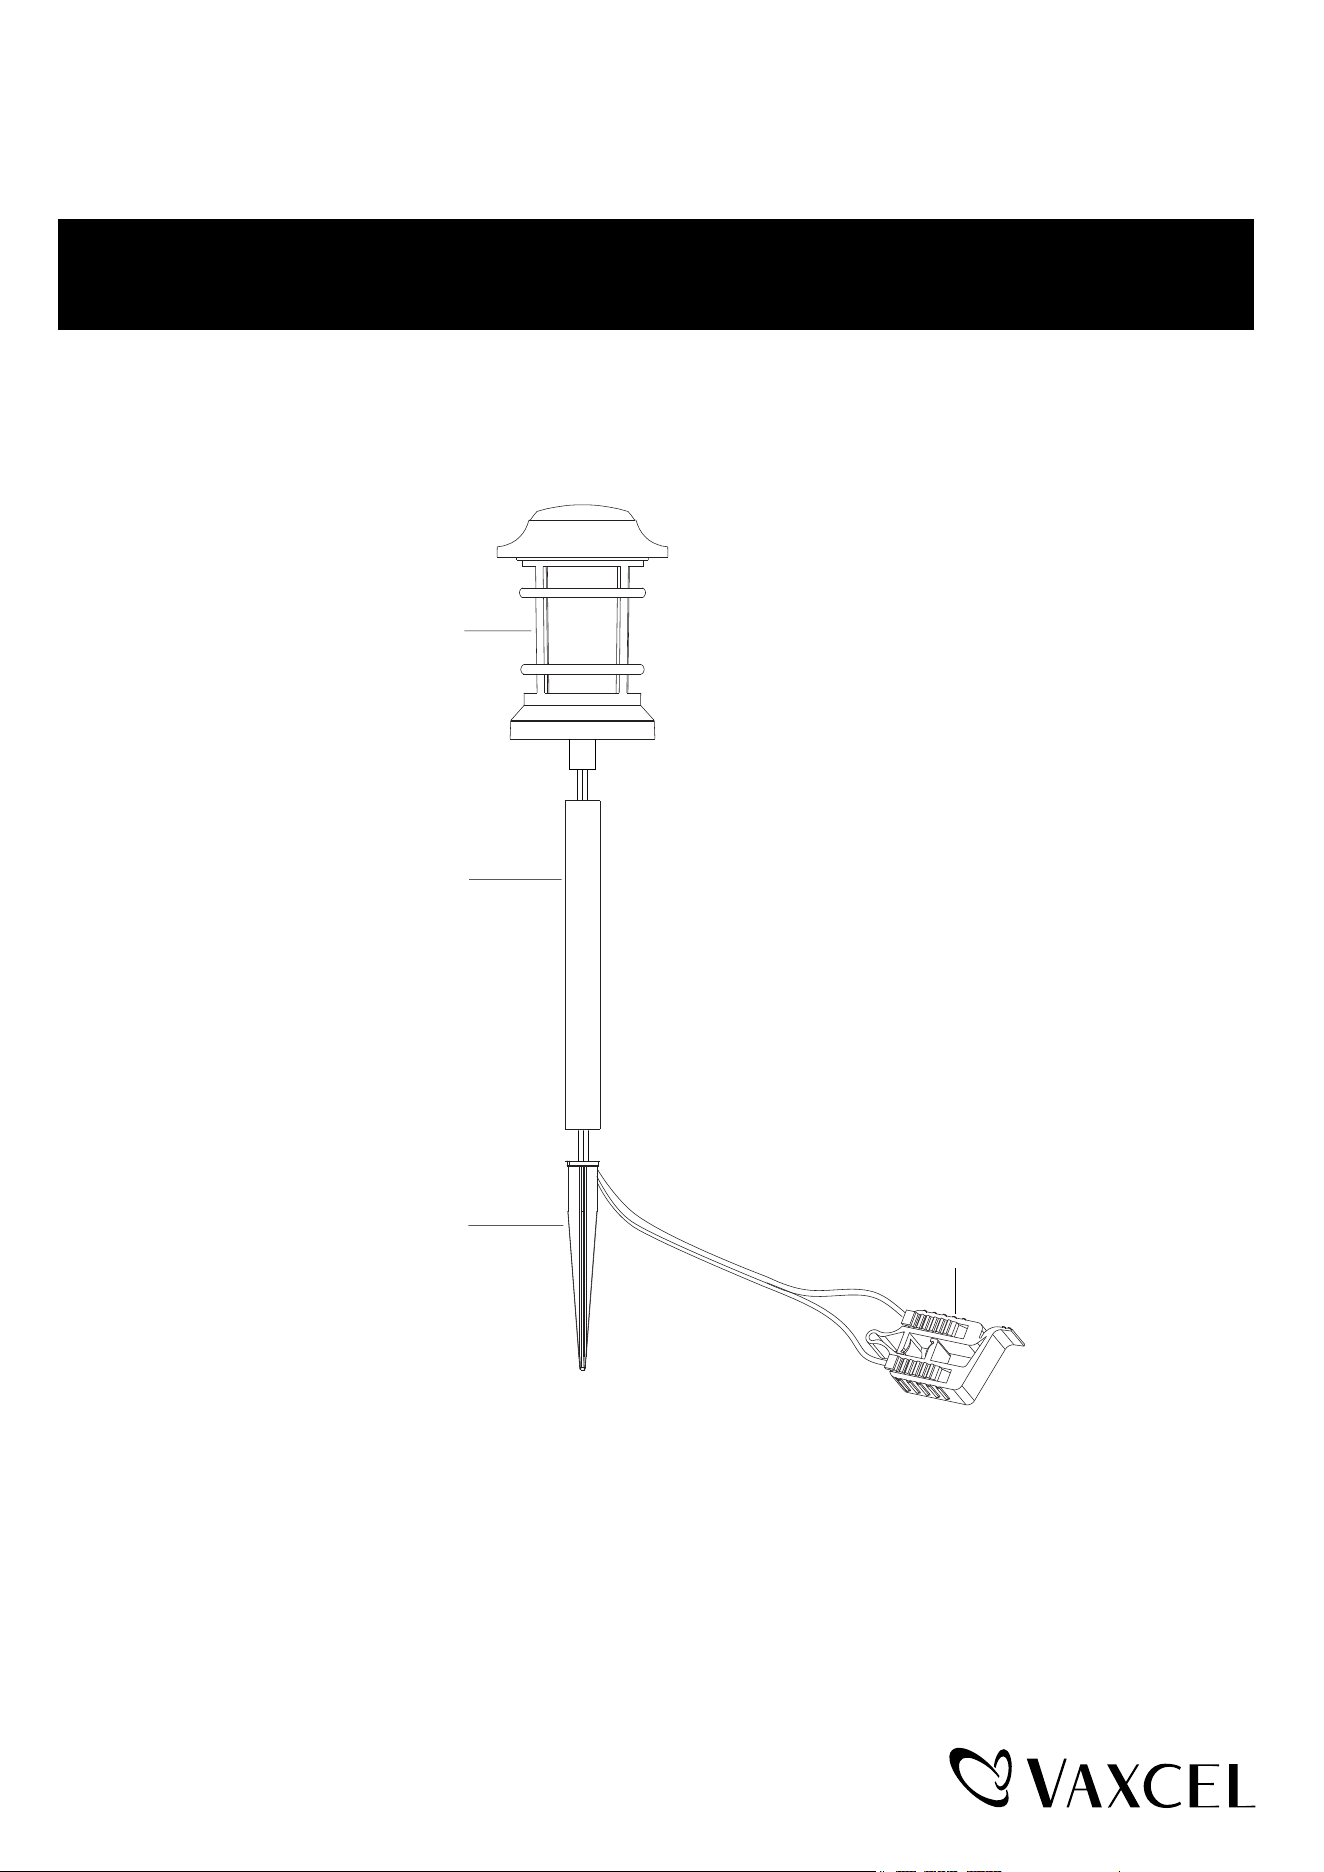
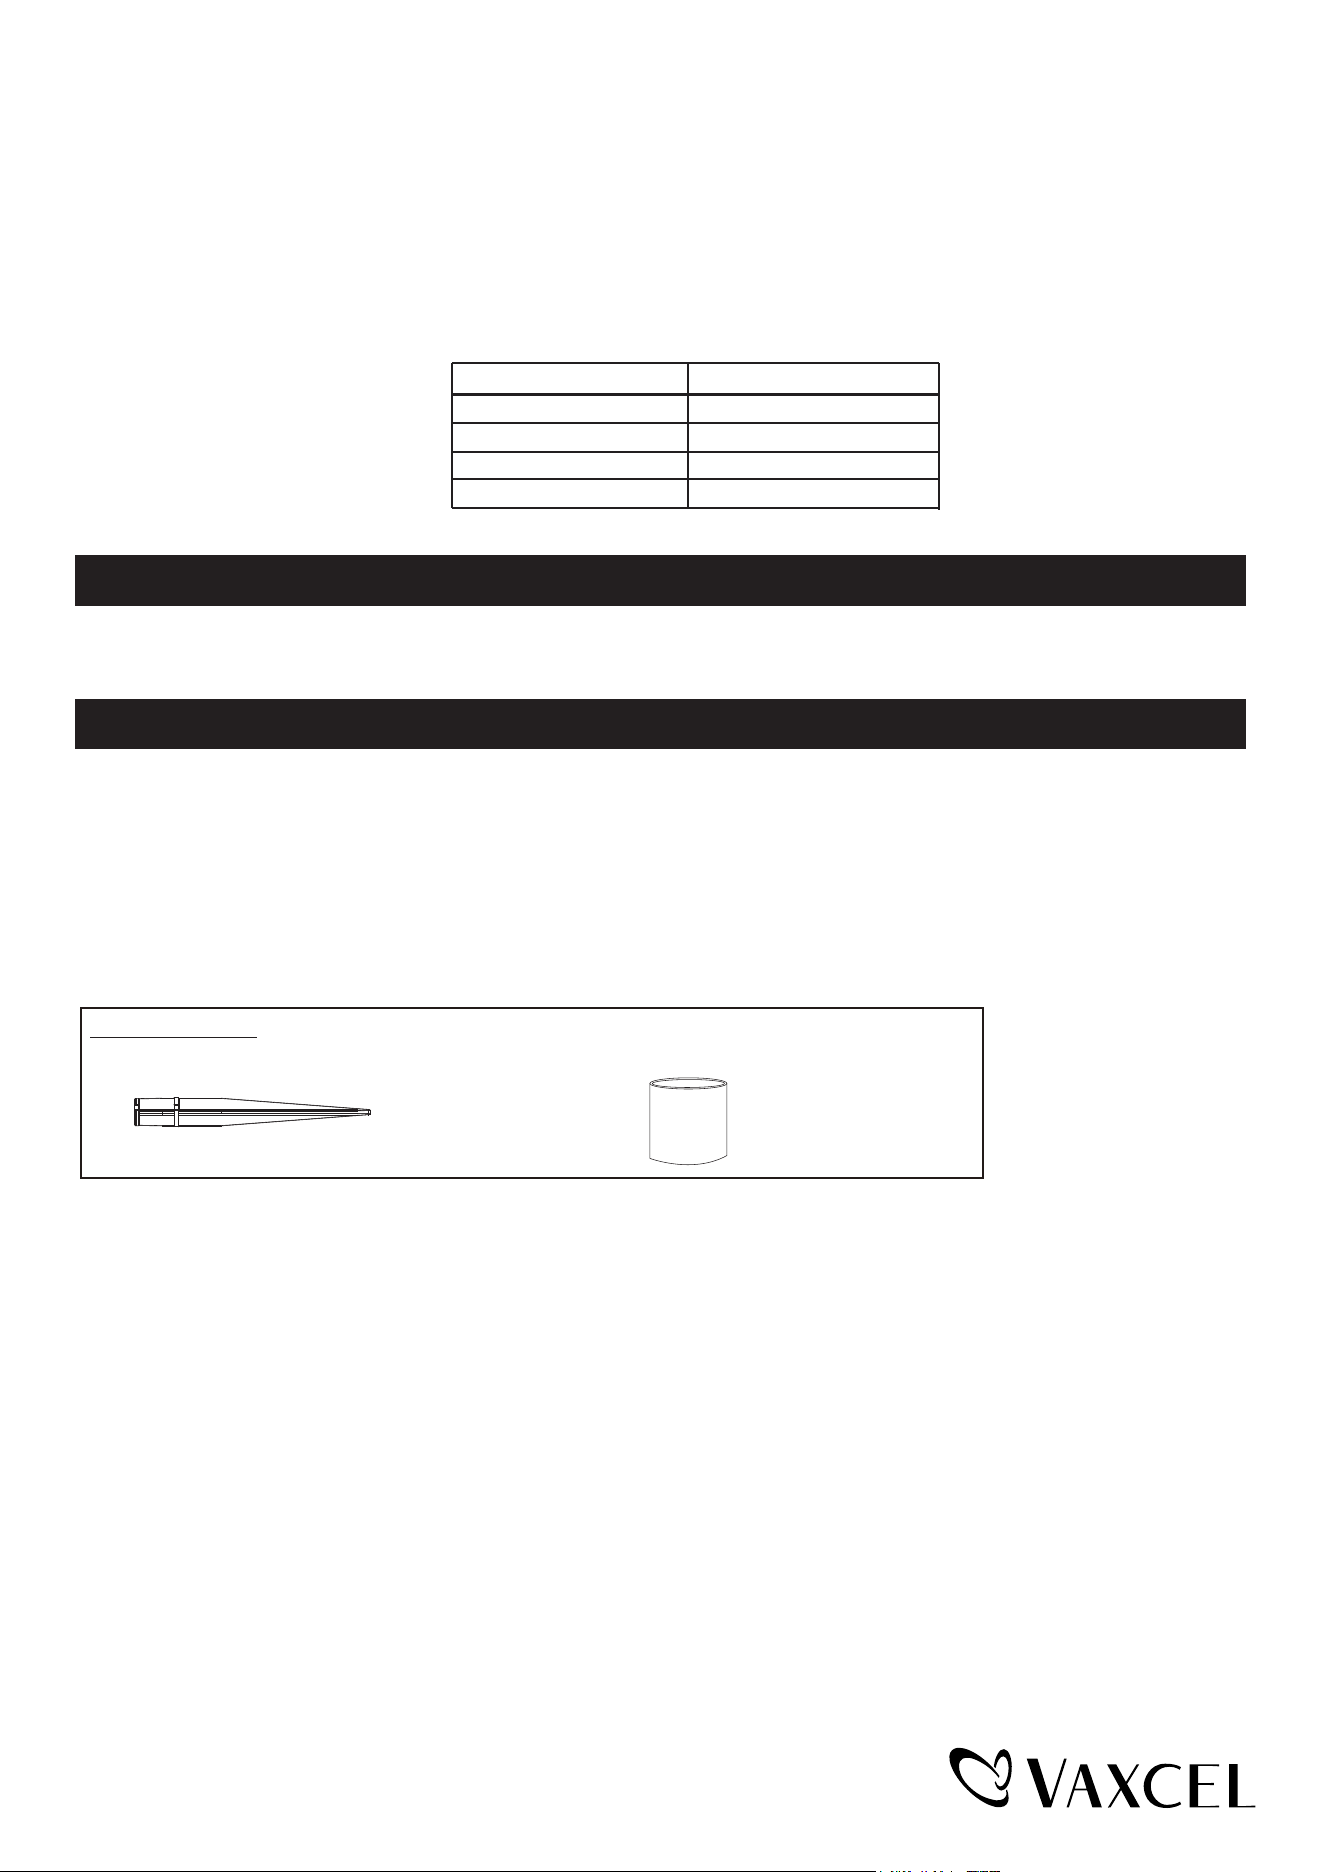
Fixture
Ground Stake
Connector
Tube
Before beginning assembly, installation or operation of product, make sure all parts are present. Compare parts with
package contents list and diagram on previous page. If any part is missing or damaged, do not attempt to assemble,
install or operate the product. Contact customer service for replacement parts.
Tools Required for Assembly (not included): Electrical Tape.
SAFETY INFORMATION
PREPARATION
ASSEMBLY INSTRUCTIONS
1
Please read and understand this entire manual before attempting to assemble, operate or install the product.
CAUTION
WARNING
Ground
Fixture
This lighting fixture is only suitable for a 12V power supply.
This LED lamp is a highly efficient, extremely low wattage, energy saving product.
Use shielded cable for outdoor use in the following sizes: 18 AWG, 16 AWG, 14 AWG, 12 AWG.
Do not submerge in water.
Do not repair or modify this product.
The maximum power of the LED module is 1.7W.
15.2 cm
Tube
Ground
Stake
Connector
Page 2 / 4
231122
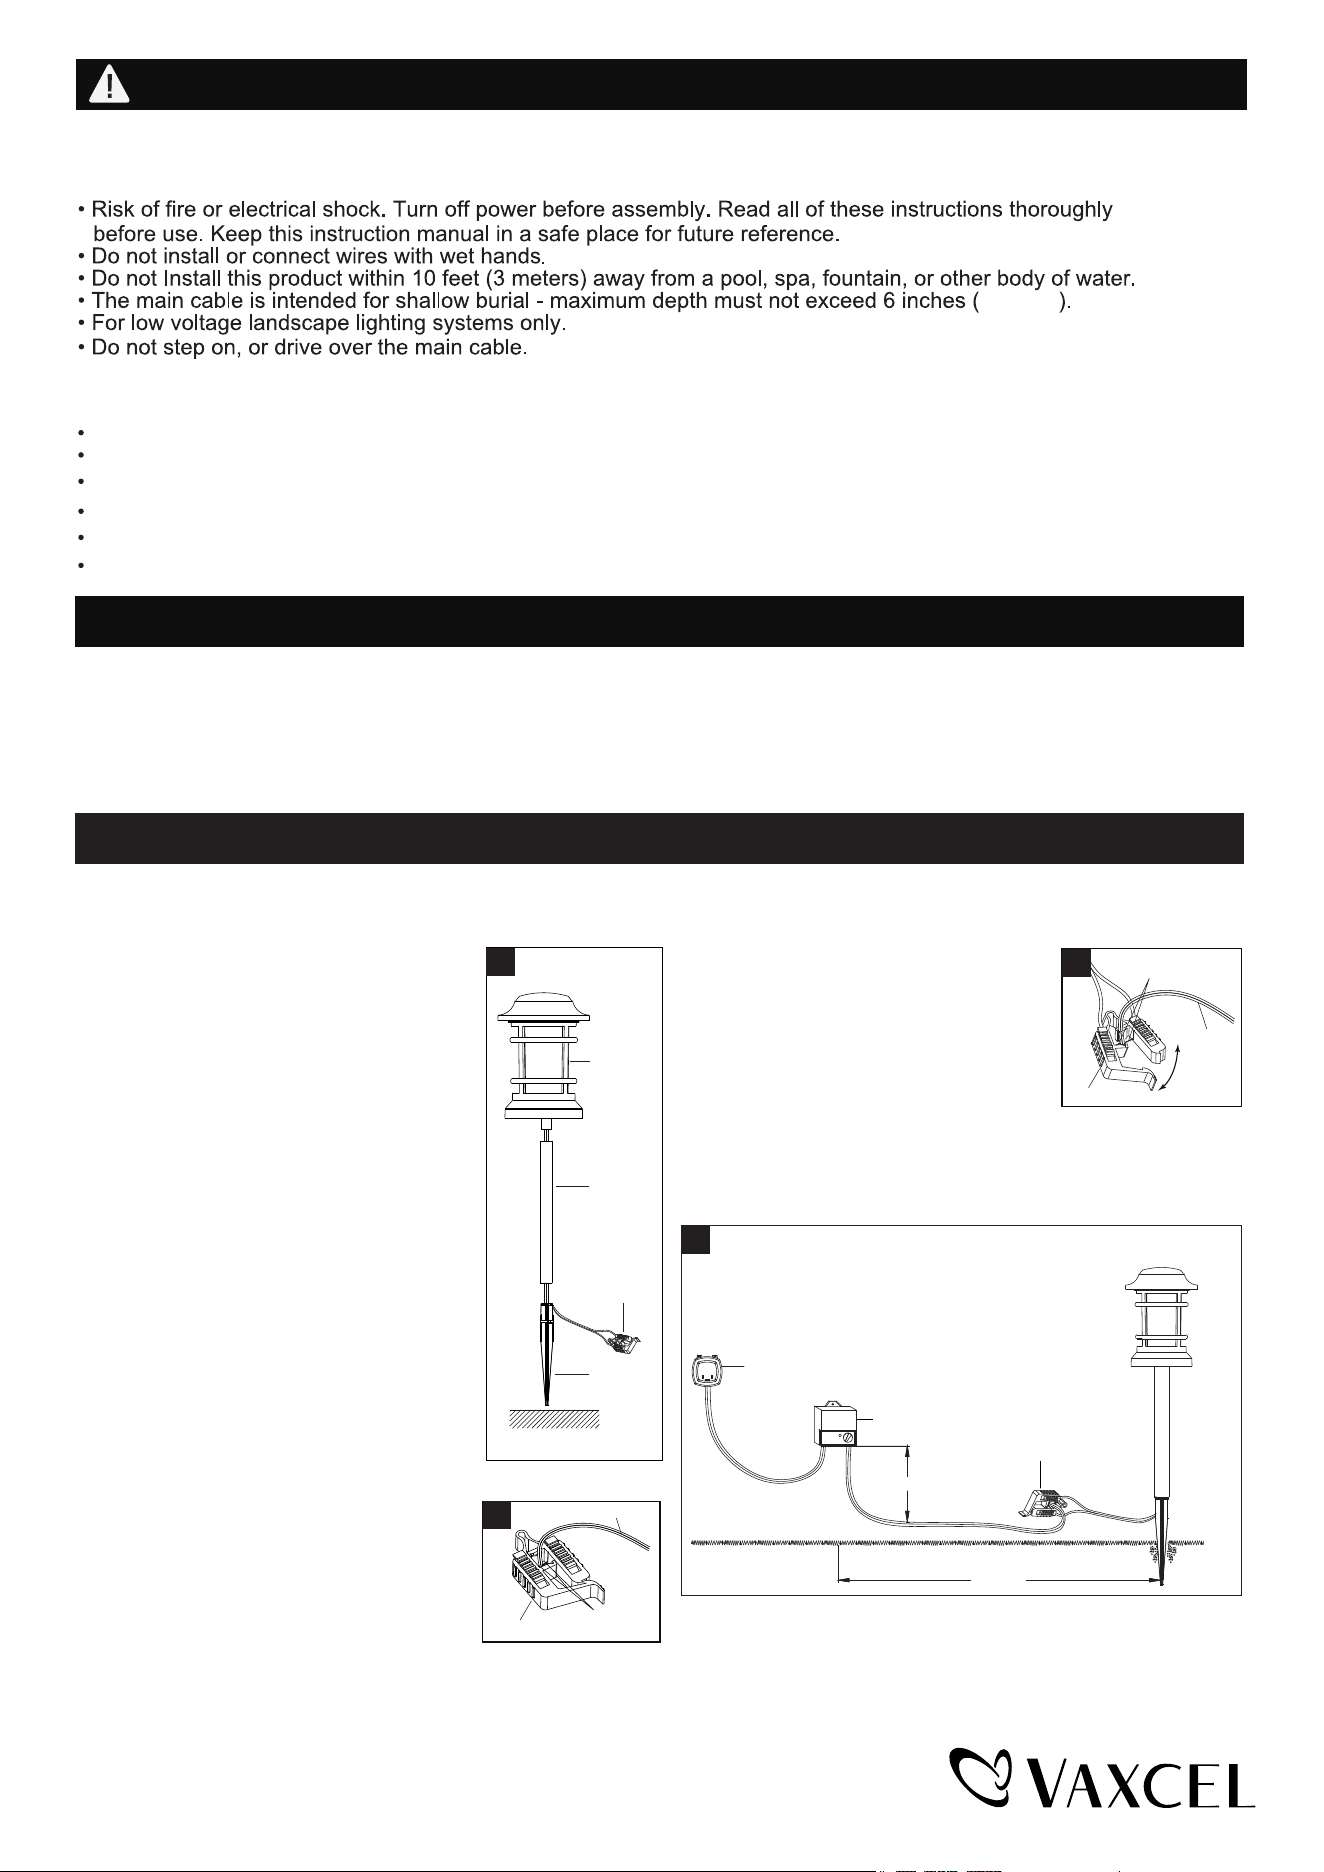
12"(30cm)
10 ft. (3m)
GFCI
Transformer
4
Fixture installation
1. Secure the tube into the fixture, then
secure the ground stake into the tube.
Then gently insert the ground stake
into the ground.
Never push the fixture into the
ground by the fixture head.
Note: In compacted, clay, or
hard soils, moisten the ground
with water before inserting the
stake into the ground to avoid
breakage.
Fixture Assembly
Quick Connector
The connector is intended for use
with 18 AWG, 16 AWG, 14 AWG or
12 AWG outdoor cables.
2. Open the connector from the fixture wires and
insert the power cable from the transformer
(not included) into the connector. (Fig.2)
Contact Pin
Power Cable
2
3. Align the power cable with the contact
pins inside the connector and close
the connector (Fig.3), making sure the
contact pins pierce the power cable.
Contact Pin
Power Cable
3
Connector
4. To insure uniform brightness the first fixture should be
a minimum of 10 feet (3 meters) from the transformer
(not included). (Fig.4)
Connector
Connector
TROUBLESHOOTING
CARE AND MAINTENANCE
Clean the glass with a non-abrasive cleaner. Do not use any cleaners with chemicals, solvents or harsh abrasives.
Use only a soft dry cloth to dust or wipe the lens area.
If the light does not work.
1. Make sure the switch and circuit breaker are on.
2. Make sure the wiring connection is correct.
3. Make sure the photocell is not exposed to light (if have photocell).
4. Make sure the connections between contact pins of connector and wires from power adaptor are in good condition.
Page 3 / 4
231122
Ground Stake
1131GS
Glass Shade
9875CS
Spare Parts List:
Caution:
a. The included connector is to be used only on low voltage power cable with 18 AWG, 16 AWG, 14 AWG or
12 AWG cable.
b. The fixture's cable and connector shall:
● Be protected by routing in close proximity to the light fixture, or next to a building structure such as a house or deck.
● Not be buried except for a maximum 6 inches (15.2 cm) to connect to the main low voltage cable.
● Have a length such that the connector is within 6 inches (15.2 cm) from the light fixture or a building structure.
c. Do not use cable smaller than listed in chart below.
SELECT CABLE. Use the chart below to determine the MINIMUM gauge cable to be used, depending on the wattage
of the power pack. Using large cable will ensure maximum light output.
Power Pack Wattage
240-300 12
14-12
16-14-12
18-16-14-12
120-240
60-120
0-60
Minimum Gauge Cable
The following parts are available for reorder if damaged or missing.
If unable to fix any of the above issues, please consult a certified electrician.
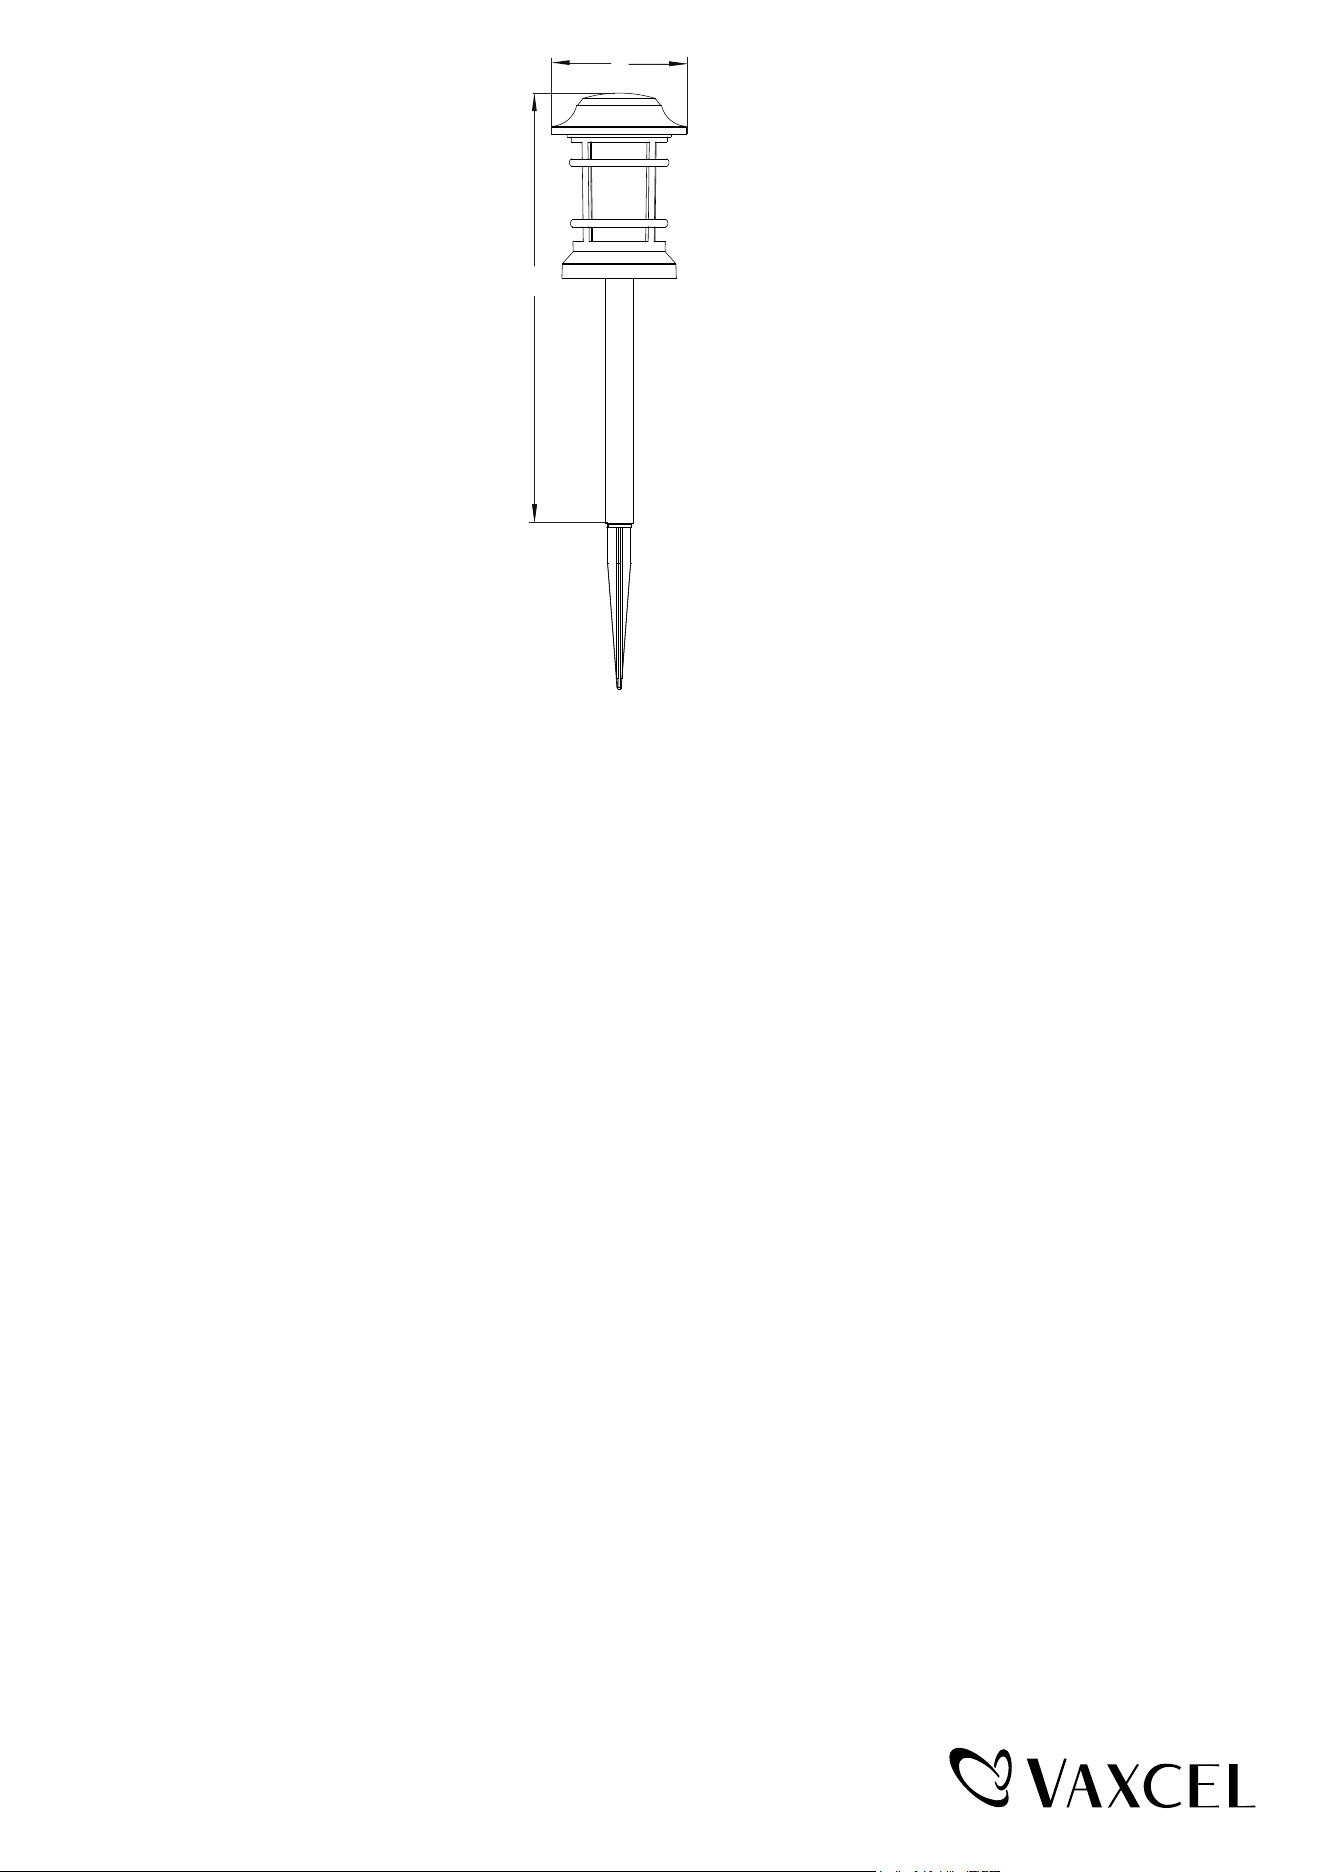
B
A
A: 12-3/4"
B: 4"
Page 4 / 4
231122
5 Year Limited Warranty
How can warranty service be obtained?
1-800-482-9235
Vaxcel warrants all of our products against defects in workmanship and finishes for one year following the date of shipment.
In addition:
● Any product with an integrated motion sensor or dusk-to-dawn photocell is supported by a 5-year warranty for the
functionality of the product.
● Any product with integrated LED modules is covered by a 5-year warranty on the LED functionality.
Exclusions: This warranty does not include the failure of products from extreme acts of nature; environmental conditions
not suited for the products intended use; operation in temperatures outside of the range specified in the instruction manual;
usage with improper power supply, power surges or dips. For coastal locations, some corrosion is considered normal for
the environment.
Vaxcel reserves the right to repair, replace or issue a credit for any properly installed product, provided it is returned per
RMA instruction. This warranty is limited to the cost of the product only and does not extend to transportation, installation
or replacement costs.