Loading ...
Loading ...
Loading ...
Use
14
3.2 Preliminary operations
In order to remove any moisture that could
have accumulated during the manufacturing
process and for the electronic circuits and
control keypad to work properly:
1. Remove the protective films from the
external surfaces of the appliance and
accessories.
2. Remove any labels (apart from the
technical data plate).
3.3 Using the hob
All the appliance’s control and monitoring
devices are located together on the front
panel. The induction hob is controlled by
means of the Touch control sensor buttons.
Lightly touch a symbol on the glass ceramic
surface. A beep will sound to confirm every
effective touch.
Switching on the hob for the first time
When the appliance is used for the first
time, after having been connected to the
mains the flashing symbol appears on
the display. It is used to access the
appliance’s technical menu and is intended
only for Technical Support personnel.
Once the appliance has been switched on,
the icon, the dimly lit button and
the text will appear on the timer
display.
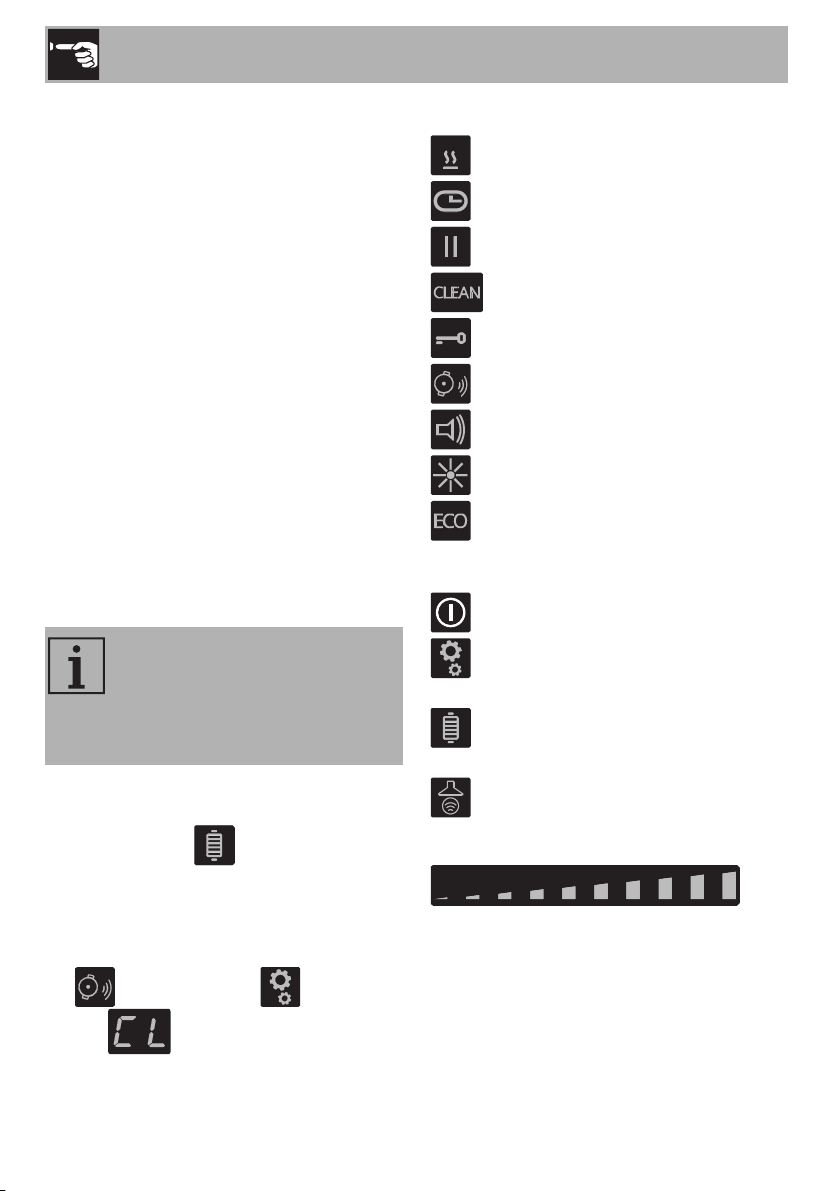
List of icons
Warming function icon.
Timer icon.
Pause function icon.
Clean function icon.
Controls lock icon.
Automatic pan detection icon.
Button volume icon.
Display brightness icon.
Eco mode icon.
List of buttons
On/Off button: turns the hob on or off.
Settings menu button: allows you to
access the appliance’s settings.
Grill function button: activates the Grill
function
Auto-Vent 2.0 function button:
activates communication between the
hob and the extractor hood.
Scroll bar: increases or decreases the
power level of a cooking zone, allows you
to adjust settings and to select the user
menu options.
When the appliance is first
connected to the mains power
supply, an automatic check is
carried out that momentarily
switches on all the indicator lights.
Loading ...
Loading ...
Loading ...