Installation tips
Sugerencias de instalación / Conseils d’installation
Installation tips/Sugerencias de instalación/Conseils d’installation
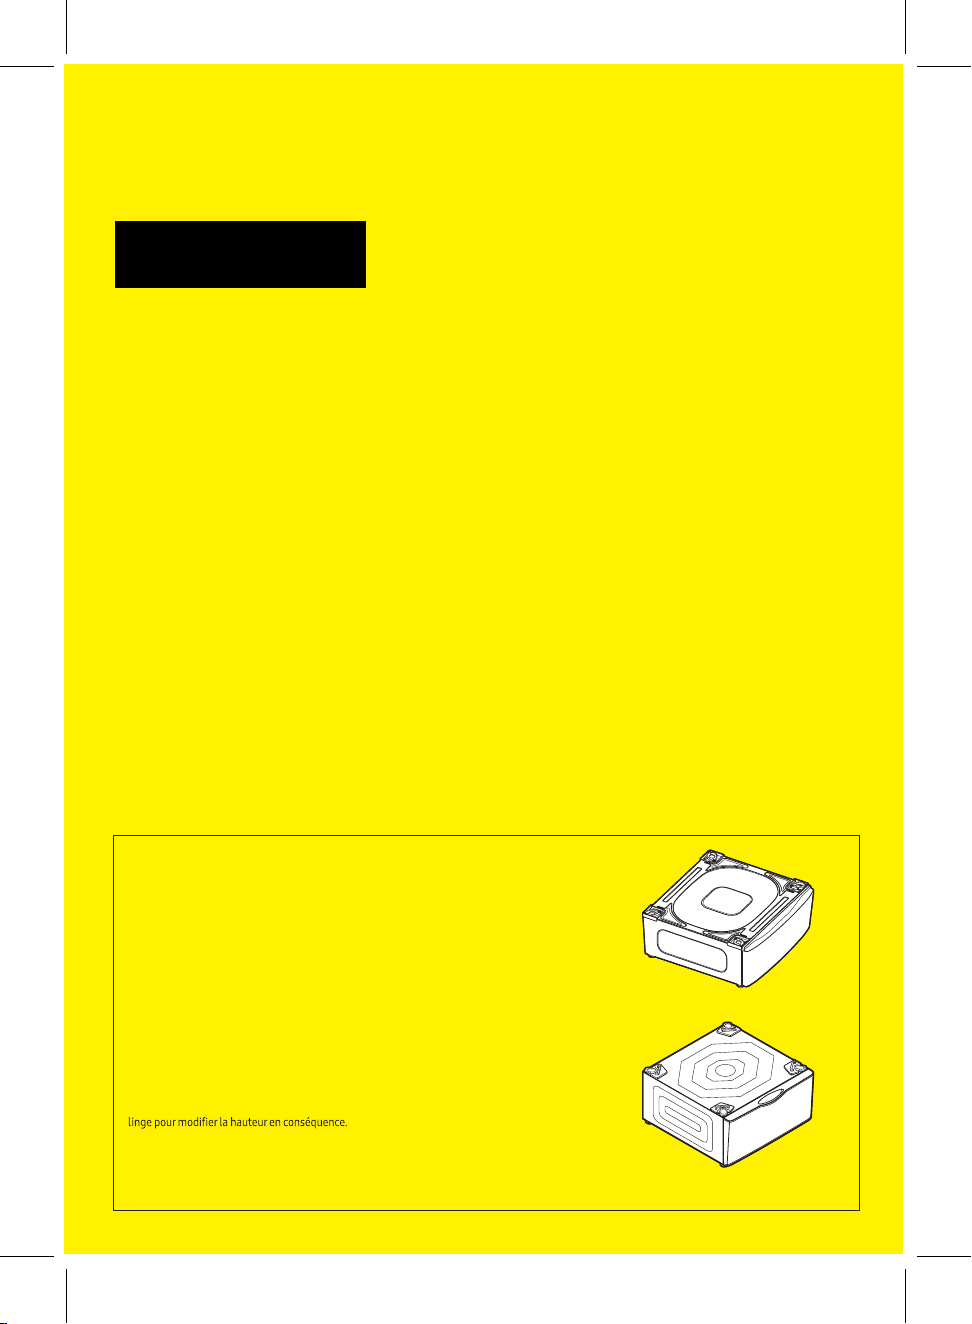
There are old (clamp-type) and new (bracket-type) versions of Samsung pedestals. If you have
both old and new versions of the pedestal, we recommend that you install the dryer on the
older (clamp) type of pedestal and the washer on the newer (bracket) pedestal.
Hay versiones anteriores (con abrazadera) y nuevas (con ménsula) de los pedestales Samsung.
Si posee tanto la versión anterior como la nueva del pedestal,
le recomendamos que instale la
secadora con la versión anterior del pedestal y la lavadora con la versión nueva del pedestal.
Il existe une ancienne version (à brides) et une nouvelle version (à support) des socles
Samsung. Si vous avez l’ancienne et la nouvelle version du socle, nous vous recommandons
d’installer le sèche-linge sur l’ancienne version et le lave-linge sur la nouvelle version.
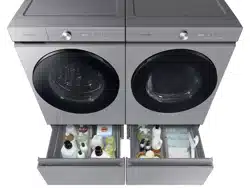
Once you install the washer and dryer as recommended, the dryer will be shorter than the
washer, and you can adjust the dryer’s levelin
g feet so the two are the same height.
Cuando haya instalado la secadora y la lavadora según lo recomendado, la secadora quedará
a menor altura que la lavadora, por lo que podrá regular las patas niveladoras de la secadora
para emparejar la altura.
Une fois le sèche-linge et le lave-linge installés comme recommandé, la hauteur du sèche-
linge sera inférieure à celle du lave-linge. Vous pouvez ajuster les pieds réglables du sèche-
Clamp-type (Old) / Con abrazadera (anterior) /
À brides (ancienne version)
Bracket-type (New) / Con ménsula (nueva) /
À support (nouvelle version)
WE402N(C,P,V, W)/A3
WE502N(D,T,V)/US

Adjusting the height of the dryer/Regular la altura de la secadora/Ajustement de la hauteur du sèche-linge
1
[No Turns]
[Ninguna
vuelta]
[Aucun
tour]
[4 Turns]
[4 vueltas]
[4 tours]
2 3
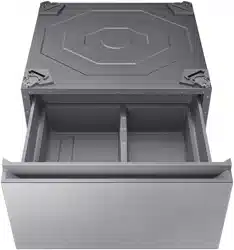
Step 1. Loosen the 4 locking clamps of the
clamp-type pedestal
1. Open the clamp-type pedestal drawer.
2. Unscrew the screws fastening the locking clamps.
(1 per clamp)
pedestal con abrazadera
1. Abra el cajón del pedestal con abrazadera.
2.
socle à brides
1. Ouvrez le tiroir du socle à brides.
2.
en place. (1 par bride)
Step 2. Raise the height of the dryer
Fully retract the dryer’s leveling feet and then turn
them counterclockwise 4 turns so that the dryer is
the same height as the washer.
Paso 2. Subir la altura de la secadora
Retraiga completamente las patas niveladoras de la
secadora y luego gírelas hacia la izquierda 4 vueltas
para que la secadora quede a la misma altura que
la lavadora.
Étape 2. Relever le sèche-linge
Rétractez complètement les pieds réglables du
sèche-linge, puis tournez-les sur 4 tours dans le sens
identique à celle du lave-linge.
Step 3. Tighten the 4 locking clamps of the
clamp-type pedestal
Close the locking clamps and then fasten each clamp
with a screw.
pedestal con abrazadera
abrazadera con un tornillo.
socle à brides
bride à l’aide de la vis.
4
• Use a bubble level to make sure the dryer
is level.
• Make sure the water connections, gas
connections, electrical connections, and
venting are secured.
• Run a test cycle to ensure proper
operation.
• Use un nivel de burbuja de aire para asegurarse
de que la secadora esté nivelada.
• Asegúrese de que las conexiones de agua, las
conexiones de gas, las conexiones eléctricas y
• Ejecute un ciclo de prueba para garantizar un
funcionamiento seguro.
•
sèche-linge est bien de niveau.
• Assurez-vous que les raccordements d’eau,
de gaz, électriques et de ventilation sont bien
effectués.
•
fonctionnement.
Assembling the Guide Cover/Instalación de las cubiertas con guía/Installation du cache-guide
Clamp-type / Con abrazadera /
À brides
L
L
R
R R
R
F
F
Attach a guide cover to each corner of the pedestal. Each guide cover is labeled (RF for front right, FL or LF for front left, RR
for rear right, and LR for rear left) so you can identify the correct corner to attach it to.
Coloque una cubierta con guía en cada esquina del pedestal. Cada cubierta con guía está rotulada (RF para frontal
derecha, FL o LF para frontal izquierda, RR para posterior derecha y LR para posterior izquierda) de forma que pueda
Installez un cache-guide à chaque coin du socle. Chaque cache-guide porte une étiquette (RF pour l’avant droit, FL ou LF
vous devez l’installer.
Bracket-type / Con ménsula /
À support
L
R
L
R
L
Attach a guide cover to each corner of the pedestal. Each guide cover is labeled (R for right, L for left) so you can identify
the correct corner to attach it to.
Coloque una cubierta con guía en cada esquina del pedestal. Cada cubierta con guía está rotulada (R para derecha, L para
Installez un cache-guide à chaque coin du socle. Chaque cache-guide porte une étiquette (R pour le coin droit, L pour le
1. Unscrew.
Quite el tornillo.
Retirez la vis.
L
L
2. Attach the guide cover.
Coloque la cubierta con guía.
Installez le cache-guide.
L
3. Screw in the M4 screw.
Ajuste el tornillo M4.
Vissez la vis M4.