Loading ...
Loading ...
Loading ...
Installation
*INSTALLATION*
26
Checking the building-in niche
Check the installation dimensions
(see “Installation – Installation dimen-
sions”).
Check the position of the electrical
connection. The length of the elec-
trical connection cable is 3m.
The electrical socket must not be
concealed behind the appliance and
must be easily accessible in an
emergency.
Check the surroundings for possible
collisions (see “Installation – Dimen-
sions with appliance door open”).
Only install the wine conditioning unit
in stable, solid building-in niches, po-
sitioned on an even and level floor.
Also check the building-in niche for
the following criteria:
- The side walls of the building-in niche
must be even.
- The surrounding walls of the building-
in niche must be at least 16mm
thick.
- The surrounding walls must be se-
curely fixed to the floor or wall.
- Shortened side walls must be at least
100mm deep.
Before installation
Before installation, remove any ac-
cessories from the back of the appli-
ance.
Risk of damage due to insuffi-
cient ventilation.
If the wine appliance is not suffi-
ciently ventilated, this may cause
mould to form and, in the long term,
lead to damage to the outside of the
wine appliance and in the installation
niche.
Do not remove the spacers from the
outside of the appliance under any
circumstances.
Do not compress the spacers under
any circumstances.
The spacers guarantee the neces-
sary distance between the refrigera-
tion appliance and the installation
niche.
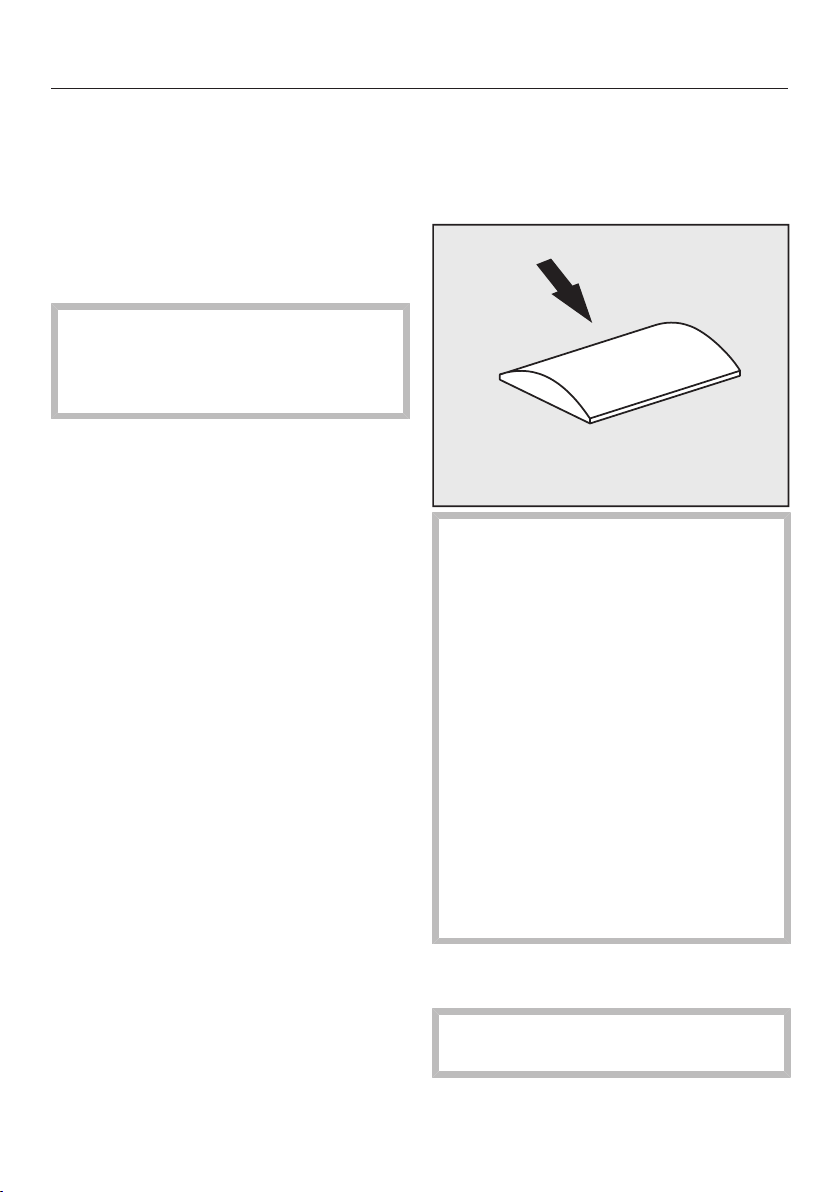
Check the wine conditioning unit for
transport damage.
Do not install the wine conditioning
unit if it is damaged.
Check that all parts at the back of the
appliance are unhindered.
Loading ...
Loading ...
Loading ...