Loading ...
Loading ...
Loading ...
Lift-Off Oven Door
The oven door is removable to
make tile interior" more accessible.
To remove the door, open it a few
inches to the special stop position
that will hold the door' open.. Grasp
firmly on each side and lift the
door' straight up and off the hinges,
Note: Be careful not to place
hands between the spring hinge
and the oven door frame as the
hinge could snap back and pinch
your' fingers.
To replace the door, make sure
the hinges are in tile "out"
position, Position the slots in tile
bottom of the door squarely over
the hinges, Then lower the door
slowly and evenly over both
hinges at the same time. If hinges
snap back against the oven frame,
pull them back out,
Oven Shelves
You may clean the shelves with
a mild abrasive cleanser' following
manufacturer's directions After
cleaning, rinse the shelves
with clean water' and dry with
a clean cloth.
To remove heavy, burned-on soil,
soapy metal pads may be used
following manufacturer's
directions, After scrubbing, wash
with soapy water, rinse and dry..
Oven shelves may be cleaned in
self-cleaning oven. However', they
wilt darken, lose their luster and
become hard to slide. Wipe the
shelf supports with cooking oil
after self-cleaning to make shelves
slide more easily.
Broiler Pan & Rack
After broiling, remove the broiler
pan and rack and carefully pour
off the grease Wash and rinse the
broiler pan and rack in hot,
soapy water.
If' food has burned on, sprinkle the
rack while hot with detergent and
cover with wet paper towels or a
dishcloth. That way, burned-on
foods will soak loose while the
mea! is being served,
Do not store a soiled broiler pan
and rack in the oven. Do not clean
in self cleaning oven,
Oven Light Bulb
Tile light bulb is located in the
upper right corner of the oven,
Before replacing the bulb,
disconnect electric power to the
range at the main fuse or' circuit
breaker panel or' unplug tile range
from tile electric outlet, Let the
bulb cool completely before
removing it, Do not touch a hot
bulb with a damp cloth, If' you do,
the bulb will break,
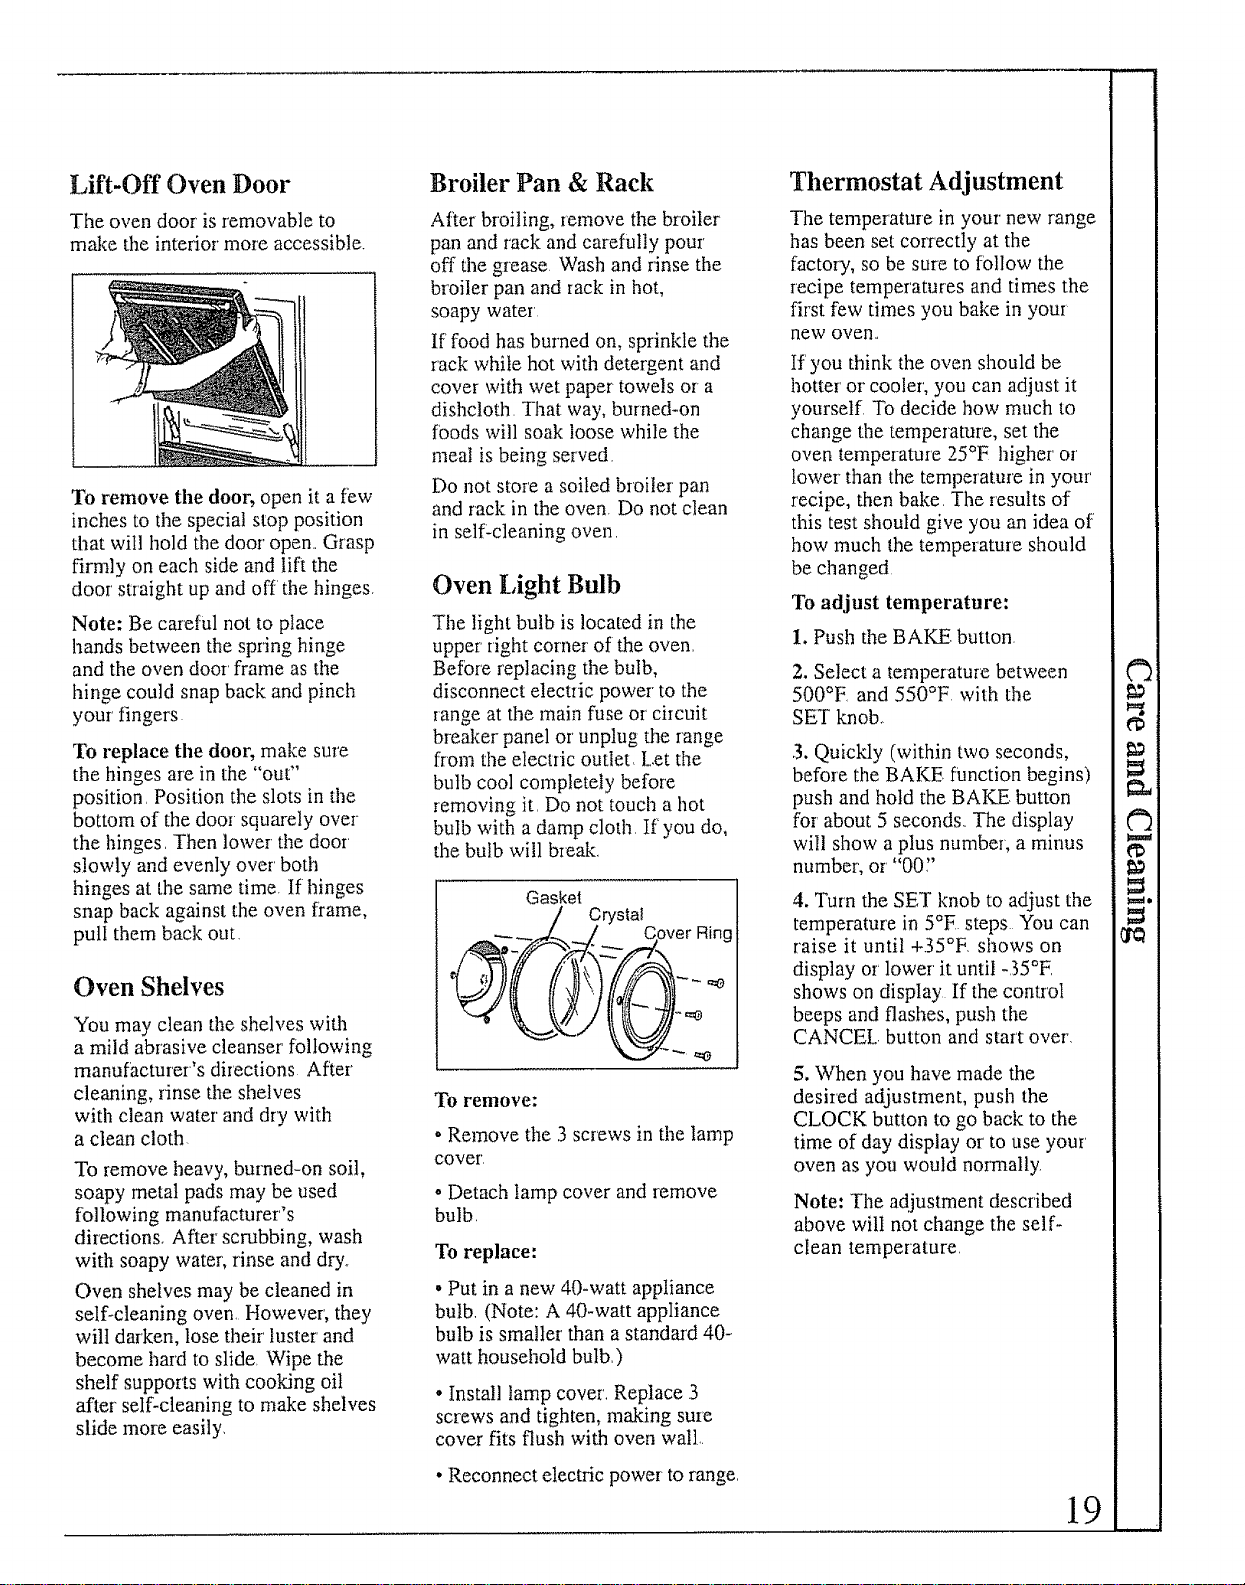
Gasket
/ Crystal
_'i_._: -- 5 Over Ring
To remove:
•Remove tile 3 screws in the lamp
cover,
. Detach lamp cover and remove
bulb,
To replace:
• Put in a new 40-watt appliance
bulb. (Note: A 40-watt appliance
bulb is smaller than a standmd 40-
watt household bulb.)
° Install lamp cover'. Replace 3
screws and tighten, making sure
cover fits flush with oven wa!l,.
• Reconnect electric power to range.
Thermostat Adjustment
The temperature in your' new range
has been set correctly at the
factory, so be sure to follow the
recipe temperatures and times the
first few times you bake in your'
new oven..
If'you think tile oven should be
hotter' or cooler', you can adjust it
yourself, To decide how much to
change the temperature, set the
oven temperature 25°E higher or
lower" than the temperature in your'
recipe, then baize, The results of
this test should give you an idea of
how much the temperature should
be changed,
To adjust temperature:
1. Push the BAIZE. button,
2. Select a temperature between
500°F, and 550°F with the
SET knob.
3. Quickly (within two seconds,
before the BAKE function begins)
push and hold the BAKE button
for' about 5 seconds,. The display
will show a plus number, a minus
number, or "00"
4, Turn the SET knob to adjust the
temperature in 5°E steps You can
raise it until +35°F. shows on
display or lower it until -35°E
shows on display If the control
beeps and flashes, push the
CANCEL. button and start over,
5. When you have made the
desired adjustment, push the
CLOCK button to go back to the
time of day display or to use your'
oven as you would normally
Note: The adjustment described
above will not change the self-
clean temperature,
19
¢3
e_
_t,=t,
Loading ...
Loading ...
Loading ...