Loading ...
Loading ...
Loading ...
29
INSTALLATION
Check the appliance is electrically safe and gas sound when you have nished.
Safety Requirements and Regulations
Please read the Before you start... chapter, before
you begin any installation and maintenance work on
this appliance.
Provision of Ventilation
This appliance is not connected to a combustion products
evacuation device. Therefore, particular attention must be
given to the relevant requirements regarding ventilation.
All rooms require a window that can be opened, or
equivalent, while some rooms require a permanent vent in
addition to the window.
Location of Cooker
The cooker may be installed in a kitchen/kitchen diner but
NOT in a room containing a bath or shower.
This appliance is designed for domestic cooking only. Use for
any other purpose could invalidate any warranty or liability
claim.
You will need the following equipment to complete the
cooker installation satisfactorily:
Multimeter (for electrical checks).
You will also need the following tools:
1. Steel tape measure
2. Cross-head screwdriver
3. Flat-bladed screwdriver
4. Spirit level
5. Pencil
6. Adjustable spanner
7. 3 mm and 4 mm Allen keys
8. 13 mm spanner or socket wrench
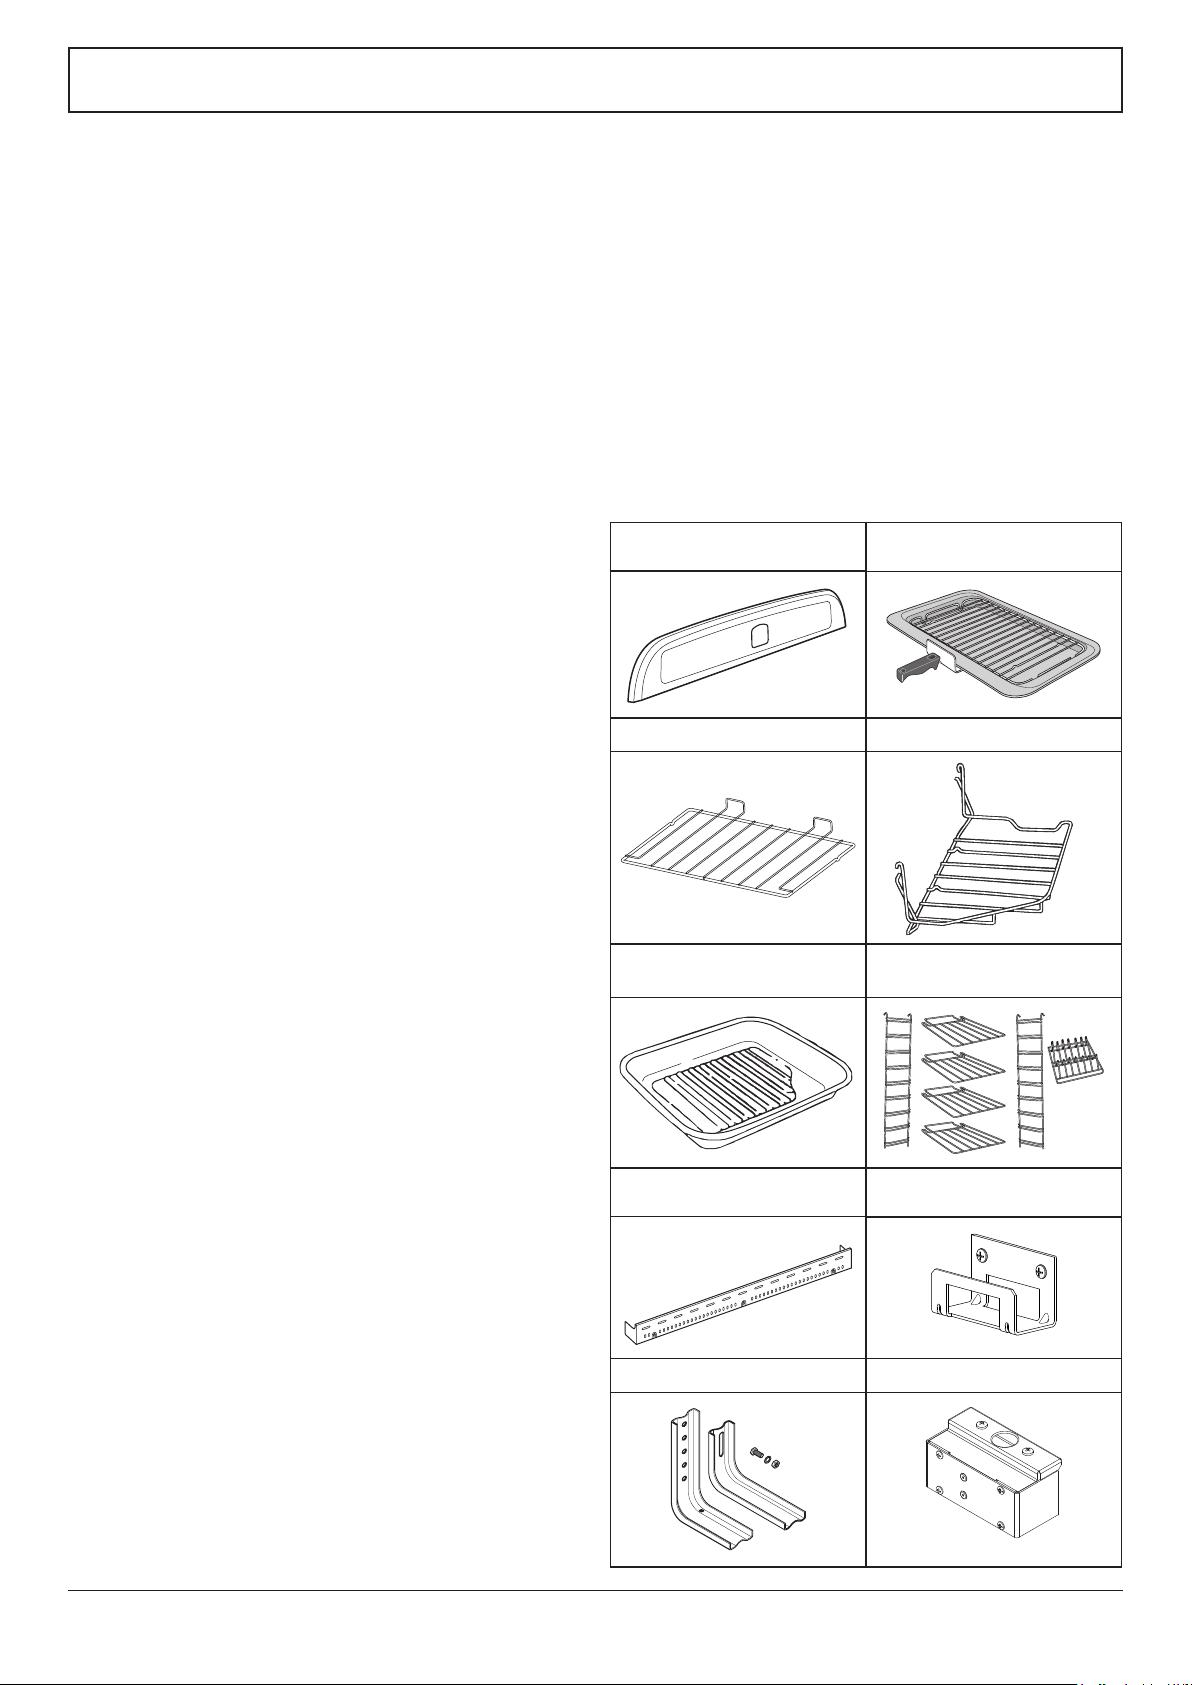
Checking the parts:
Splashback (Classic model only)
Grill pan and trivet
(standard model shown)
ArtNo.350-0012 - splashback
ArtNo.330-0002 - Grill pan w handle
Flat oven shelf Handyrack
ArtNo.324-0003 Handyrack
Roasting tin
Tall oven shelves and shelf
supports (example shown)
ArtNo.324-0004 Roasting tin
ArtNo.000-0010 Tall oven shelves
Plinth
(standard model shown)
Stability location bracket
Stability bracket Conduit box
Loading ...
Loading ...
Loading ...