Loading ...
Loading ...
Loading ...
How to care for your range (continued)
Plug-In Surface Units
Normal spills burn off these self-
cleaning surface units° To make
cleaning easier around and under
the range top openings, the plug-in
surface units are removable_
To remove plug-in units
(Model JDP36G):
o Raise the unit coil opposite the
receptacle Lift about one inch
above the chrome trim ring and
pull away from the receptacle,
Caution: Be sure the coils are cool
before removing a surface unit,
o After removing the plug-in
surface unit, you can take out the
drip pan and chrome trim ring. Wipe
around the edges of' the surface unit
opening, and clean drip pan and
trim ring as recommended in
Cleaning Chart on page 23,
Caution: Be sure all controls are
turned OFF before removing the
surface units or attempting to clean
under them
To replace plug-in units:
o Put trim ring in place around
opening in range top. Then put
drip pan in place and line it up so
plug-in unit receptacle can be seen.
. Insert the terminals of' the plug-in
unit through the opening in the drip
pan and into the receptacle.
o Guide surface unit into place so it
fits evenly and fits snugly in the
opening
To remove plug-in units
(Models JDC26G and JDS26G):
• Raise the unit coil opposite the
receptacle, Lift about one inch
above the chrome drip pan and pull
away from the receptacle_ Caution:
Be sure the coils are coot before
removing a surface unit_
o After removing the plug-in
surface unit, you can take out the
drip pan Wipe around the edges of
the surface unit opening, and clean
drip pan as recommended in
Cleaning Chart on page 23_
Caution: Be sure all controls are
turned OFF before removing the
surface units or' attempting to clean
under them.
To replace plug-in units:
o Put drip pan in place and line it
up so plug-in unit receptacle can be
seen_
o Insert the terminals of the plug-in
unit through the opening in the drip
pan and into the receptacle.
* Guide surface unit into place so it
fits evenly and fits snugly in the
opening_
CAUTION
Do not attempt to clean plug-in
surface units in an automatic
dishwasher.
o Do not immerse plug-in surface
units in liquids of any kind_
o Do not bend the plug-in unit
terminals_
o Do not attempt to clean, adjust or
in any way repair the plug-in
receptacle,
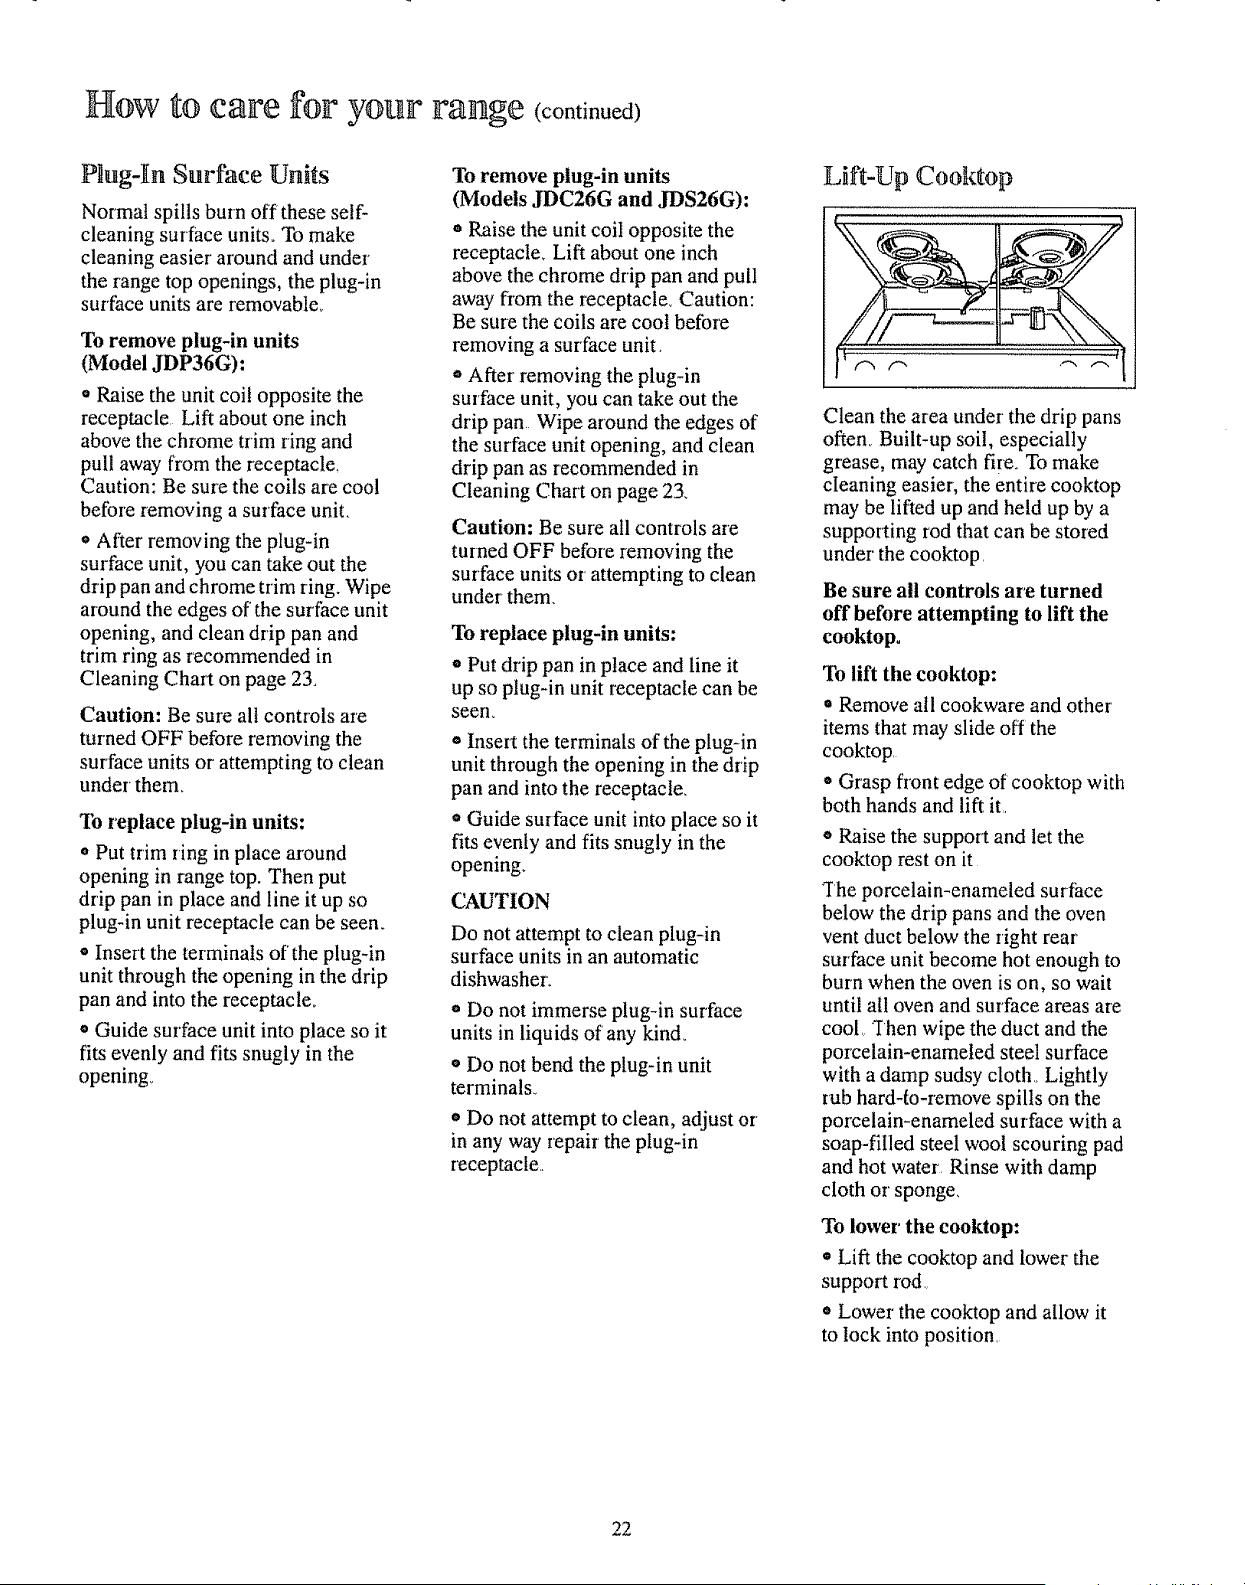
Lift-Up Cooktop
Clean the area under the drip pans
often, Built-up soil, especially
grease, may catch fire_ To make
cleaning easier; the entire cooktop
may be lifted up and held up by a
supporting rod that can be stored
under' the cooktop,
Be sure all controls are turned
off before attempting to lift the
cooktop.
To lift the eooktop:
• Remove all cookware and other
items that may slide off the
cooktop
o Grasp front edge of cooktop with
both hands and lift it,,
o Raise the support and let the
cooktop rest on it
The porcelain-enameled surface
below the drip pans and the oven
vent duct below the right rear
surface unit become hot enough to
burn when the oven is on, so wait
until all oven and surface areas are
cool Then wipe the duct and the
porcelain-enameled steel surface
with a damp sudsy cloth._ Lightly
rub hard-to-remove spills on the
porcelain-enameled surface with a
soap-filled steel wool scouring pad
and hot wate_ Rinse with damp
cloth or' sponge,
To lower the cooktop:
* Lift the cooktop and lower the
support rod,_
_,Lower the cooktop and allow it
to lock into position,
22
Loading ...
Loading ...
Loading ...