Loading ...
Loading ...
Loading ...
Level
the
washer
1.
Tilt
washer
forward
raising
back
legs
1"
(25
mm)
off of
floor,
to
adjust
rear
self-leveling
legs.
Gently
lower
washer
to
floor.
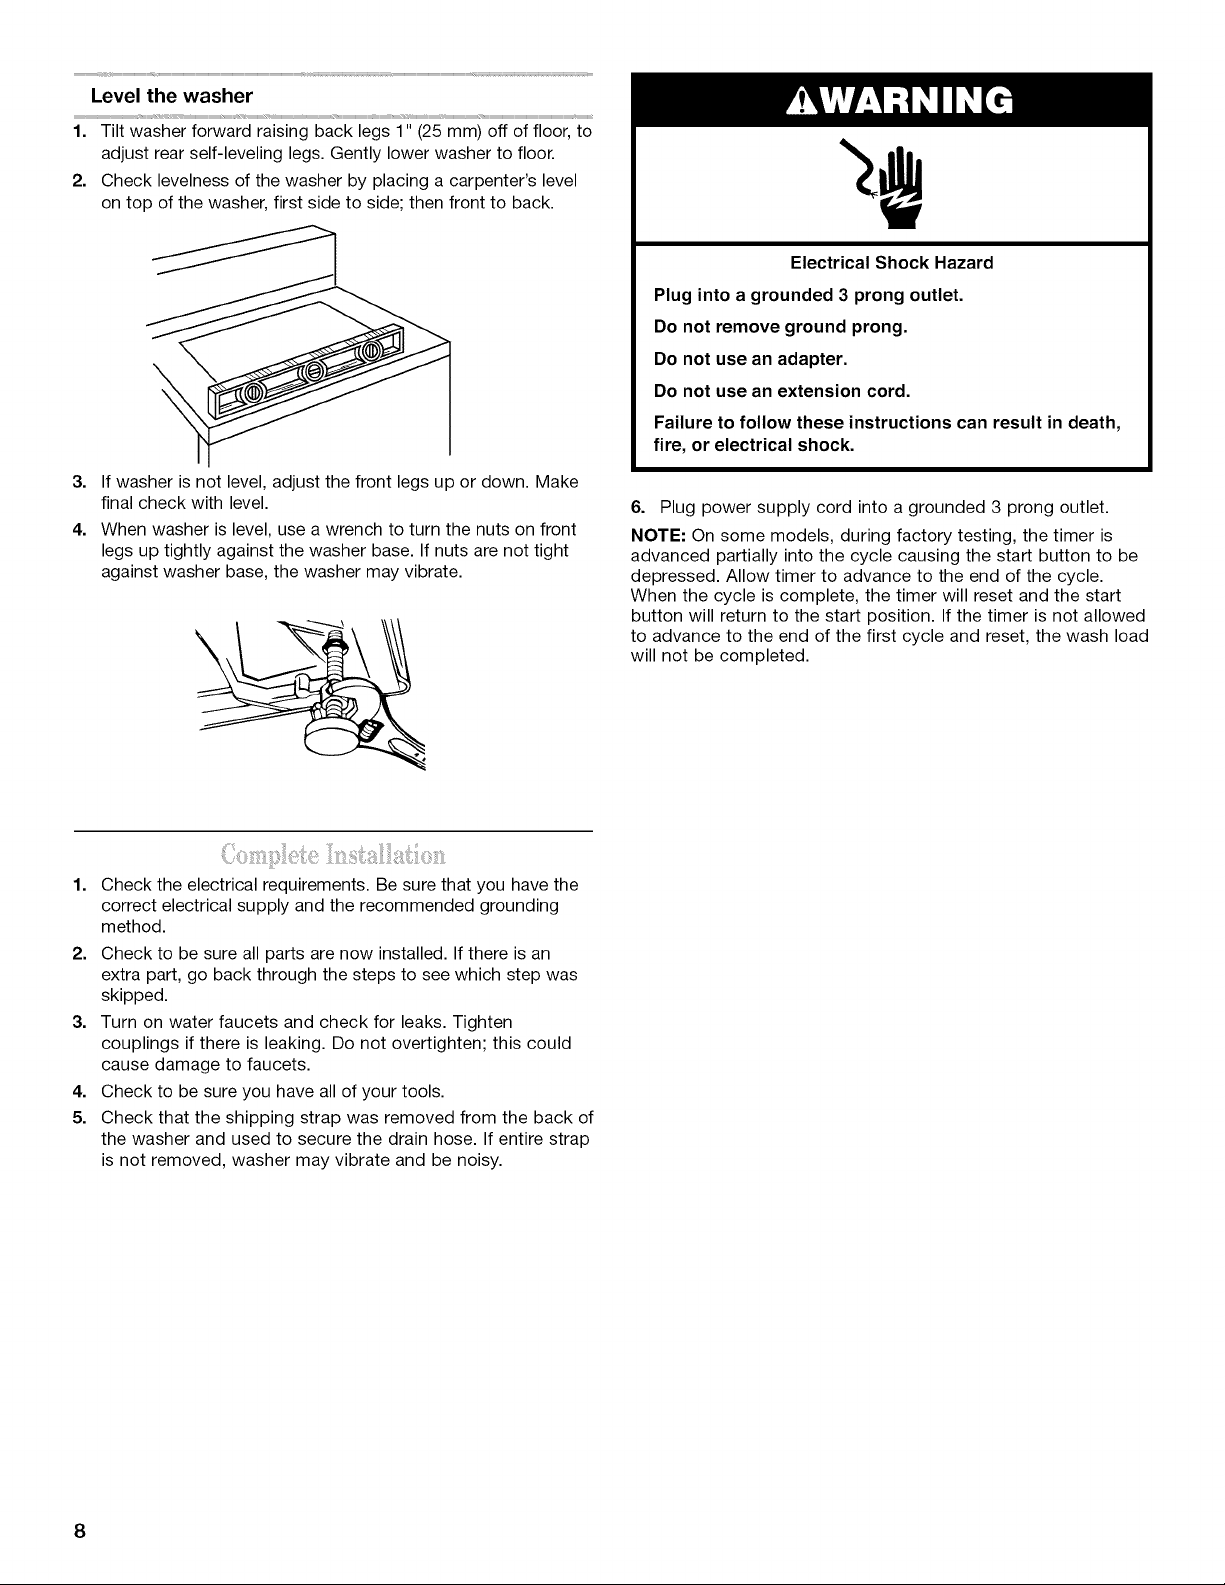
2.
Check
levelness
of
the
washer
by
placing
a
carpenter’s
level
on
top
of
the
washer,
first
side
to
side;
then
front
to
back.
3.
If
washer
is
not
level,
adjust
the
front
legs
up
or
down.
Make
final
check
with
level.
4.
When
washer
is
level,
use
a
wrench
to
turn
the
nuts
on
front
legs
up
tightly
against
the
washer
base.
If
nuts
are
not
tight
against
washer
base,
the
washer
may
vibrate.
1.
Check
the
electrical
requirements.
Be
sure
that
you
have
the
correct
electrical
supply
and
the
recommended
grounding
method.
2.
Check
to
be
sure
all
parts
are
now
installed.
If
there
is
an
extra
part,
go
back
through
the
steps
to
see
which
step
was
skipped.
3.
Turn
on
water
faucets
and
check
for
leaks.
Tighten
couplings
if
there
is
leaking.
Do
not
overtighten;
this
could
cause
damage
to
faucets.
4.
Check
to
be
sure
you
have
all
of
your
tools.
5.
Check
that
the
shipping
strap
was
removed
from
the
back
of
the
washer
and
used
to
secure
the
drain
hose.
If
entire
strap
is
not
removed,
washer
may
vibrate
and
be
noisy.
ft
Electrical
Shock
Hazard
Piug
into
a
grounded
3
prong
outlet.
Do
not
remove
ground
prong.
Do
not
use
an
adapter.
Do
not
use
an
extension
cord.
Failure
to
follow
these
instructions
can
result
in
death,
fire,
or
electrical
shock.
6.
Plug
power
supply
cord
into
a
grounded
3
prong
outlet.
NOTE:
On
some
models,
during
factory
testing,
the
timer
is
advanced
partially
into
the
cycle
causing
the
start
button
to
be
depressed.
Allow
timer
to
advance
to
the
end
of
the
cycle.
When
the
cycle
is
complete,
the
timer
will
reset
and
the
start
button
will
return
to
the
start
position.
If
the
timer
is
not
allowed
to
advance
to
the
end
of
the
first
cycle
and
reset,
the
wash
load
will
not
be
completed.
Loading ...
Loading ...
Loading ...