Loading ...
Loading ...
Loading ...
12
OPERATION
Auger Control
Located on the upper handle, the auger control handle is used to engage and disengage
drive to the auger. Squeeze the control handle against the upper handle to engage the
auger; release it to disengage.
Muffler
Engine exhaust exits the engine via the muffler.
Chute Rotation Control
The chute rotate control is located in the center of the control panel and controls the
direction snow is thrown. Depress the button and rotate the chute rotation control to the
right to turn the chute to the right and rotate to the left to turn the chute to the left.
Chute Assembly
The pitch of the discharge chute controls the angle at which the snow is thrown. Loosen
the wing knob on the side of the discharge chute before pivoting the discharge chute
upward or downward. Retighten the knob once the desired position has been achieved.
Shave Plate
The shave plate maintains contact with the pavement as the snow thrower is
propelled, allowing snow close to the pavement’s surface to be discharged.
Oil Fill/Dipstick
Engine oil level can be checked and oil added through the oil fill.
Oil Drain
Engine oil can be drained through the oil drain.
Headlight
The headlight is located on the upper center of the control panel and is on when the
snow thrower is running.
Electric Starter Outlet
Requires the use of a three-prong outdoor extension cord and a 120V power source/
wall outlet.
Electric Starter Button
Pressing the electric starter button engages the engine’s electric starter when plugged
into a 120V power source.
Before Starting the Engine
WARNING
Read, understand and follow all the instructions and warnings on the
machine and in this manual before operating.
Starting The Engine
WARNING
Always keep hands and feet clear of moving parts. Do not use a pressurized
starting fluid. Vapors are flammable.
WARNING
To avoid carbon monoxide poisoning, make sure the engine is outdoors in a
well-ventilated area.
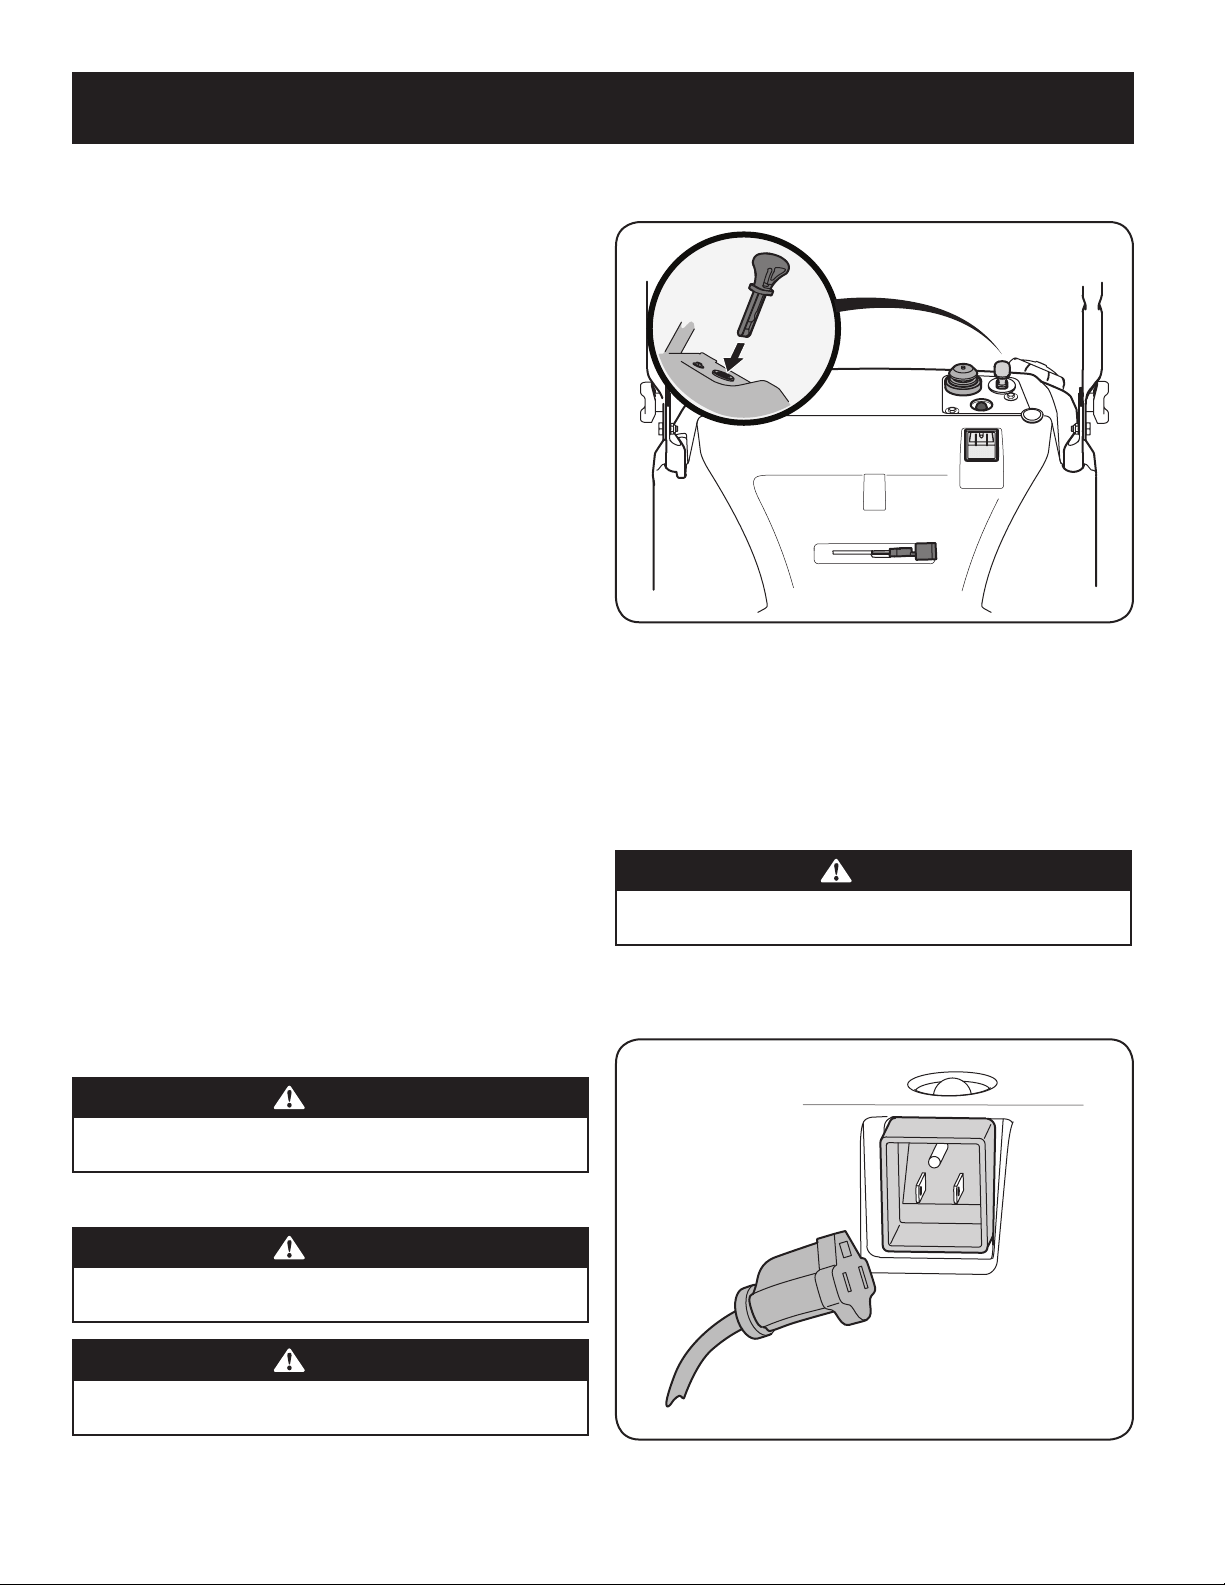
1. Make certain the auger control is in the disengaged (released) position.
2. Insert ignition key into slot. Make sure it snaps into place. Do not attempt to
turn the key. See Figure 2.
Figure 2
NOTE: The engine cannot start unless the key is fully inserted into the
ignition switch.
Electric Starter
Determine that your home’s wiring is a three-wire grounded system. Ask a licensed
electrician if you are not certain.
If you have a grounded three-prong receptacle, proceed as follows:
CAUTION
The extension cord can be any length, but must be rated for 15 amps at
125 volts, grounded and rated for outdoor use.
1. Plug the extension cord into the outlet located on the engine’s surface. Plug the
other end of extension cord into a three-prong 120-volt, grounded, AC outlet in a
w
ell-ventilated area See Figure 3.
Figure 3
Loading ...
Loading ...
Loading ...