Loading ...
Loading ...
Loading ...
14
INSTALLATION INSTRUCTIONS
Optional extras
Duct covers
Duct covers may be used to fill the space between the
range hood and the ceiling in wall mount installations.
These covers are available in 6” (152mm) and 12”
(305mm) sizes and may be ordered separately,
see ‘Parts and accessories’. Refer to ‘Installation
instructions’ for calculation of installation height to
determine which duct cover(s) may be required.
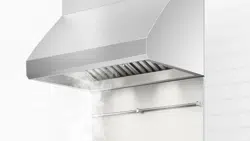
Duct cover installation
1
Place the duct cover on the range hood.
2
From inside of range hood, insert the 5/16” (8mm) T20
(TORX) head machine screws through the 4 holes in
the duct cover (refer to A).
Note: Multiple duct covers can be used if additional height is required. Duct covers
are available in 6” (152mm) and 12” (305mm) heights. Screw the duct covers together
before placing them onto the range hood and completing step
2
.
Duct transition
The range hood is supplied with individual duct connection rings that connect to 8”
(208mm) ducting, (refer to B).
An optional transition may be ordered separately, please refer to ‘Parts and accessories’
for details. This can be mounted to the top of the range hood to provide a single 10”
(254mm) outlet.
For wall mounting installation the transition should be installed before the range hood is
mounted.
For cabinet mounting installation the transition should be mounted after installing the
range hood.
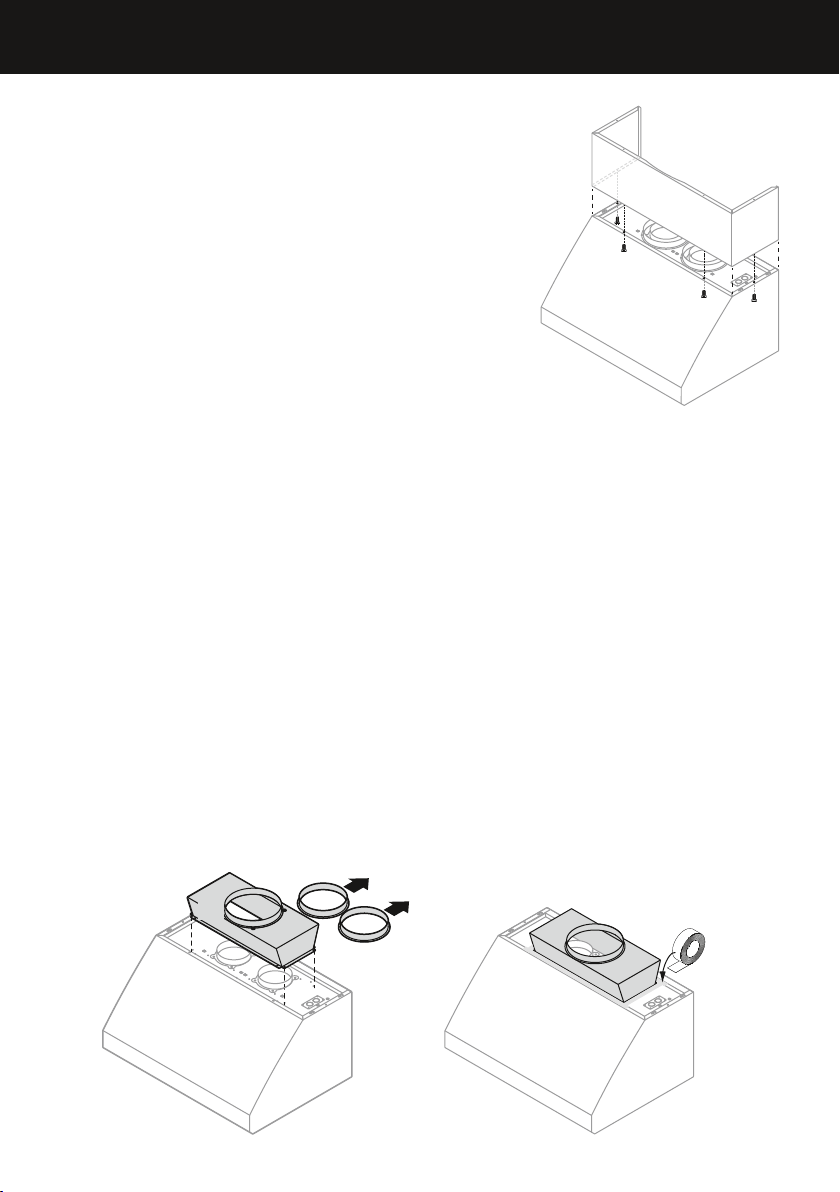
Duct transition assembly
1
Remove the individual 8” (203mm) duct connection rings (refer to B).
2
Place the transition piece over the range hood exhaust, secure from the inside of the
range hood with 5/16” (8mm) T20 (TORX) head machine screw provided with the
transition (refer to C).
3
Seal the connection between the transition and range hood with aluminum tape (refer
to D).
INSTALLATION PREPARATION
D
B
C
A
Loading ...
Loading ...
Loading ...