Loading ...
Loading ...
Loading ...
5
BEFORE USING FOR THE FIRST TIME
• Remove labels, stickers and packaging from the appliance.
• Read all instructions and warnings.
IMPORTANT INFORMATION
• For best performance, we recommend using distilled, puried or ltered water in your steamer. Tap
water contains minerals that can build up inside your steamer over time and reduce its eciency or
even cause damage.
• Never use perfumes, oils or other additives.
• Always check the garment’s care label before steaming, and always test fabrics for colourfastness in
an inconspicuous area. Steamers are not recommended for use on leather, suede, vinyl, plastic, or
other materials that are sensitive to steam.
• During use the steamer and accessories will become HOT. Never try to t or remove attachments
while still hot.
• After preheating, prime the water pump by holding the steam trigger until steam forms.
• It is normal to feel or hear the water pump inside the device. It may become louder when the water
level in the tank is low. Check and rell the tank when required.
• Small amounts of dripping might occur during use. If excessive, your steamer needs time to get back
up to full temperature. Just allow the steamer a minute to reheat.
• Wearing clothes immediately after ironing or steaming can actually create wrinkles. Always allow the
clothing to cool for about 5 minutes before wearing.
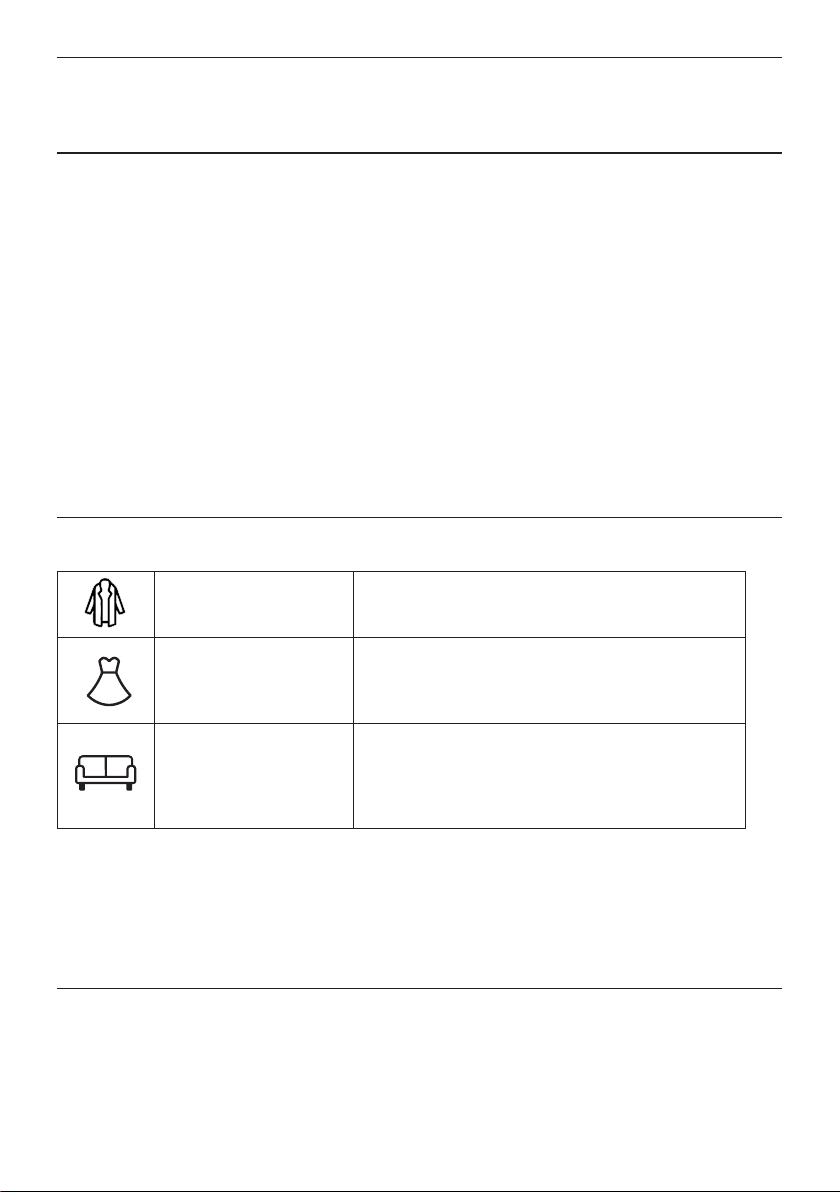
ATTACHMENTS
Your steamer has three attachments. Each attachment is marked with an icon.
Fabric attachment
Opens up the bres in fabrics so the steam can better
penetrate the material; good for thicker materials like
coats and can also help to remove pilling.
Delicate fabric attachment
Reduces the possibility of damage to fabrics such as silk
and lace.
Tip: For items with printing/embellishment, turn the
garment inside out to avoid damage to sensitive areas.
Upholstery attachment
Deodorise, refresh and clean larger materials such as
bedding, mattresses, curtains, soft toys, sofas and
much more.
Always test for colourfastness and heat sensitivity on
an inconspicuous area.
Fitting/Removing (Fig. A)
1. Make sure that the steamer and attachment are cool.
2. Hook the top of the attachment over the top edge of the steamer.
3. Click the bottom edge into place.
4. Remove attachments by lifting them away from your steamer starting at the heel. When removing the
attachment, watch out for condensation that may have built up during use.
FILLING
1. Place the steamer as shown (Fig. E). You can also place your steamer on the heat resistant storage bag.
2. Open the water inlet cover (Fig. B).
3. Pour slowly, to let the air in the reservoir escape, otherwise you’ll cause an air lock and the water will
overow.
4. Don’t ll past the max marking or water will escape in use.
Loading ...
Loading ...
Loading ...