Loading ...
Loading ...
Loading ...
en Time-setting options
18
End time
You can change the time at which you wish your dish to
be ready. The oven starts automatically and finishes at
the desired time. You can, for example, put your dish in
the cooking compartment in the morning and set the
cooking time so that it is ready at lunch time.
Ensure that food is not left in the cooking compartment
for too long as it may spoil.
Example in the picture: it is 10:30 am, the cooking time
is 45 minutes and the oven is required to finish cooking
at 12:30 pm.
1. Adjust the function selector.
2. Set the temperature selector.
3. Press the 0 button twice.
4. Use the @ or A button to set the cooking time.
5. Press the 0 button.
The brackets are around p. The time when the dish
will be ready is displayed.
6. Use the @ or A button to set a later end time.
After a few seconds, the oven adopts the settings and
switches to standby position. The time at which the dish
will be ready is shown in the display and the p symbol
is in brackets. The U and 0 symbols go out. When the
oven starts, you can see the cooking time counting
down in the display and the r symbol is in brackets.
The p symbol goes out.
The cooking time has elapsed
A signal sounds. The oven stops heating. 00:00 is
shown in the display. Press the 0 button. You can set a
new cooking time using the @ or A button. Or press
the 0 button twice and turn the function selector to the
off position. The oven switches off.
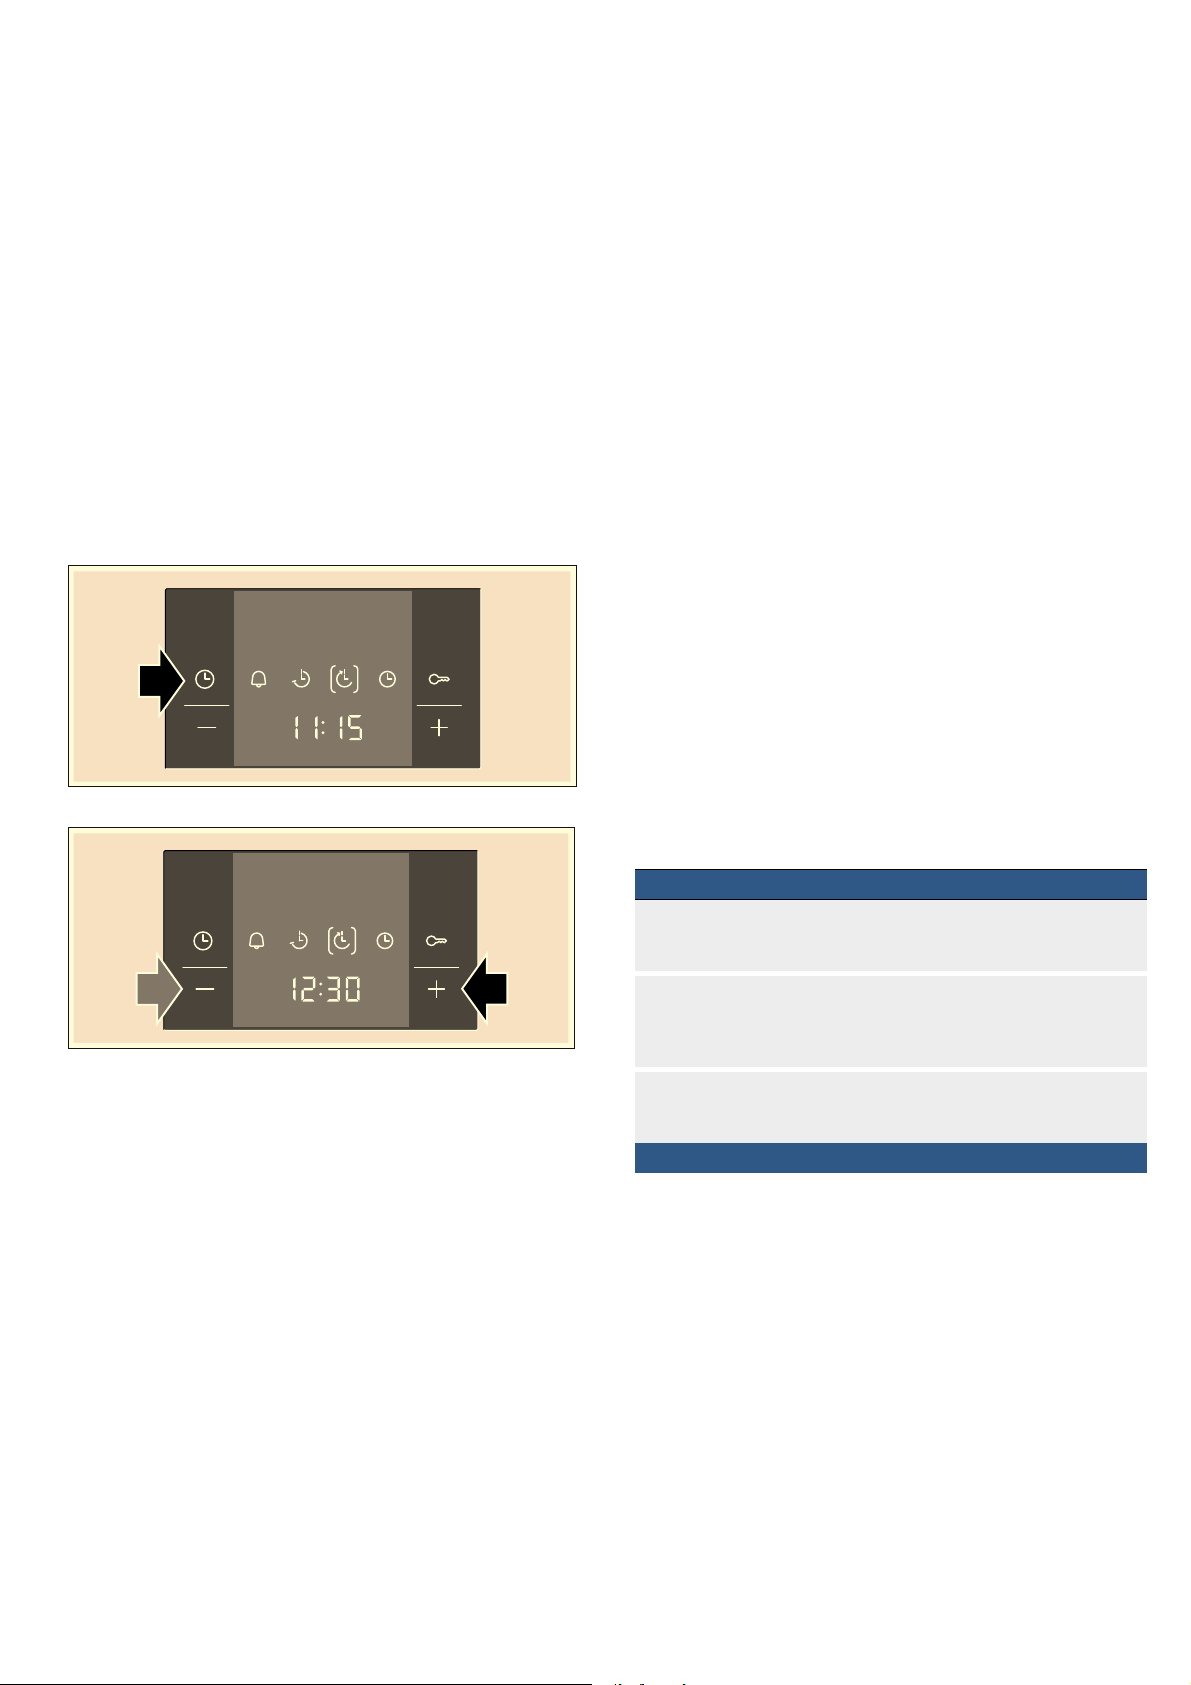
Changing the end time
Use the @ or A button to change the end time. After a
few seconds, the change is adopted. If the timer has
been set, first press the 0 button twice. Do not change
the end time if the cooking time has already started to
elapse. The cooking result would no longer be correct.
Cancelling the end time
Use the A button to reset the end time to the current
time. After a few seconds, the change is adopted. The
oven starts. If the timer has been set, first press the 0
button twice.
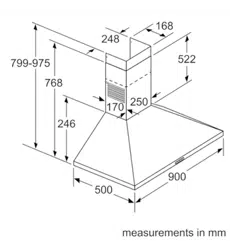
Clock
After the appliance is connected or following a power
cut, the 0 symbol and four zeros flash in the display.
Set the clock.
1. Press the 0 button.
The clock in the display shows 12:00. The time
symbols light up and the brackets are around 0.
2. Use the @ or A button to set the clock.
After a few seconds, the time that has been set is
adopted.
Changing the clock
No other time-setting option should have been set.
1. Press the 0 button four times.
The time symbols light up in the display and the
brackets are around 0.
2. Use the @ or A button to change the clock.
After a few seconds, the time that has been set is
adopted.
Changing the basic settings
Your oven has various basic settings. These settings
can be customised to suit your requirements.
No other time-setting option should have been set.
1. Press and hold the 0 button for approx. 4 seconds.
The current basic setting for the clock display is
shown in the display, e.g. c1 1 for selection 1.
2. Use the @ or A button to change the basic setting.
3. Confirm by pressing the 0 button.
The next basic setting appears in the display. You
can scroll through all levels with the 0 button and
change the setting with the @ or A button.
4. To finish, press and hold the 0 button for approx. 4
seconds.
All basic settings are applied.
You may change the basic settings at any time.
Basic setting Selection 1 Selection 2 Selection 3
c
1
Clock display always* only with
the 0
button
-
c
2
Signal duration
upon completion
of a cooking time
or timer period
approx.
10 secon
ds
approx.
2 minutes
*
approx.
5 minute
s
c
3
Waiting time until
a setting is
applied
approx.
2 seconds
approx.
5 second
s*
approx.
10 secon
ds
* Factory setting
Loading ...
Loading ...
Loading ...