Loading ...
Loading ...
Loading ...
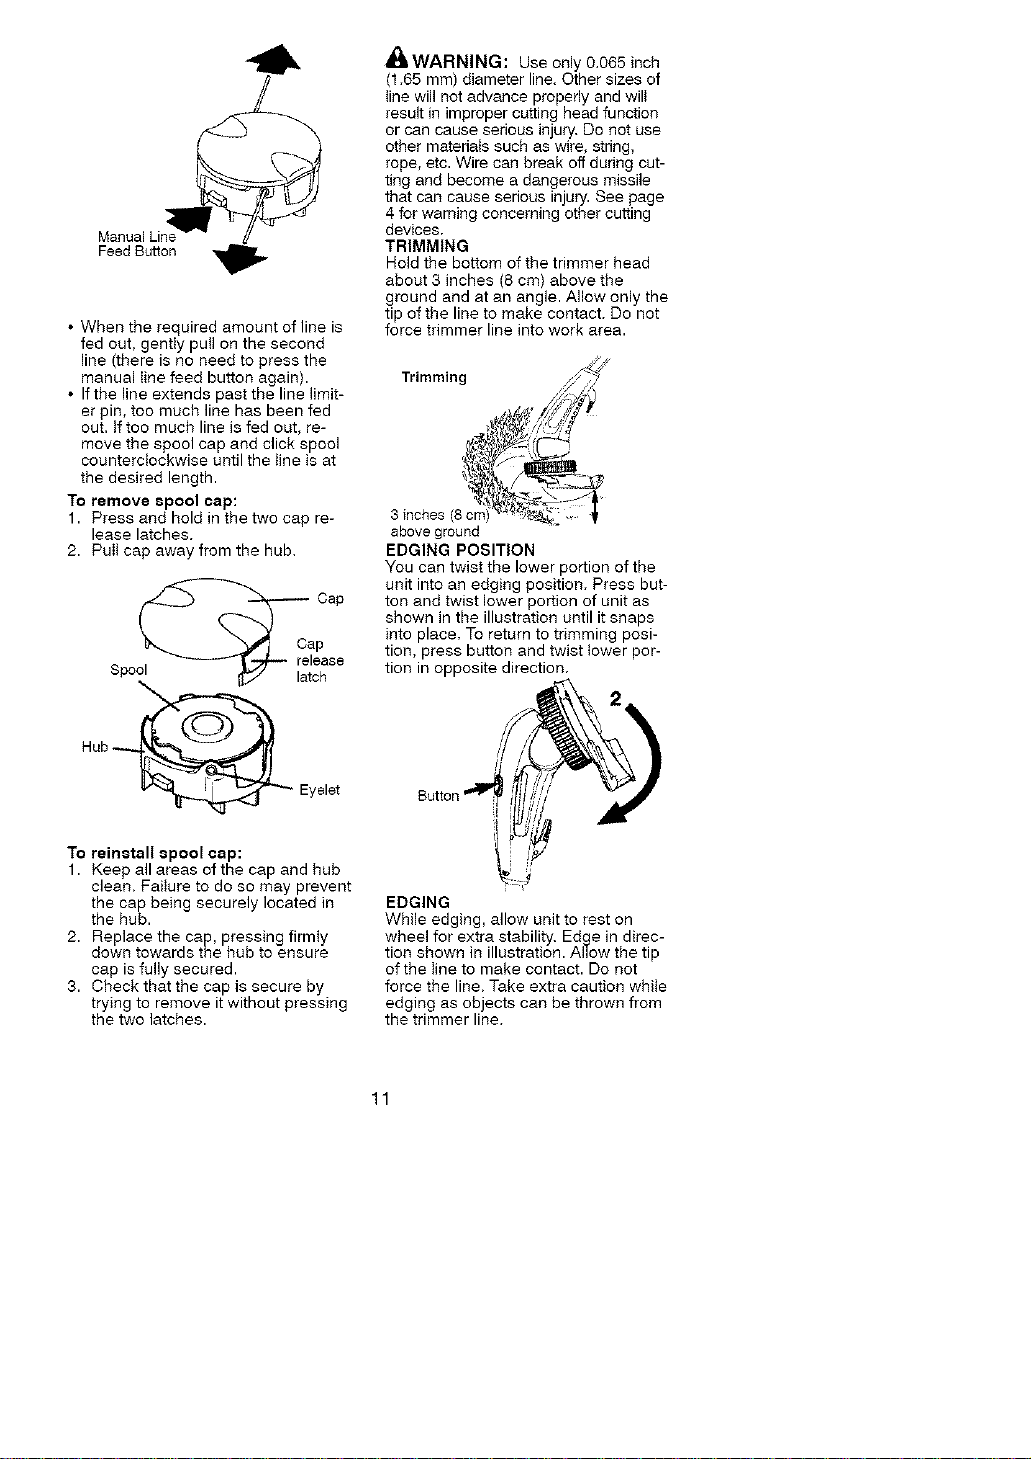
• When the required amount of line is
fed out, gently pull on the second
line (there is no need to press the
manual line feed button again).
• Ifthe line extends past the line limit-
er pin, too much line has been fed
out. If too much line is fed out, re-
move the spool cap and click spool
counterclockwise until the tine is at
the desired length.
To remove 8pool cap:
1. Press and hold in the two cap re-
lease latches.
2. PuIt cap away from the hub.
o_ Cap
Cap
release
Spo ch
Hub _ Eyelet
To reinstall _pool cap:
1. Keep all areas of the cap and hub
clean. Failure to do so may prevent
the cap being securely located in
the hub.
2. Replace the cap, pressing firmly
down towards the hub to ensure
cap is fully secured.
3. Check that the cap is secure by
trying to remove it without pressing
the two latches.
mIWARNING: Use only 0.065 inch
(1.65 mm) diameter line. Other sizes of
line will not advance properly and wilt
result in improper cutting head function
or can cause serious injury. Do not use
other materials such as wire, string,
rope, etc. Wire can break off during cut-
ting and become a dangerous missile
that can cause sedous injury. See page
4 for warning concerning other cutting
devices.
TRIMMING
Hold the bottom of the trimmer head
about 3 inches (8 cm) above the
ground and at all angle. Allow only the
tip of the line to make contact. Do not
force trimmer line into work area.
above ground
EDGING POSITION
You can twist the lower portion of the
unit into an edging position. Press but-
ton and twist lower portion of unit as
shown in the illustration until it snaps
into place. To return to trimming posi-
tion, press button and twist lower por-
tion in opposite direction.
EDGING
While edging, allow unit to rest on
wheel for extra stability. Edge in direc-
tion shown in illustration. Allow the tip
of the line to make contact. Do not
force the line. Take extra caution while
edging as objects can be thrown from
the trimmer line.
11
Loading ...
Loading ...
Loading ...