Loading ...
Loading ...
Loading ...
3=
4=
Press the "Time Set" button to the amount of time you want
the grill to be on. The recommended time for burn off is
45 minutes.
Press "Start/Reset" button to start the Flame Time TM feature
timer countdown. When the set time ends (00:00), the
reminder tone will sound.
• If the Start/Reset button is pushed within 10 minutes after
the Flame Time TM timer reaches 00:00 the fuel shutoff
valve will not close automatically. The Flame Time TM timer
can be reset and continue the burn-off or timed grill and
the timer will count down the new set time.
If the Start/Reset button is not pushed within 10 minutes
after Flame Time TM timer reaches 00:00 the fuel shutoff
valve will close automatically and the display for the
Flame Time TM feature will be off. If the mode button is
pushed, "El" will be appear in the display if there is at
least one valve still turned on. The tone will sound one
time. If Mode button is pushed a second time the Fuel
time remaining will be displayed.
If the valves are shut off while the Flame Time TM mode
timer is counting down, it will stop counting and keep the
data. If the start/reset button is pushed when the valves
are turned on again, the Flame Time TM timer will continue
to count from the last stored data.
5= Press Start/Reset button to cancel this feature or the
reminder tones.
NOTE: All of the burner valves must be turned to the off
position before grill can be lit after a Flame Time TM cycle has
been used.
When the 20 Ib LP Gas Fuel Tank Is Low:
1. The "Fuel Remaining" indicator light will flash when the gas
weight is less than 2.64 Ibs (1.2 kg).
2. When gas weight is less than 1.76 Ibs (0.8 kg) the fuel shutoff
valve will close instantly and "El" will appear in the display.
The indicator light for Flame Time TM mode will be lit.
3. If the gas weight is less than 1.76 Ibs (0.8 kg) the Flame
Time TM mode will not activate if selected.
Lights
1. Press the lights button to turn the lights inside the grill hood
"On" or "Off."
NOTE: The power supply must be plugged in for lights to
work. If lights do not work, see "Outdoor Grill Care" section
for changing the light bulbs.
Explosion Hazard
Do not store fuel tank in a garage or indoors.
Do not store grill with fuel tank in a garage or indoors.
Failure to follow these instructions can result in death,
explosion, or fire.
Fire Hazard
Do not use grill near combustible materials.
Do not store combustible materials near grill.
Doing so can result in death or fire.
Food Poisoning Hazard
Do not let food sit for more than one hour before or
after cooking.
Doing so can result in food poisoning or sickness.
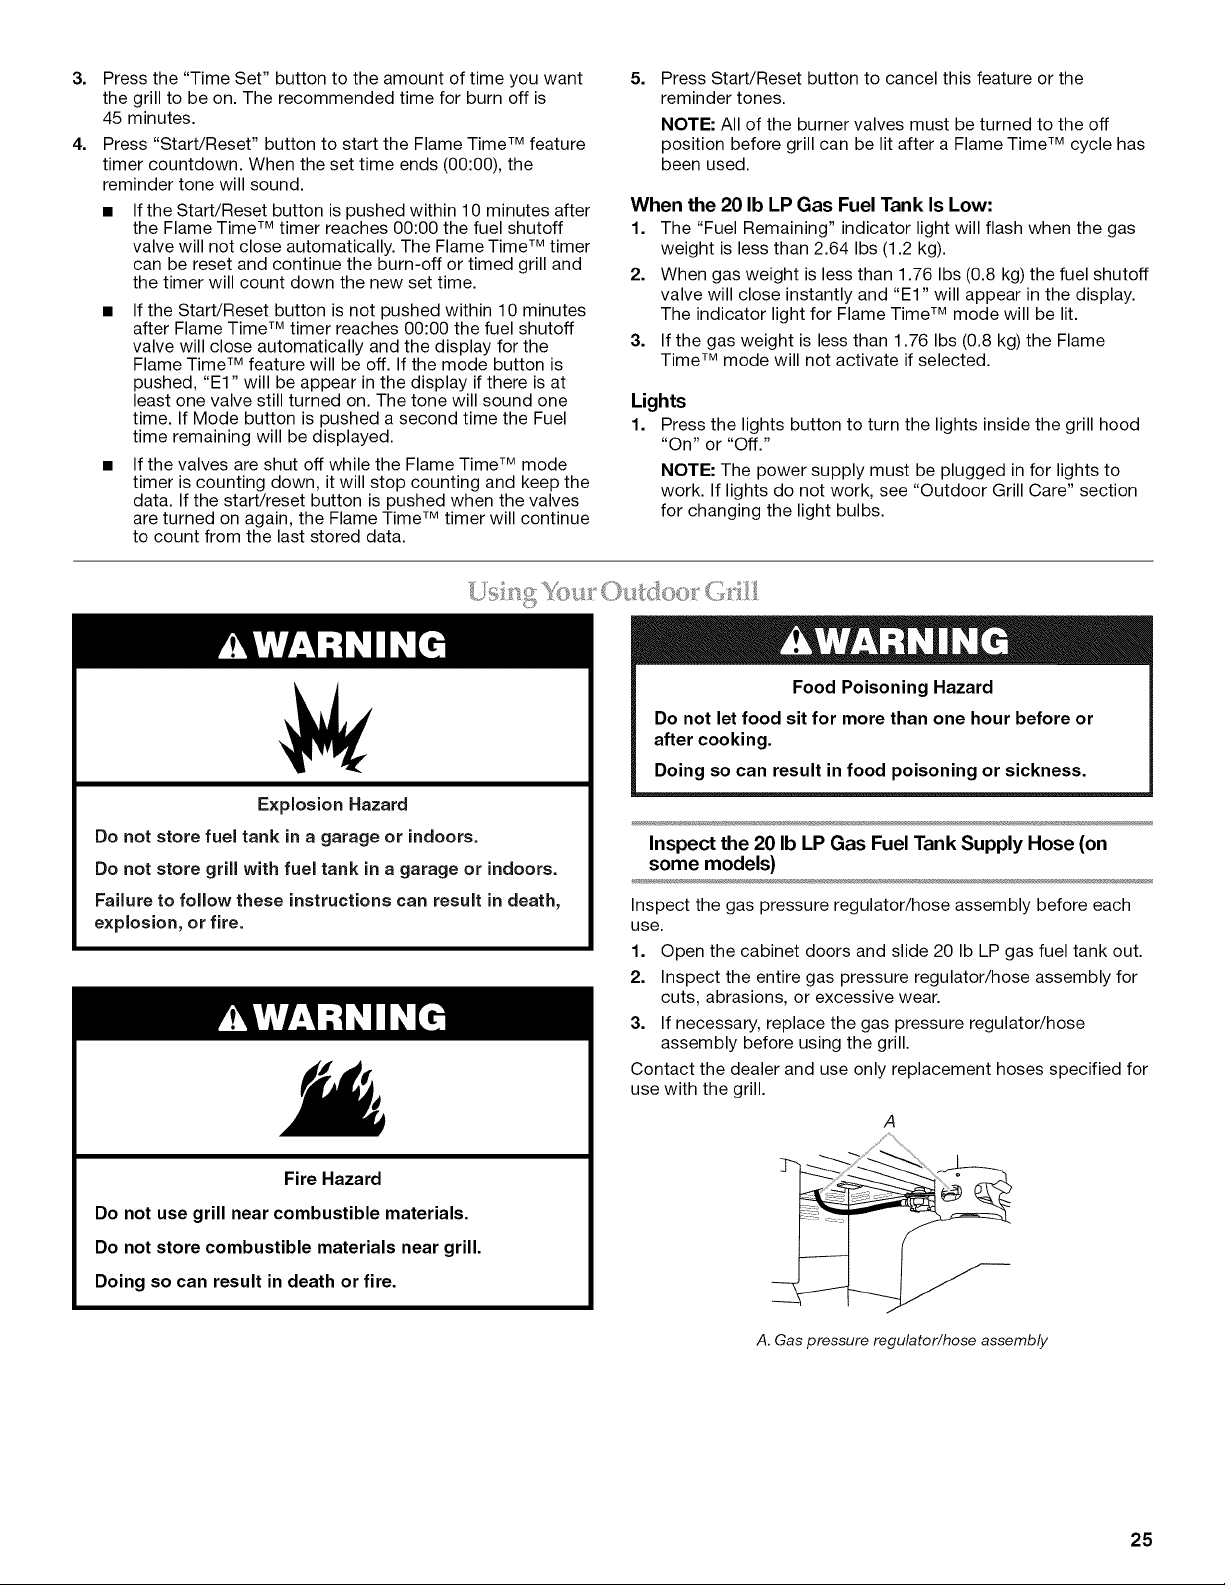
Inspect the 20 Ib LP Gas Fuel Tank Supply Hose (on
some models)
Inspect the gas pressure regulator/hose assembly before each
use.
1. Open the cabinet doors and slide 20 Ib LP gas fuel tank out.
2. Inspect the entire gas pressure regulator/hose assembly for
cuts, abrasions, or excessive wear.
3. If necessary, replace the gas pressure regulator/hose
assembly before using the grill.
Contact the dealer and use only replacement hoses specified for
use with the grill.
A
A. Gas pressure regulator/hose assembly
25
Loading ...
Loading ...
Loading ...