Loading ...
Loading ...
Loading ...
49-6000233 Rev. 0 7
Installation
1. After unpacking, wipe dispenser with soft cloth.
2. Place the dispenser on a hard, flat surface, making
certain it is level. The dispenser should not be
placed near direct sunlight or any other source of
heat.
3. It is best to place the dispenser in an area with
good air circulation. Make sure there is at least 6 in
(15cm) of clearance in back and on both sides of
the dispenser for proper ventilation.
WARNING
The hot and cold tank drain plugs on
the back of the dispenser may loosen during shipping.
Securely tighten the drain plugs before starting the
dispenser. A loose drain plug may leak, causing floor
damage.
IMPORTANT: DO NOT PLUG IN THE POWER
CORD YET
4. Follow steps 1-3 in “How to Install Water Bottle”
section in the right column.
5. Place a container under the water dispense point.
Dispense hot, then cold water until both flow
freely. Once water flows freely the dispenser can
be plugged in.
CAUTION
Turning on the hot water before
installing the water bottle will cause failure of the
hot water system. Failure to follow these steps may
damage the dispenser and will void all warranty.
6. Plug the dispenser into a grounded GFCI power
outlet.
7. Flip both the cooling system switch and the hot
water switch on the back of the dispenser to the
ON position. The heating and cooling indicator
lights will turn on when water is finished heating or
cooling.
8. The first time the dispenser is used, you will have to
wait at least 1 hour for cold water and 15 minutes
for hot water.
NOTE: Initial rinsing of waterways.
During shipment, dust and odors can accumulate
in the dispenser. Before use, it is recommended to
flush 0.5 gal (1.9 L) of water through the system by
actuating the hot and cold water dispense buttons.
How to Install Water Bottle – GXCF01P
and GXCF04P models
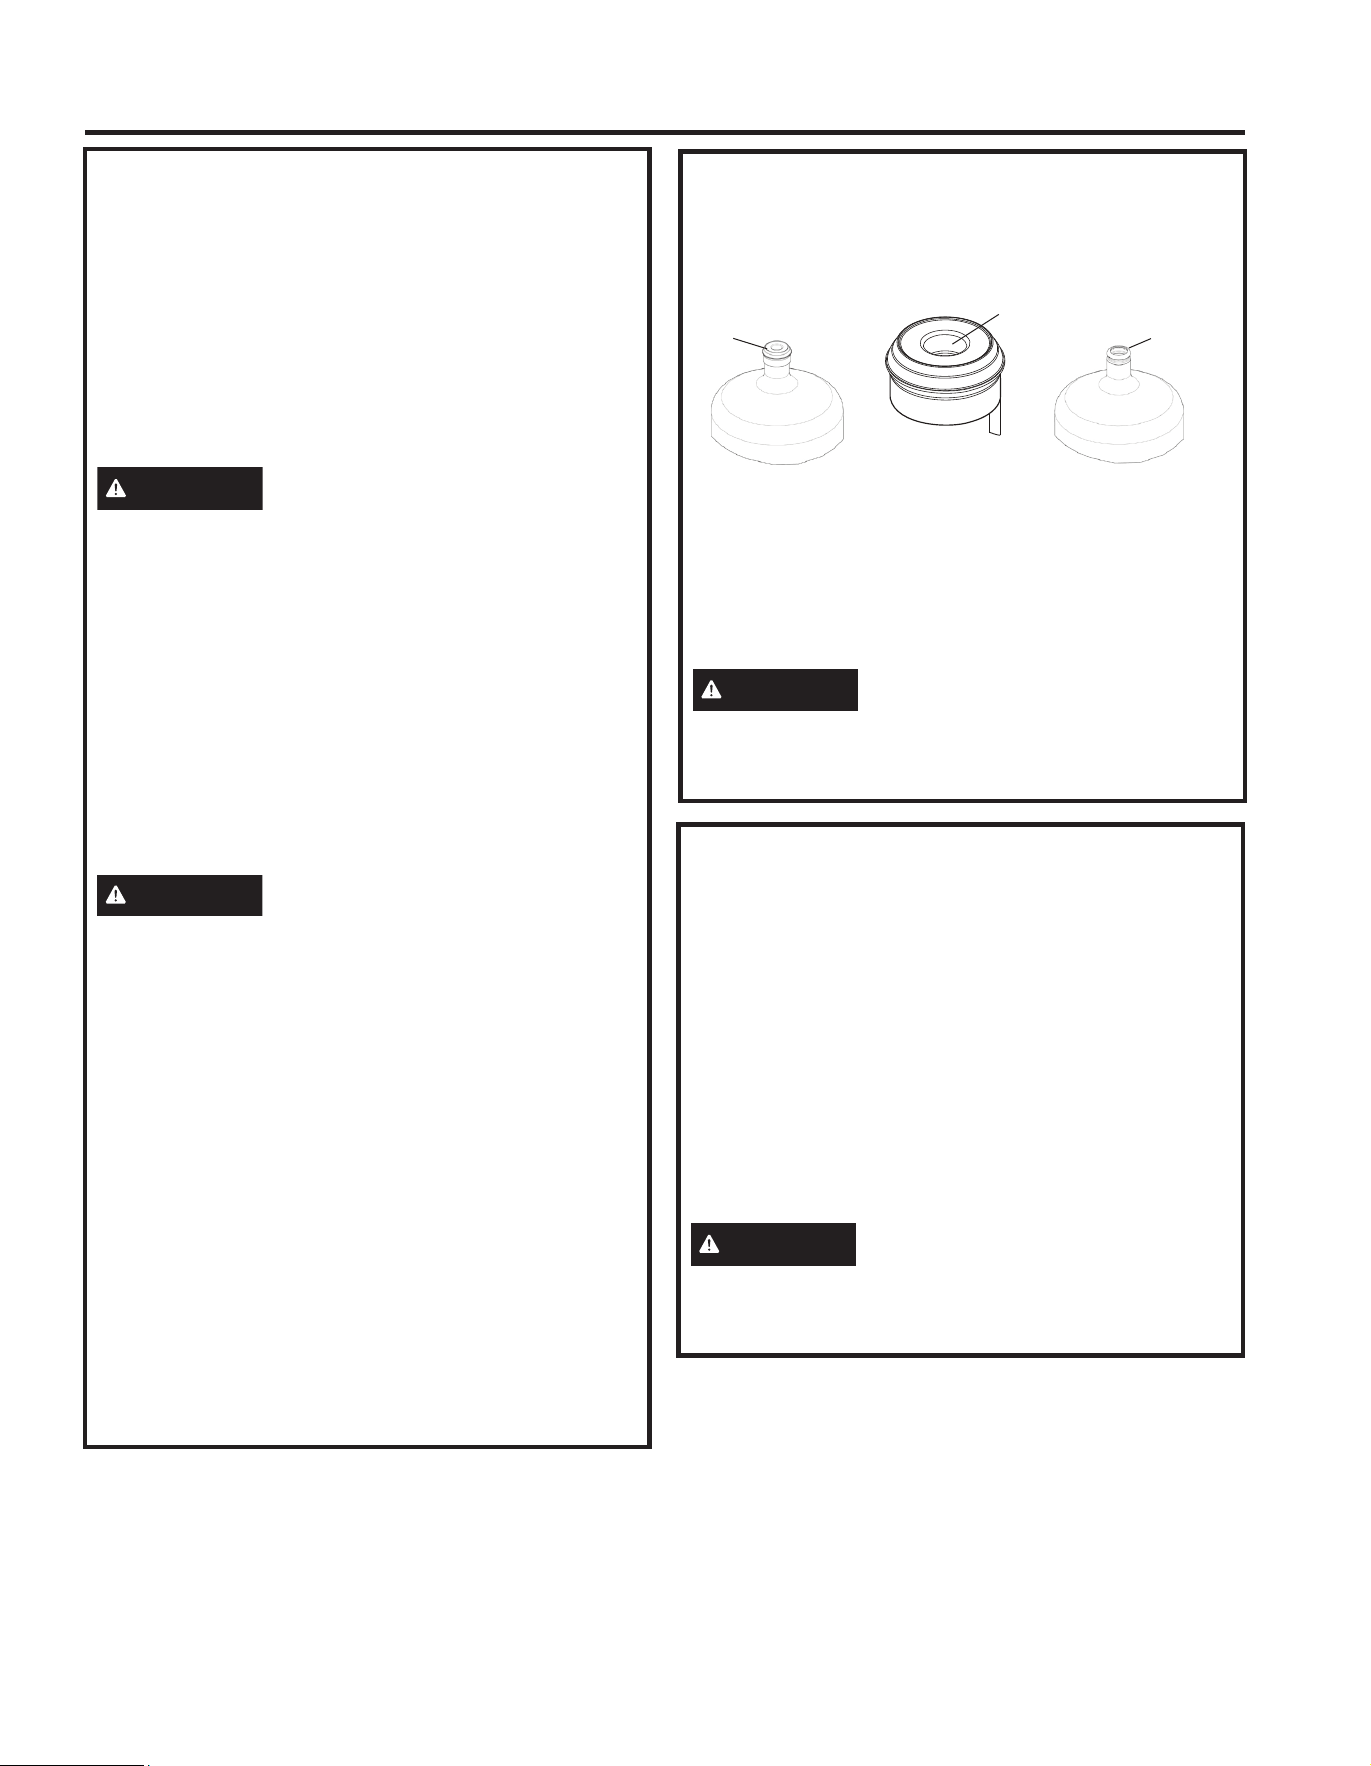
1. Clean the top of the water bottle cap and neck.
Remove the tamper seal from the plastic cap.
CAP
NO CAP
NO-SPILL
TYPE CAP
SMALL HOLE
2. Invert bottle and line the center of the bottle cap
over the probe of the spill guard funnel. Carefully
push the bottle onto the spill guard funnel.
3. To remove water bottle for replacement ensure
water bottle is completely empty then lift bottle
vertically removing it from the spill guard funnel.
WARNING
Make sure the water level in the top
of the dispenser is low enough to allow for proper
bottle installation. Failure to do so may cause the
dispenser to overflow.
How to Install Water Bottle – GXCF18P
1. Remove the tamper proof seal from the plastic cap.
Remove the plastic cap from the water bottle.
2. Open the door of the dispenser from the right hand
side. Pull out the metal siphon tube and insert it
into the water bottle, ensuring that the cap of the
siphon tube assembly is fully seated on the bottle.
3. Place the bottle into the dispenser and close the
door. Ensuring the hot and cold switches are in
the OFF position, plug in the water dispenser. The
pump will begin pulling water into the reservoirs.
Do not continue with installation until the pump
turns off.
WARNING
Make sure the water level in the top
of the dispenser is low enough to allow for proper
bottle installation. Failure to do so may cause the
dispenser to overflow.
INSTALLATION INSTRUCTIONS
Installation Instructions
Loading ...
Loading ...
Loading ...