Loading ...
Loading ...
3
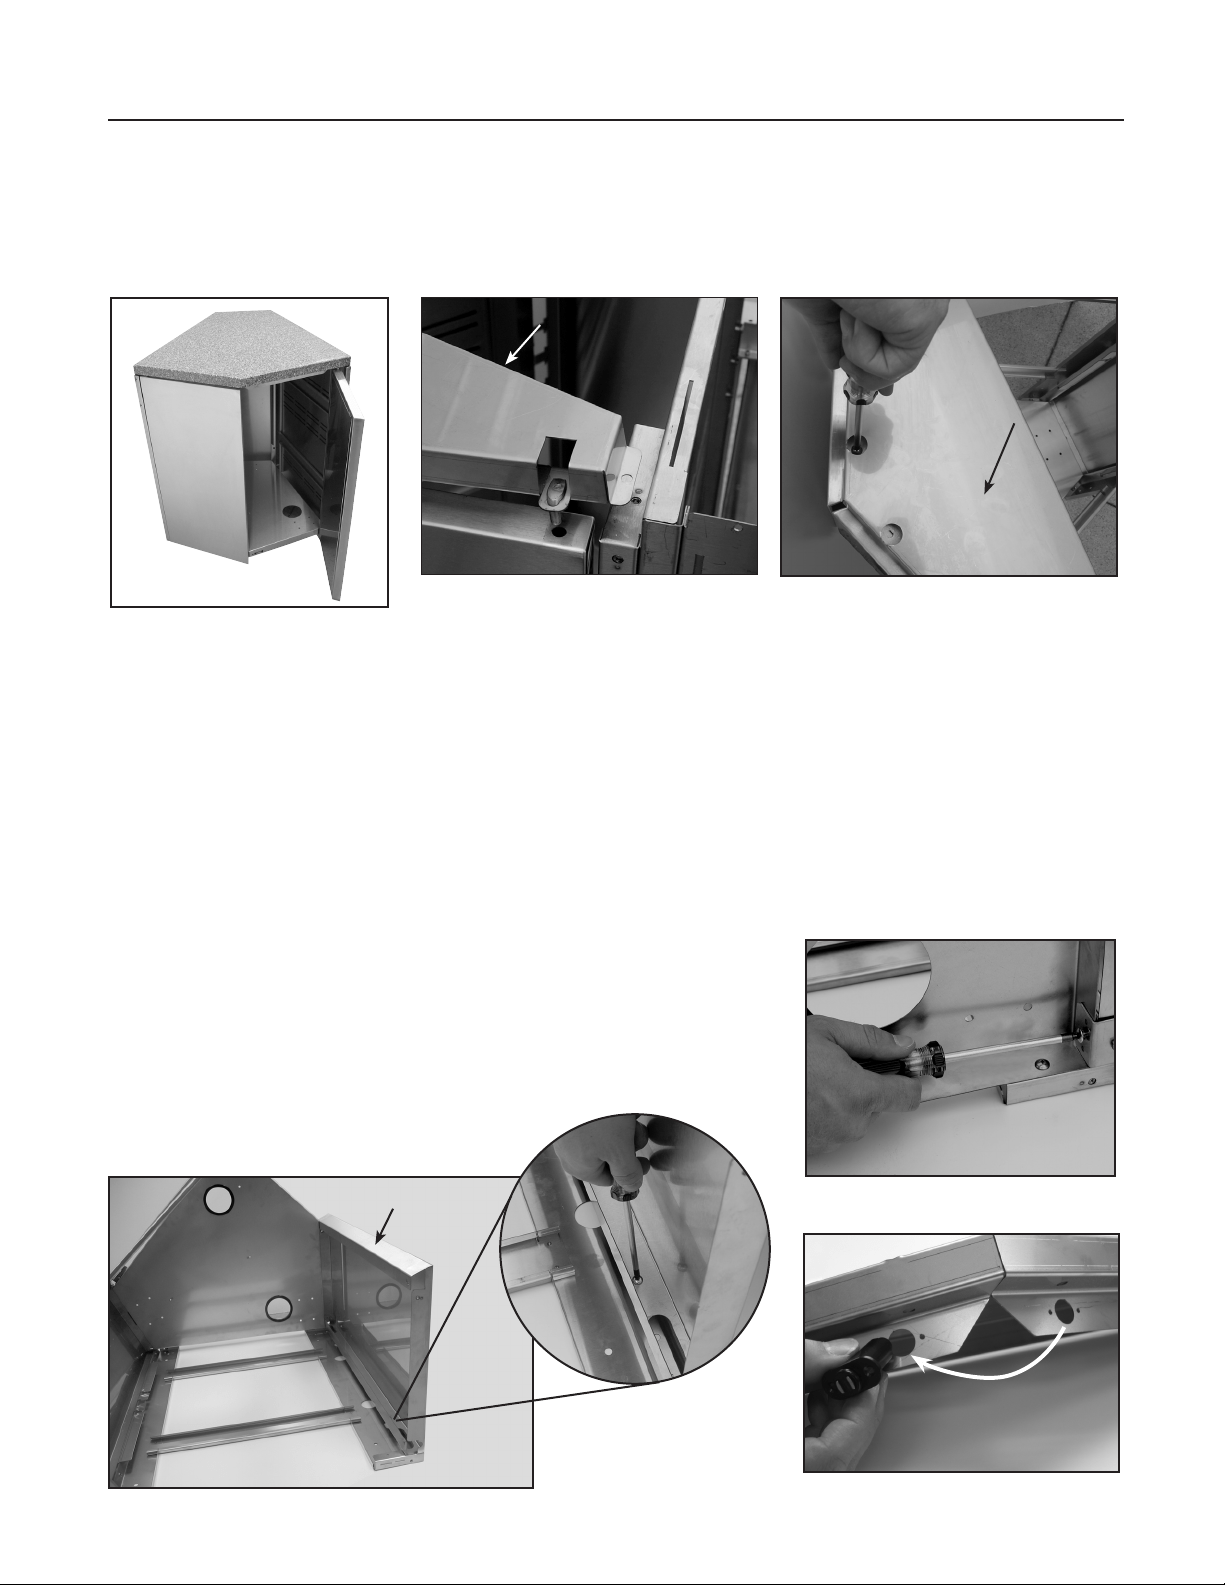
Fig. 06
Fig. 07
Move latch to
other side
Fig. 05
Remove the screws from the top of the rear riser bracket to separate it from the rear wall and sidewalls 1.
(Fig. 03 and 04).
Lift rear riser o, making sure to hold the door as the hinge pin is pulled out of the door. Remove the door 2.
and riser bracket and place them out of the way.
Tilt the entire Bend Unit on its side, with the rear wall nearest the ground. Remove the screws that hold 3.
the rear wall to the sidewall and the oor panel of the Bend Unit (Fig. 05 and 06). The rear wall can now be
separated from the Bend Unit and placed o to the side.
Next, tilt the Bend Unit onto its opposite side, replace the rear wall on the other side. Using the same 4.
screws that were removed in Step 3, attach the rear wall to the opposite side of the oor panel and the
opposite sidewall. Then stand the unit up.
Before replacing the door and rear riser bracket, the latch must be 5.
moved to the hole on the opposite side of the riser (Fig. 07). No
hardware is needed.
Replace the rear riser on the Bend Unit, making sure to install the 6.
door. Drive the screws in the top of the riser to secure it to the rear
wall.
Fig. 02
Fig. 03
Fig. 04
Rear riser bracket
Rear riser bracket
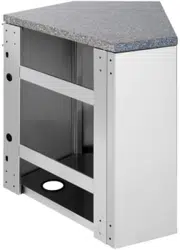
Installation Instructions
Reversing Side of Door (CAD-BND)
Note: The side on which the door is located can be reversed to provide easy access and desired
positioning. This must be done before securing the Bend Unit to any supporting cart or
refrigerator (Fig. 02).
Rear wall
Loading ...
Loading ...
Loading ...