Loading ...
Loading ...
Loading ...
8
Getting Started
Step 1: Unboxing
Carefully remove all packaging and wraps from the air conditioner and its accessories.
Step 2: Testing
Before installing your AC, let’s test it to make sure it works properly, and your outlet has the proper
power level. First, place it on a flat surface, plug it directly into a wall outlet (never use a power
strip or other device), and turn it on. Next, use the Mode button on your control panel to change
the AC to Cool Mode and press the down arrow to set the temperature to the lowest setting. After
3 minutes, the AC should be blowing cool air. If so, please continue to the next step. If not, see
detailed troubleshooting tips at support.tcl.com/us.
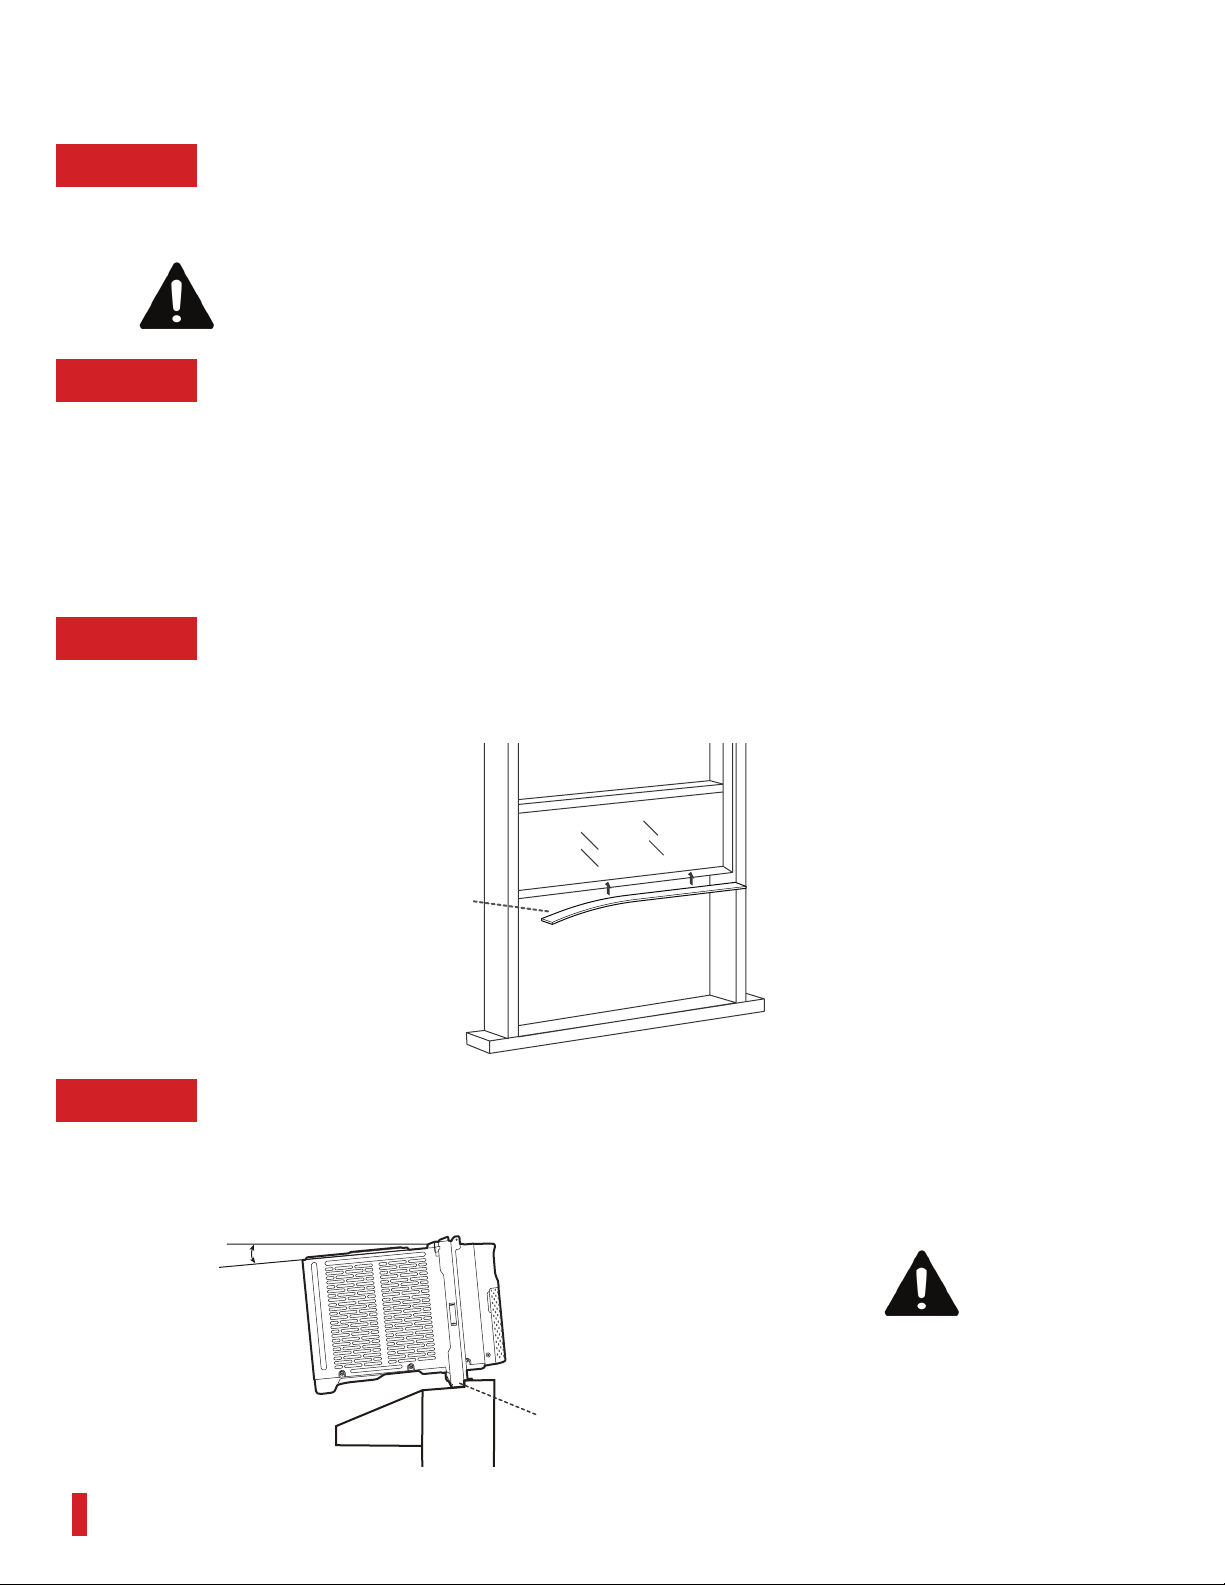
Step 3: Applying the Adhesive Foam Seal
Measure the length of the upper window frame, trim the adhesive foam seal to the appropriate
length, and apply as shown below.
Step 4: Placing Inside an Open Window
Using team lift, carefully lift the air conditioner and place in the windowsill. Next, close the window,
making sure the air conditioner is centered and the bottom rail is flush against the windowsill.
CAUTION
Heavy object. Team handling is required during the installation process.
Note: The air conditioner should be tilted about 3° to allow for better drainage of condensate
and rainwater. Using a level, measure about 1/3 bubble for the correct slant.
Adhesive
Foam Seal
Outside Inside
Bottom
Rail
About 3”
CAUTION
Be careful to avoid cuts
from the sharp metal edges
and aluminum fins on the
front and rear coils!
Loading ...
Loading ...
Loading ...