Loading ...
Loading ...
Loading ...
CUSTOMERRESPONSIBILITIES
Fillindatesasyoucomplete BeforeAfterEvery Every Yearly Service
regular service Use Use 15 min. 5 hrs. Dates
Check for damaged/worn parts _., _., _.,
Check for loose fasteners/parts _.- _.-
Check chain tension _." _."
Check chain sharpness _." _."
Check guide bar _., _., _.,
Clean unit & labels _.-
GENERAL RECOMMENDATIONS
The warranty on this unit does not cov-
er items that have been subjected to
operator abuse or negligence. To re-
ceive full value from the warranty, the
operator must maintain unit as instruct-
ed in this manual. Various adjustments
will need to be made periodically to
properly maintain your unit.
• Once a year, check guide bar and
chain for wear.
WARNING: Disconnect the power
source before performing maintenance.
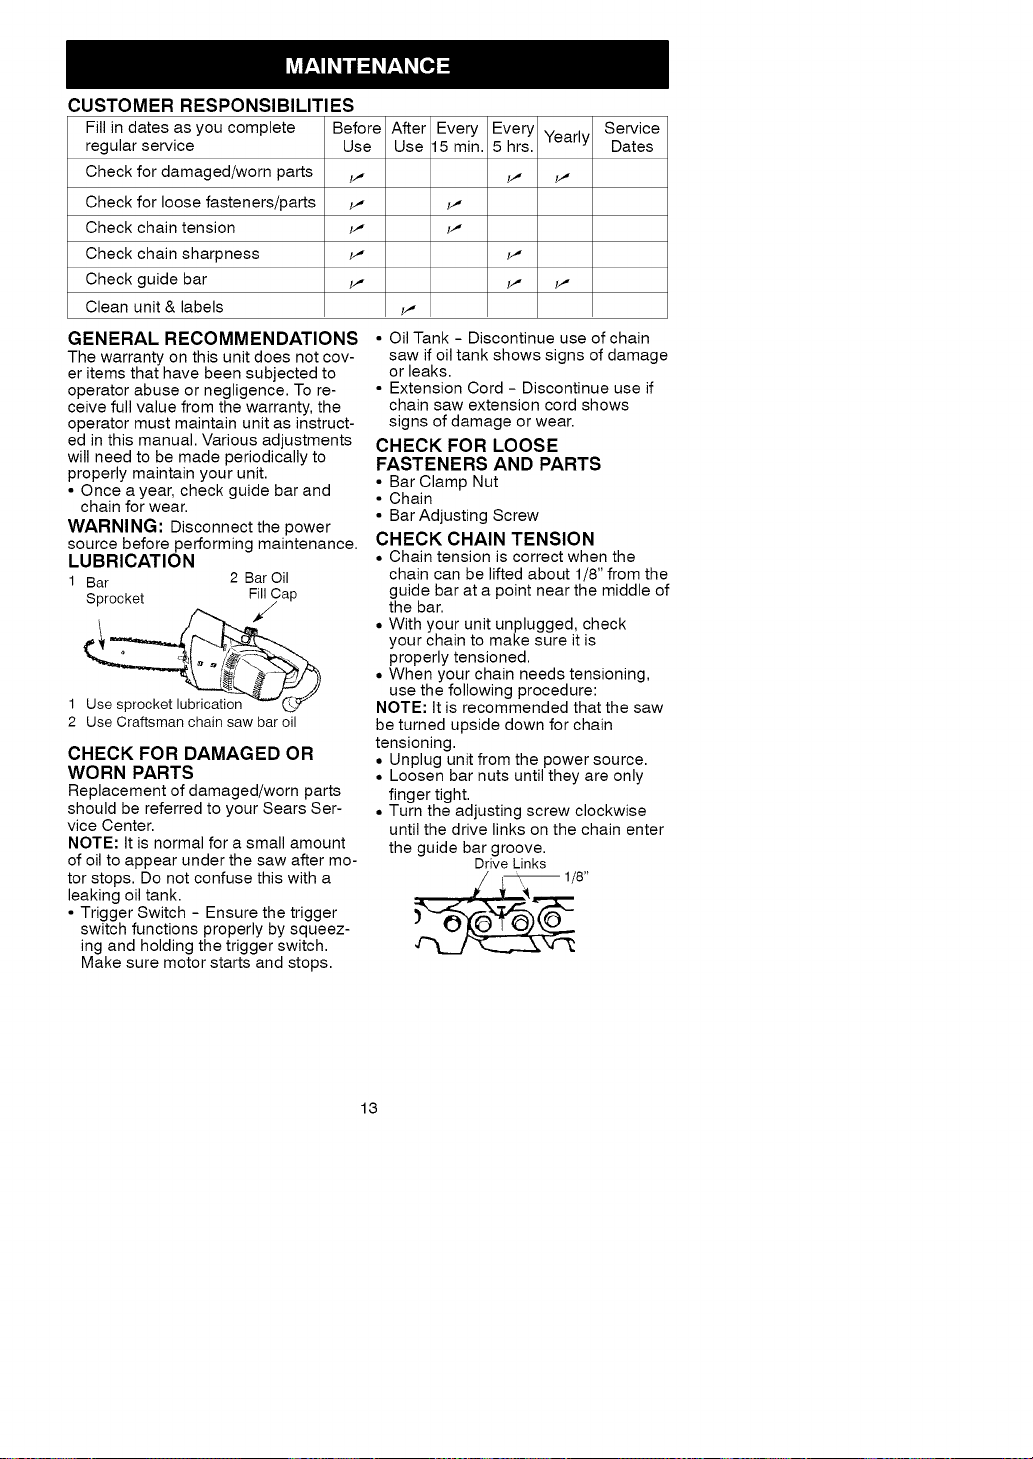
LUBRICATION
1 Bar 2 Bar Oil
Sprocket Fill/Cap
2 Use Craftsman chain saw bar oil
CHECK FOR DAMAGED OR
WORN PARTS
Replacement of damaged/worn parts
should be referred to your Sears Ser-
vice Center.
NOTE: It is normal for a small amount
of oil to appear under the saw after mo-
tor stops. Do not confuse this with a
leaking oil tank.
• Trigger Switch - Ensure the trigger
switch functions properly by squeez-
ing and holding the trigger switch.
Make sure motor starts and stops.
• Oil Tank - Discontinue use of chain
saw if oil tank shows signs of damage
or leaks.
• Extension Cord - Discontinue use if
chain saw extension cord shows
signs of damage or wear.
CHECK FOR LOOSE
FASTENERS AND PARTS
• Bar Clamp Nut
• Chain
• Bar Adjusting Screw
CHECK CHAIN TENSION
° Chain tension is correct when the
chain can be lifted about 1/8" from the
guide bar at a point near the middle of
the bar.
° With your unit unplugged, check
your chain to make sure it is
properly tensioned.
° When your chain needs tensioning,
use the following procedure:
NOTE: It is recommended that the saw
be turned upside down for chain
tensioning.
° Unplug unit from the power source.
° Loosen bar nuts until they are only
finger tight.
° Turn the adjusting screw clockwise
until the drive links on the chain enter
the guide bar groove.
Drive Links
13
Loading ...
Loading ...
Loading ...