Loading ...
Loading ...
Loading ...
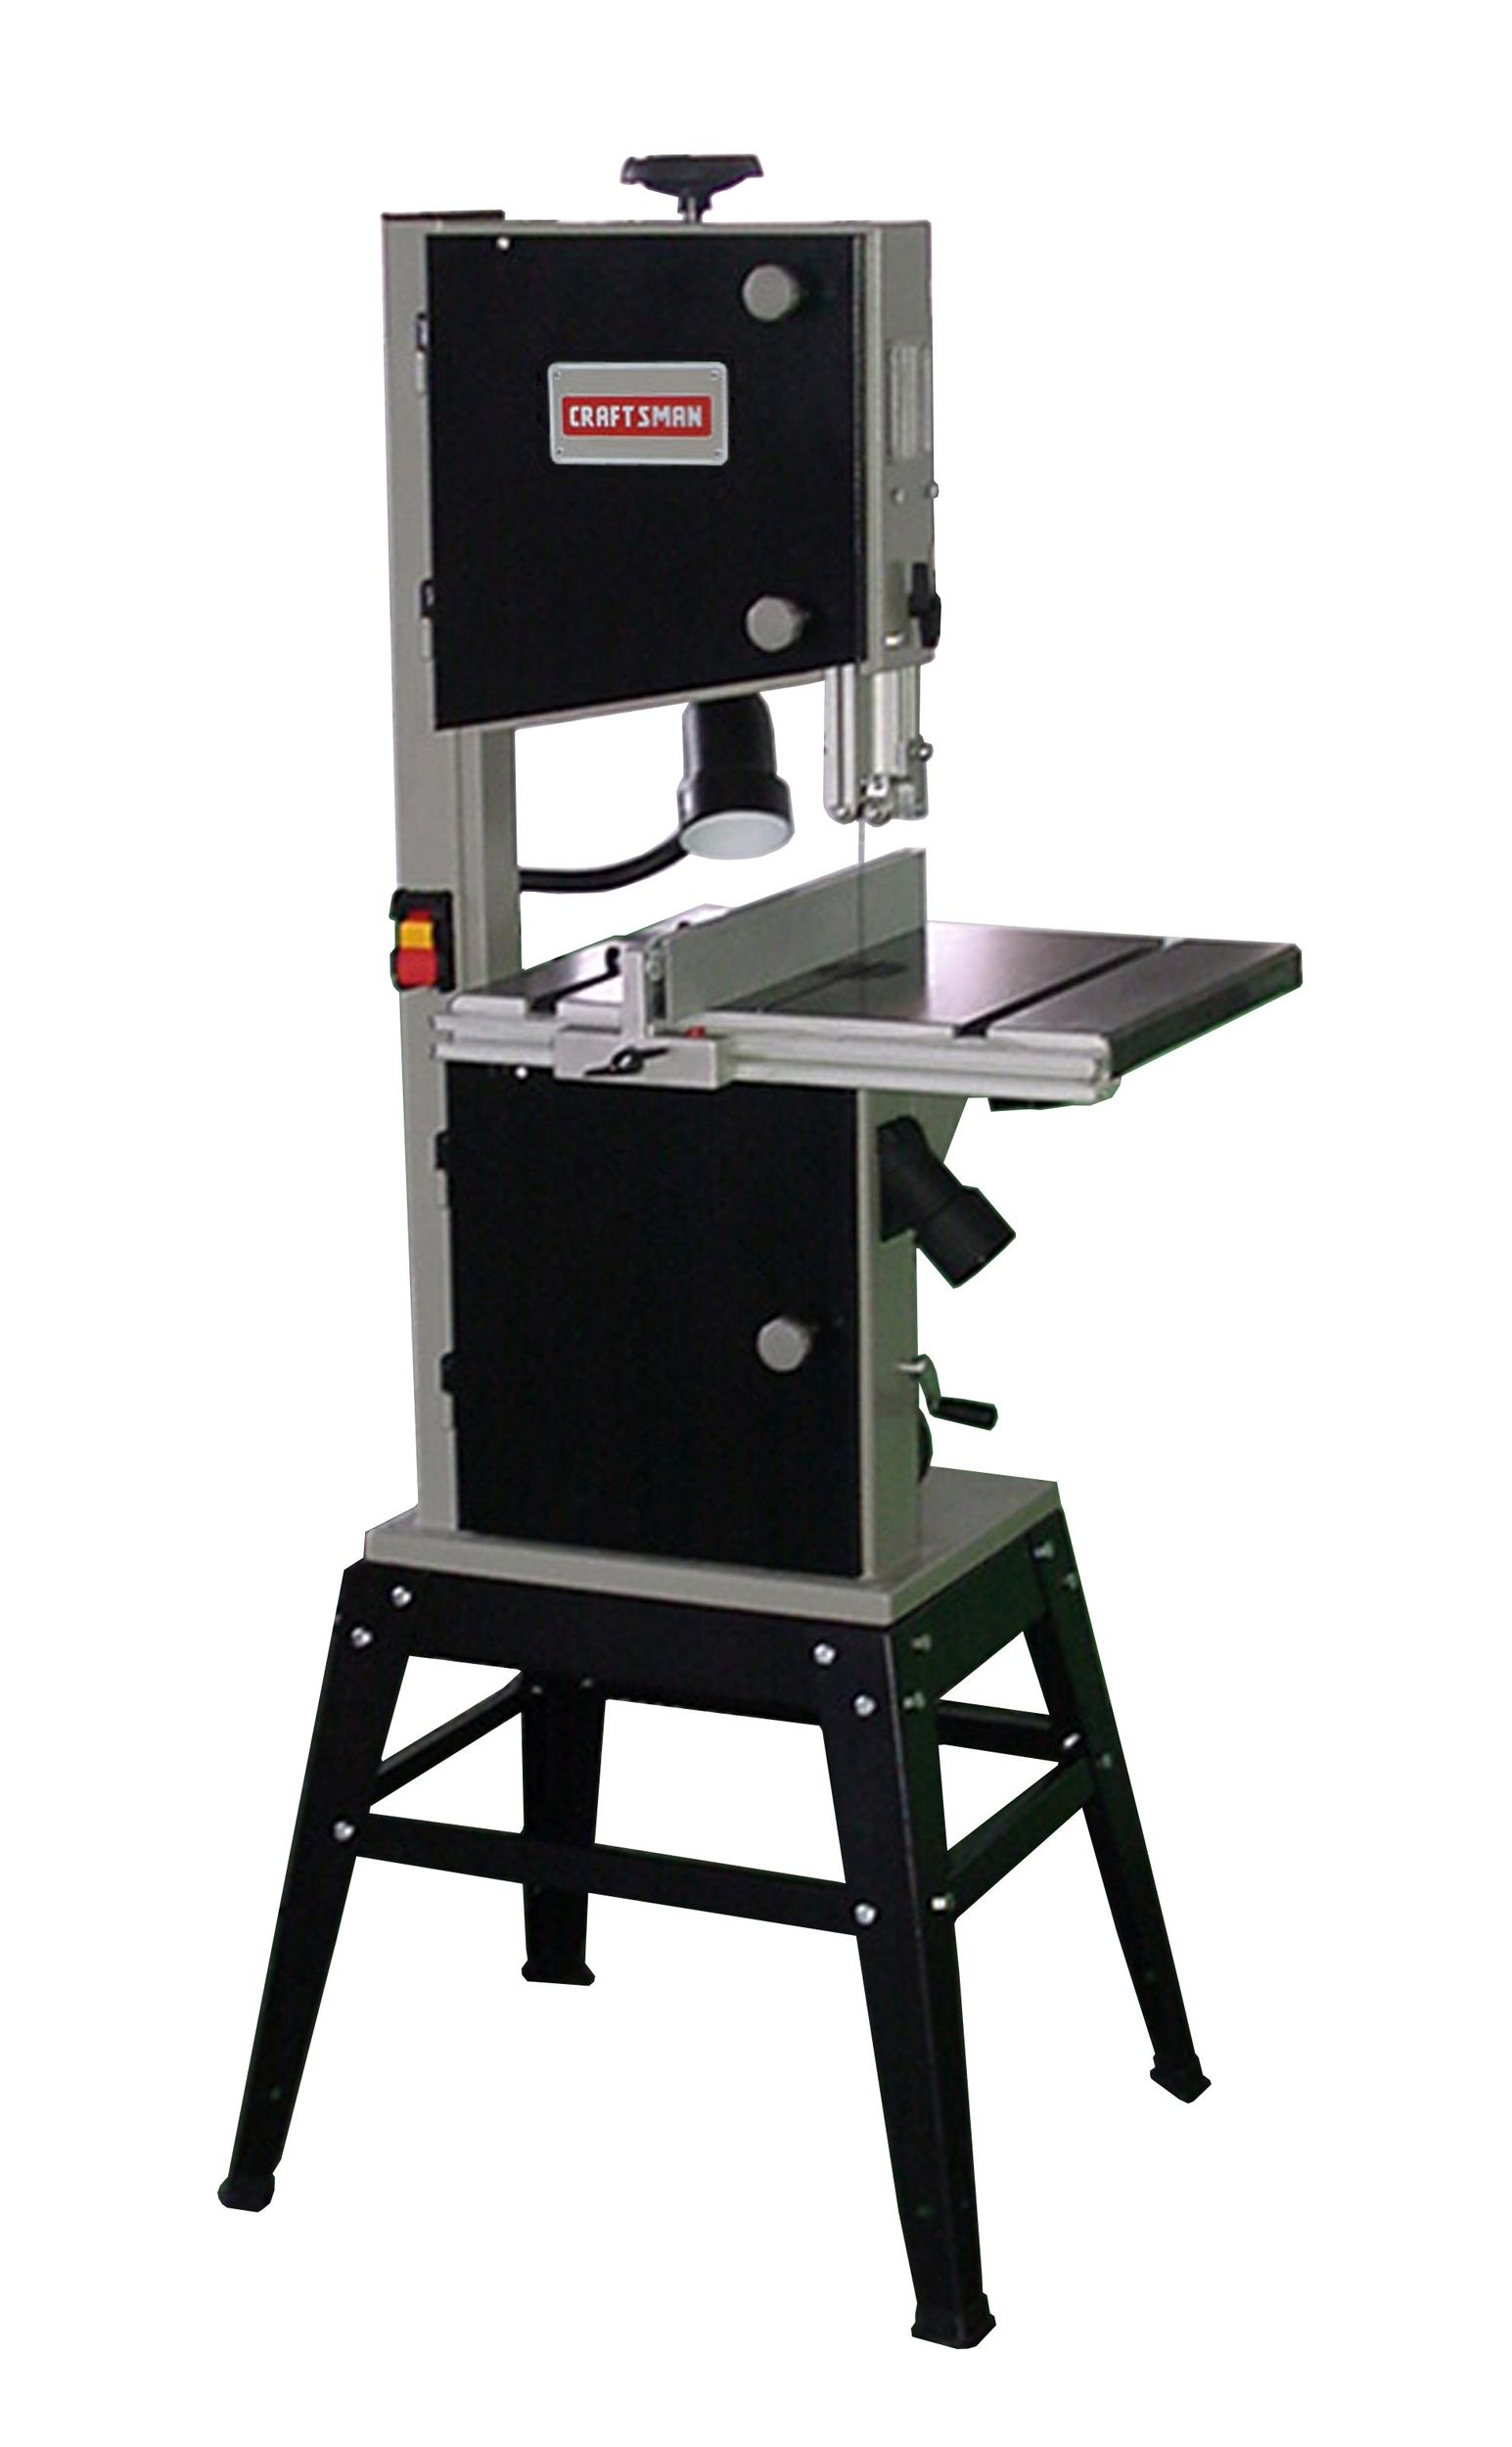
The Craftsman 12" Band Saw features welded steel
frame construction and a solid cast iron table surface to
insure durability. It is designed for cutting hard and soft
woods, as well as nonferrous metals and plastics. Saw
includes stand and rip fence. A quick tensioning and
release handle makes changing the blade speed quick
and easy. Saw also features 2_" and 4" dust collection
ports, blade tensioning window and work lamp.
SPECIFICATIONS
Depth of throat at 90° . ....................... 12"
Maximum depth of cut at 90 ° . .................. 7"
Maximum depth of cut at 45 ° . .................. 4"
Table size ............................ 16 x 213/8''
Table tilt .............................. 0° to 45 °
Wheel diameter ........................... 12¼"
Blade length .............................. 891/2''
Blade width ............................. 1/8- 1/2"
Blade speed ..................... 1450/3000 FPM
Overall dimensions .................. 24 x 32 x 65"
Weight ................................ 158 Ibs
Shipping weight ......................... 167 Ibs
Dust collection port (2) ................. 21/2'' and 4"
SAFETY PRECAUTIONS
WARNING: Always observe the following safety pre-
cautions.
• Whenever adjusting or replacing any parts on the
band saw turn, switch off and remove plug from
power source.
• Make sure the blade guides are positioned correctly.
• Use the appropriate blade for the workpiece that is
being cut.
• Use a sharp blade. Replace dull blades or blades
which are missing teeth.
• Make sure the blade is tensioned properly and going
in the right direction.
• Use the proper blade speed for the work.
• For optimum performance, do not stall the motor or
reduce the speed. Use the proper feed pressure.
• Secure the workpiece in a stable position.
• Check that all guards are attached.
• After turning the switch on, let the blade come to full
speed.
• Keep hands away from the blade and all moving parts.
• Always wear eye protection or face shield.
• Always stop the band saw before removing scrap
pieces from table.
• Never attempt to saw stock that does not have a flat
surface, unless a suitable support is used.
• Always hold material firmly and feed it into the blade
at a moderate speed.
• Always turn off the machine if the material is to be
backed out of an uncompleted cut.
• Make sure that the blade tension and blade tracking
are properly adjusted.
• Make "relief" cuts before cutting long curves.
• Release blade tension when the saw will not be
used for a long period of time.
WARNING: Before starting check if any part of your
band saw is missing, malfunctioning, has been dam-
aged or broken, such as the motor switch, or other
operation control, a safety device or the power cord,
turn the band saw off and unplug it until the particular
part is properly repaired or replaced.
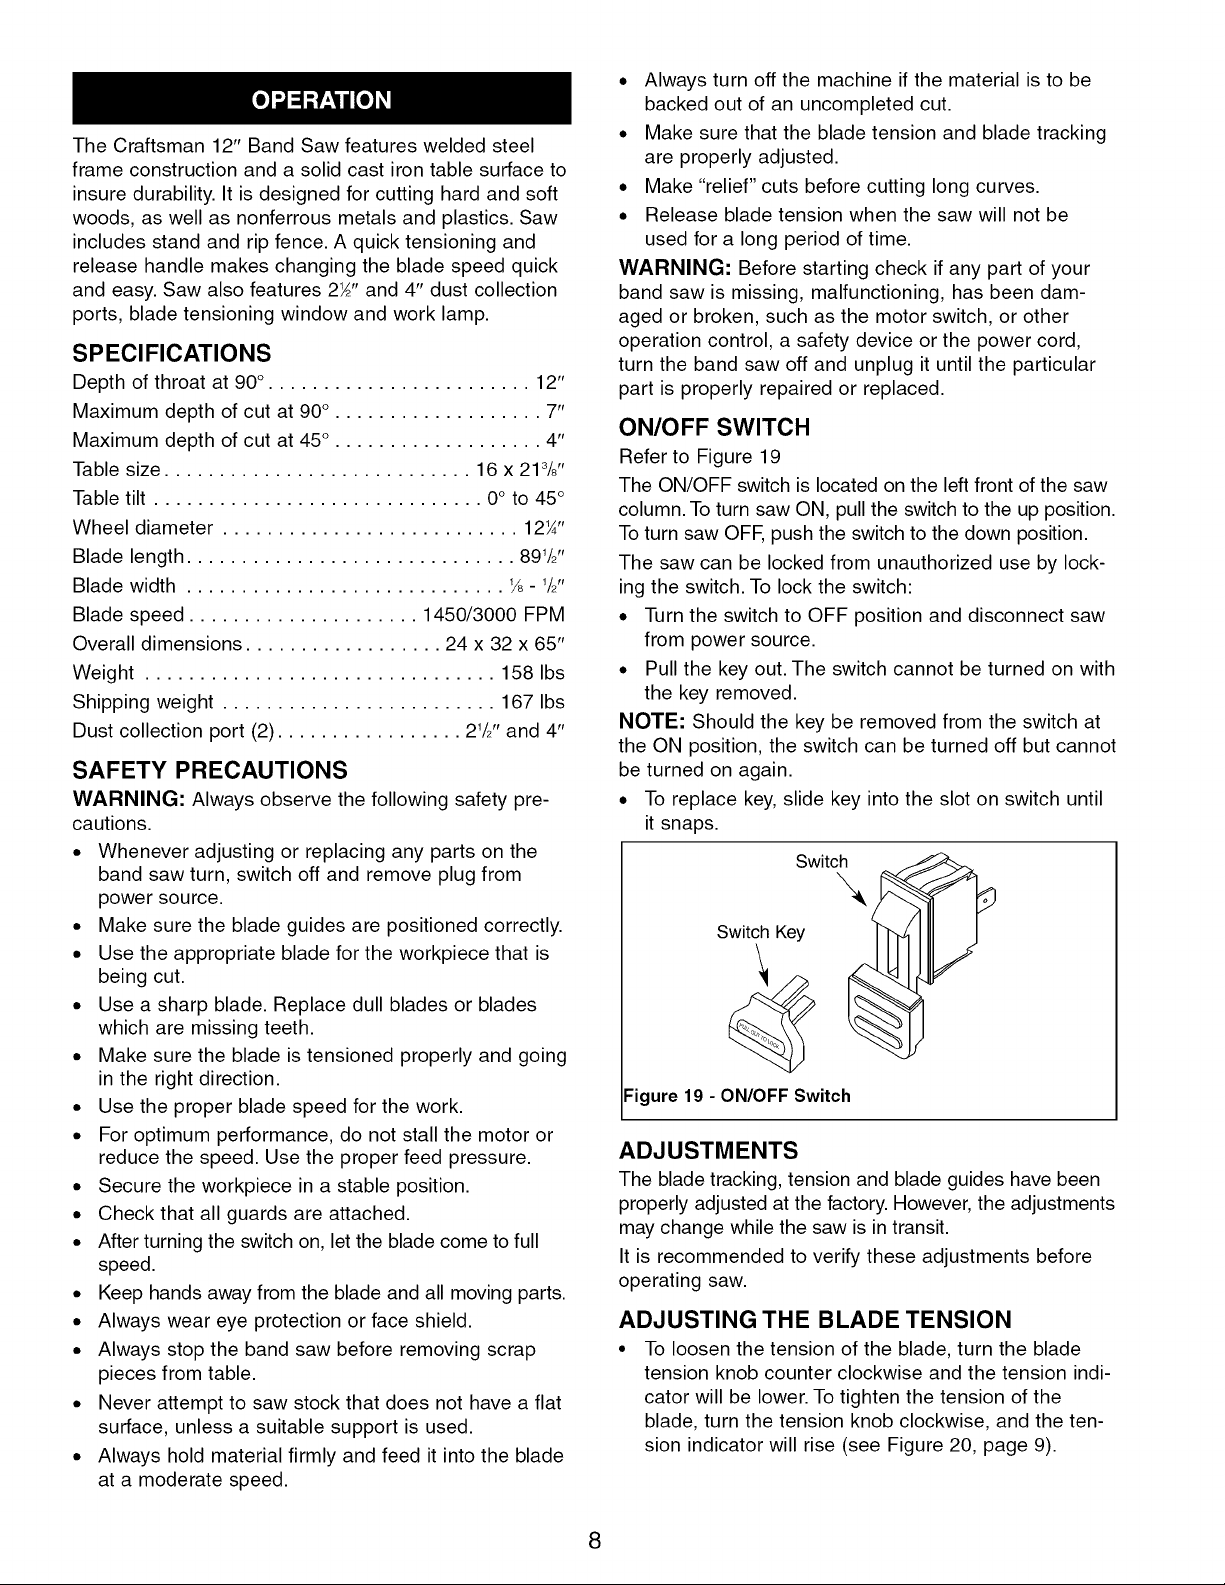
ON/OFF SWITCH
Refer to Figure 19
The ON/OFF switch is located on the left front of the saw
column. To turn saw ON, pull the switch to the up position.
To turn saw OFF, push the switch to the down position.
The saw can be locked from unauthorized use by lock-
ing the switch. To lock the switch:
• Turn the switch to OFF position and disconnect saw
from power source.
• Pull the key out. The switch cannot be turned on with
the key removed.
NOTE: Should the key be removed from the switch at
the ON position, the switch can be turned off but cannot
be turned on again.
• To replace key, slide key into the slot on switch until
it snaps.
Figure 19 - ON/OFF Switch
ADJUSTMENTS
The blade tracking, tension and blade guides have been
properly adjusted at the factory. However, the adjustments
may change while the saw is in transit.
It is recommended to verify these adjustments before
operating saw.
ADJUSTING THE BLADE TENSION
• To loosen the tension of the blade, turn the blade
tension knob counter clockwise and the tension indi-
cator will be lower. To tighten the tension of the
blade, turn the tension knob clockwise, and the ten-
sion indicator will rise (see Figure 20, page 9).
8
Loading ...
Loading ...
Loading ...