Loading ...
Loading ...
Loading ...
EN
50
Video Mode
VIDEO MODE
This camera also has video capability.
Notes
• The full sensor width is used for video recording, which means the
relevantly effective focal length increases slightly, i.e. cropped sections
are similarly only marginally smaller.
• You can record up to 29minutes of uninterrupted video.
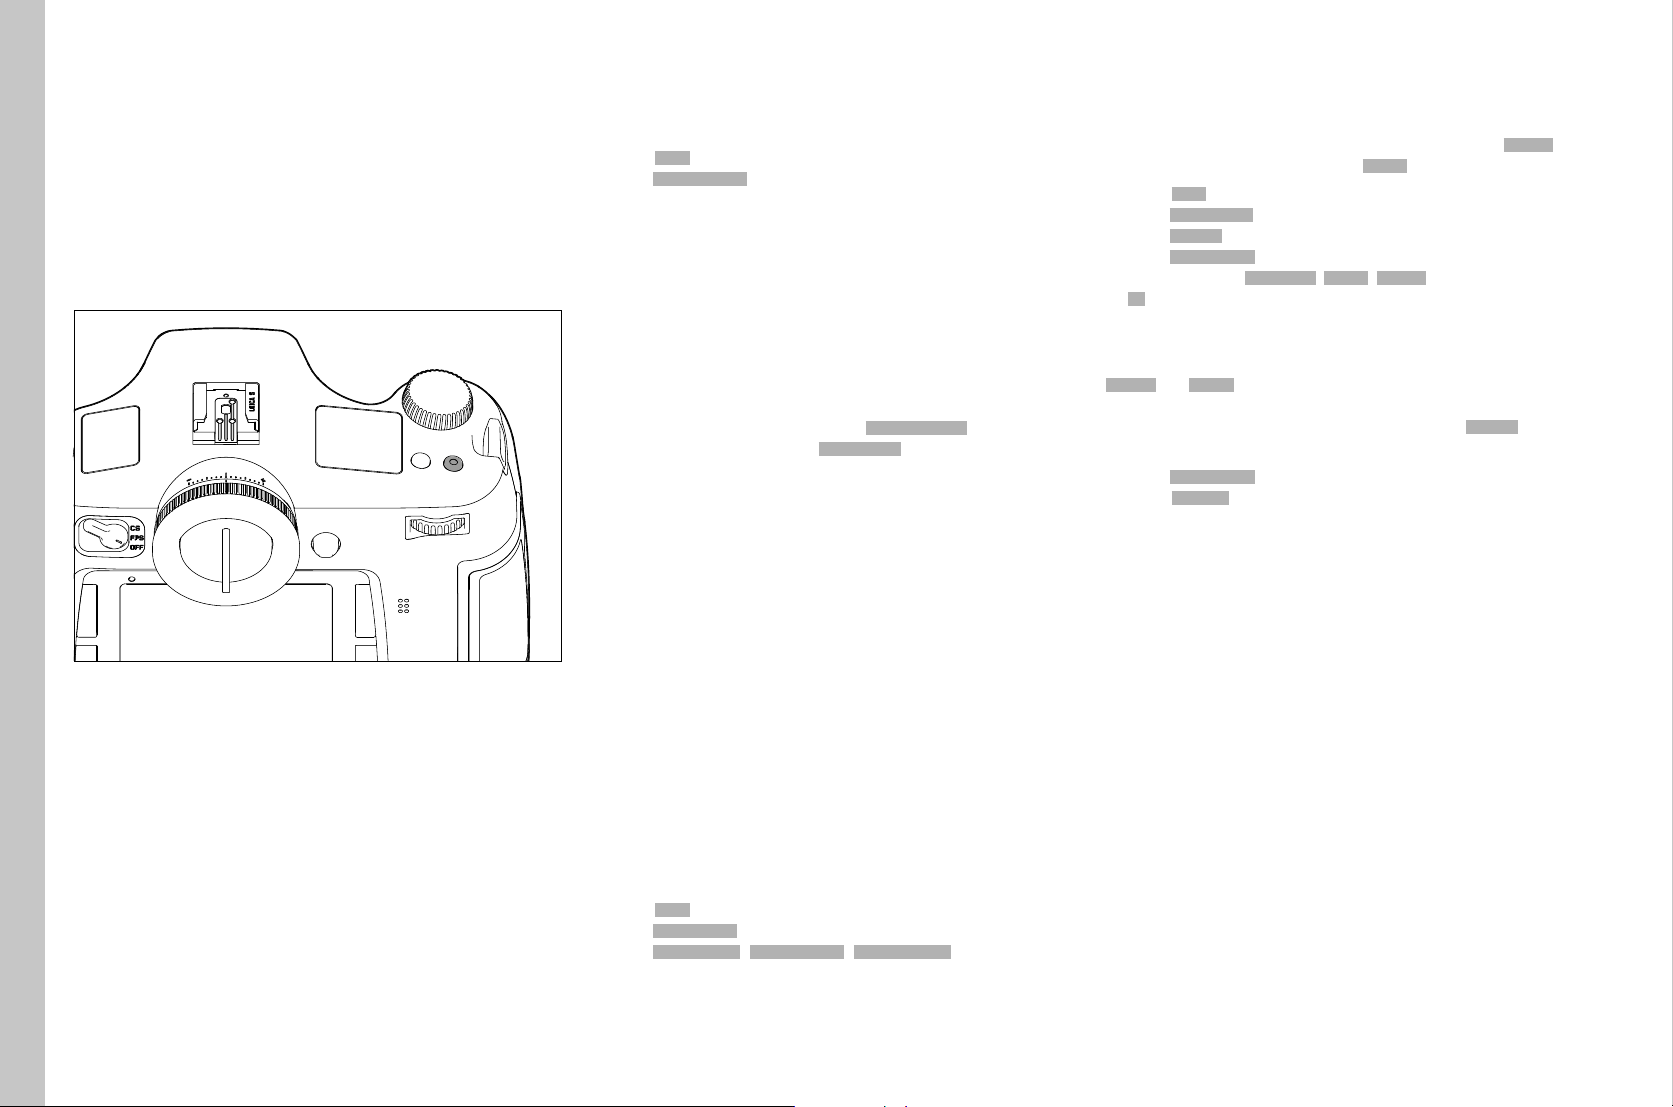
STARTING/ENDING THE RECORDING
Start
▸ Press the video button
End
▸ Press the video button again
Notes
• A video recording in progress is indicated on the LCD panel by a
flashing red dot and a counter of the elapsed recording time.
• The screen image of video recordings with the Leica S3 appears with
corresponding frame depending on the selected resolution and aspect
ratio.
VIDEO SETTINGS
The following settings are available for video recordings.
RESOLUTION
▸ Select IMAGEIMAGE
▸ Select Video ResolutionVideo Resolution in the main menu
▸ Set the desired resolution
The two available resolutions are permanently linked to various image
frequencies. 1080p can be combined with three different image
frequencies to match playback to the TV system used: 25B/s for PAL, 24
and 30B/s for NTSC; the 4K resolution is only available with 24B/s.
Note
4K video recordings can only be stored on SD cards.
ISO SENSITIVITY
All variants described on p. 36 apply, but
Maximum Auto ISOMaximum Auto ISO for video
recordings is set separately in the Auto ISO VideoAuto ISO Video submenu.
Notes
• The restriction described in the section about exposure modes (see p.
50) applies.
• Vertical and horizontal strips may appear across the entire image,
when recording dark subjects with high ISO values that contain very
bright, dot-like light sources.
IMAGE PROPERTIES
COLOR SPACE
Video is generally recorded in the sRGB color space (see p. 32).
Note
This applies irrespective of any other setting for photos, which remains
unchanged.
CONTRAST, SHARPNESS, SATURATION
All variants described on p. 32 apply, but are set individually for video
recordings.
▸ Select IMAGEIMAGE
▸ Select Video SettingsVideo Settings in the main menu
▸ Select Video ContrastVideo Contrast/Video SharpnessVideo Sharpness/Video SaturationVideo Saturation in the submenu
▸ Select the desired level in the corresponding submenu
TIME CODE
The time code is a data record that is generated and recorded in addition
to the image and audio data. It ensures the correct time assignment of
picture and audio signals after cutting or after later separate processing.
You can choose between a continuous running time code –
Free RunFree Run or a
time code for the relevant recording – Rec RunRec Run.
▸ Select IMAGEIMAGE
▸ Select Video SettingsVideo Settings in the main menu
▸ Select TimecodeTimecode in the submenu
▸ Select Timecode ModeTimecode Mode in the Timecode submenu
▸ Select a function (Camera TimeCamera Time, Rec RunRec Run, Free RunFree Run) or deactivate a function
(OffOff)
The time code signal is generally created and recorded alongside the
video recording. You can, however, specify the time code start using
Free RunFree Run and Rec RunRec Run. You will therefore specify the length of the time delay
between the start of the recording and the start of the time code signal
generation. The otherwise disabled second line of the TimecodeTimecode submenu
can therefore be set.
▸ Select Timecode ModeTimecode Mode in the submenu
▸ Select StarttimeStarttime
▸ Select the desired delay
EXPOSURE METERING METHODS
All variants described on p. 38 apply.
EXPOSURE MODES
– Aperture Priority (see p. 39)
– Manual control with shutter speeds of 1⁄30 - 1⁄4000s
• Slower set shutter speeds are treated like 1⁄30s.
Notes
• ISO sensitivity will be increased automatically if correct exposure
cannot be achieved with the largest aperture – no matter what values
were set manually.
• Automatic exposure control takes into account any fluctuations in
brightness. Exposure should be set manually where that is undesirable,
e.g. for landscape recordings and pans.
FOCUSING
All variants described on p. 34 apply.
Loading ...
Loading ...
Loading ...