Loading ...
Loading ...
Loading ...
Suggested Surface Contro_Settings
Thesuggestedsettingsfoundinthechartbelowarebasedoncookinginmedium-weight
aluminumpanswithlids.Settingsmayvarywhenusingothertypesofpans.
STANDARD SURFACE ELEMENTS
Setting Type of Cooking
High (HI/MAX) Start most foods, bring water to a boil, pan broiling
Medium High (6) Continue a rapid boi!, fry, deep fat fry
Medium (4°5) Maintain a slow boi!, thicken sauces and gravies, steam vegetables
Medium Low (2 - 3) Keep foods cooking, poach, stew
Low(SIM/MIN) Keep warm, melt, simmer
To Operate the Oven Control
For satisfactory use of your oven, become familiar with the various functions of the oven asdescribed below. Note: The Oven
or Thermostat indicator light will glowwhen the oven is turned on when baking or broiling. Aquick glance at this indicator light
when cooking is finished is an easy check to be sure the oven is turned off.
To Bake
1. Arrange oven racks while the oven is still cool. See "Arranging Oven Racks" under Before Setting Oven Control.
2. Turn the Oven Control knob to the desired temperature.
3. Preheat the oven for 10 to 12 minutes before baking. Preheating is not necessary when roasting, cooking casseroles or
broiling most foods.
4. When cooking is finished, turn the Oven Control knob to OFF.
To Broil
1. Arrange oven rack while oven is still cool. For rare meats, position the broiler pan closer to the element (upper oven rack
positions). For well-done foods such as chicken, lobster tails or thick cuts of meat, position the pan further from the element
([ower oven rack positions).
2. Turn the Oven Contro[ to Broil. Most foods can be broi[ed atthe Broil setting. To sear rare steaks, a[[ow the element to become
red-hot--about 2 minutes--before p[acing food in the oven.
3. Place the insert on the broiler pan (if equipped), then place the food on the insert. DO NOT use the broiler pan without the
insert or cover the insert with aluminum foil. The exposed fat could ignite.
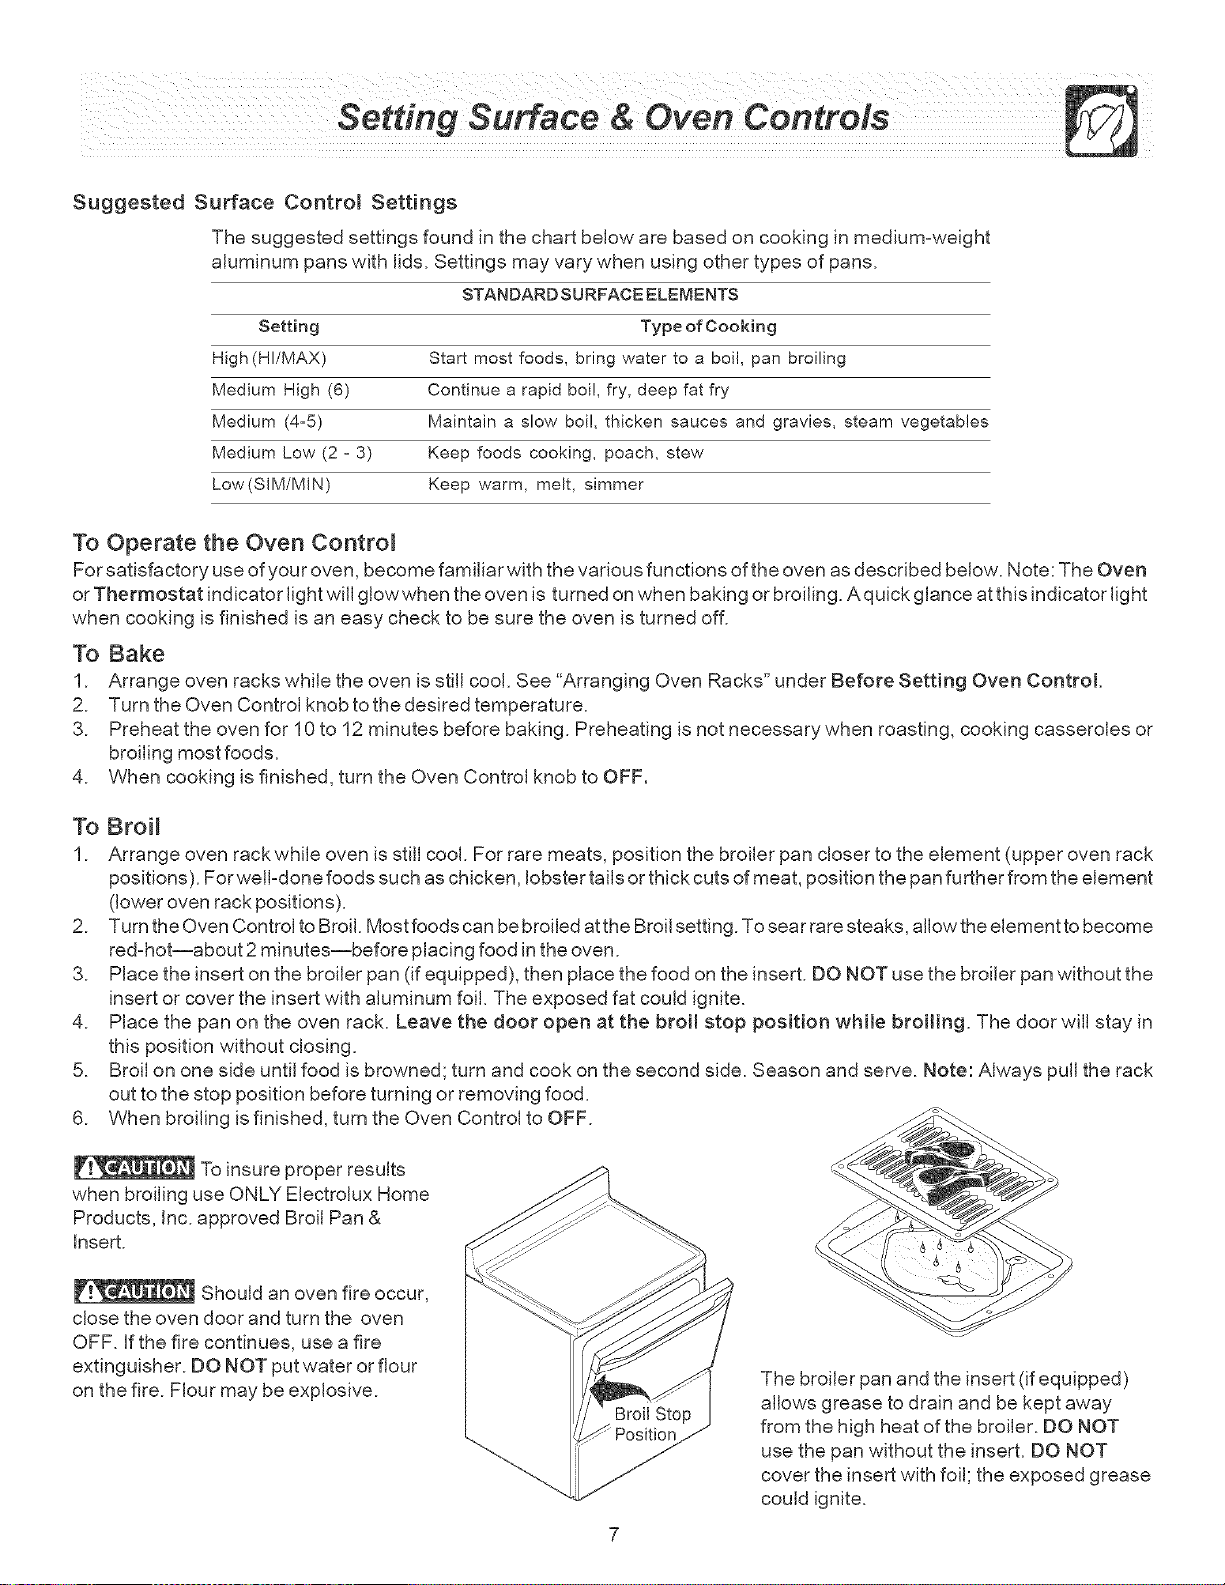
4. Place the pan on the oven rack. Leave the door open at the broil stop position while broiling. The door will stay in
this position without closing.
5. Broil on one side until food is browned; turn and cook on the second side. Season and serve. Note: Always pull the rack
out to the stop position before turning or removing food.
6. When broiling is finished, turn the Oven Control to OFF.
To insure proper results
when broiling use ONLY Electrolux Home
Products, Inc. approved Broil Pan &
Insert.
Should an oven fire occur,
close the oven door and turn the oven
OFF. If the fire continues, use a fire
extinguisher. DO NOT put water or flour
on the fire. Flour may be explosive.
The broiler pan and the insert (ifequipped)
allows grease to drain and be kept away
from the high heat of the broiler. DO NOT
use the pan without the insert. DO NOT
cover the insert with foil; the exposed grease
could ignite.
Loading ...
Loading ...
Loading ...