Loading ...
Loading ...
Loading ...
About CustomCoo/:
CustomCooF _ Chart
NOTE:Results may vary depending on packaging, starting temperature and other food traits.
.....
Exp,essThaw SoiectTemp
0.5 Lb. (4 hours)
>: Hamburger Patties (0.5 lb)
>: ]ndMdually _Vrapped
Filet Mignon (0.5 lb)
1.0 Lb. (6 hours)
i_? Chicken Breasts (1.0 lb)
i_: Ground Beef (1.0 lb)
i_;: Steak (1.0 lb)
2.0 Lbs. (10 hours)
i_: Chicken Breasts (2.0 lbs)
i_;: (h'otmd Beef (2.0 lbs)
>: Steak (2.0 lbs)
3.0 Lbs. (12 hours)
i_i: Chicken Breasts (3.0 lbs)
i_;: (h'otmd Beef (3.0 lbs)
>: Steak (3.0 lbs)
15 Minutes
>: 1 Beverage Can (12 oz)
_i:: 2 Slnall,luice Boxes (('_ oz each)
30 Minutes
i_;: 2 to 6 Beverage Cans (l 2 oz each)
i_i: 2 Plastic 20 oz Bottles of Beverage
i_i;:4 to 6 Small Juice Boxes
(C_8 oz each)
yi:: 3 Foil Juice Packets
_i:: Wine (750 ml bottle)
45 Minutes
_i:: 2 I,iter of Beverage
i_i;:1/2 Galhm of.Juice
>: Gelatin-1 package
Citrus Setting (43°F)
>: Oranges, I,emons, IJmes,
Pineapple, (_antaloupe
>: Beans, (]tlCtllllbei_, Tomatoes,
Peppe_, Eggplant, Squash
Produce Setting (35°F)
i_;: Strawberries, I?.aspberfies, Kiwifl'tfit,
Pea_s, Cherries, Blackberries,
Glwpes, Phuns, NectmJnes, Apples
>: Asparagus, Broccoli, Corn,
Mushrooms, Spinach, Caulifl()we_;
I_ade, Green Onion, Beets, Onions
Meat Setting (31 °F)
Raxs Meat, Fish and Poultry
>
Disassemblingthe
Chill/Thaw tray
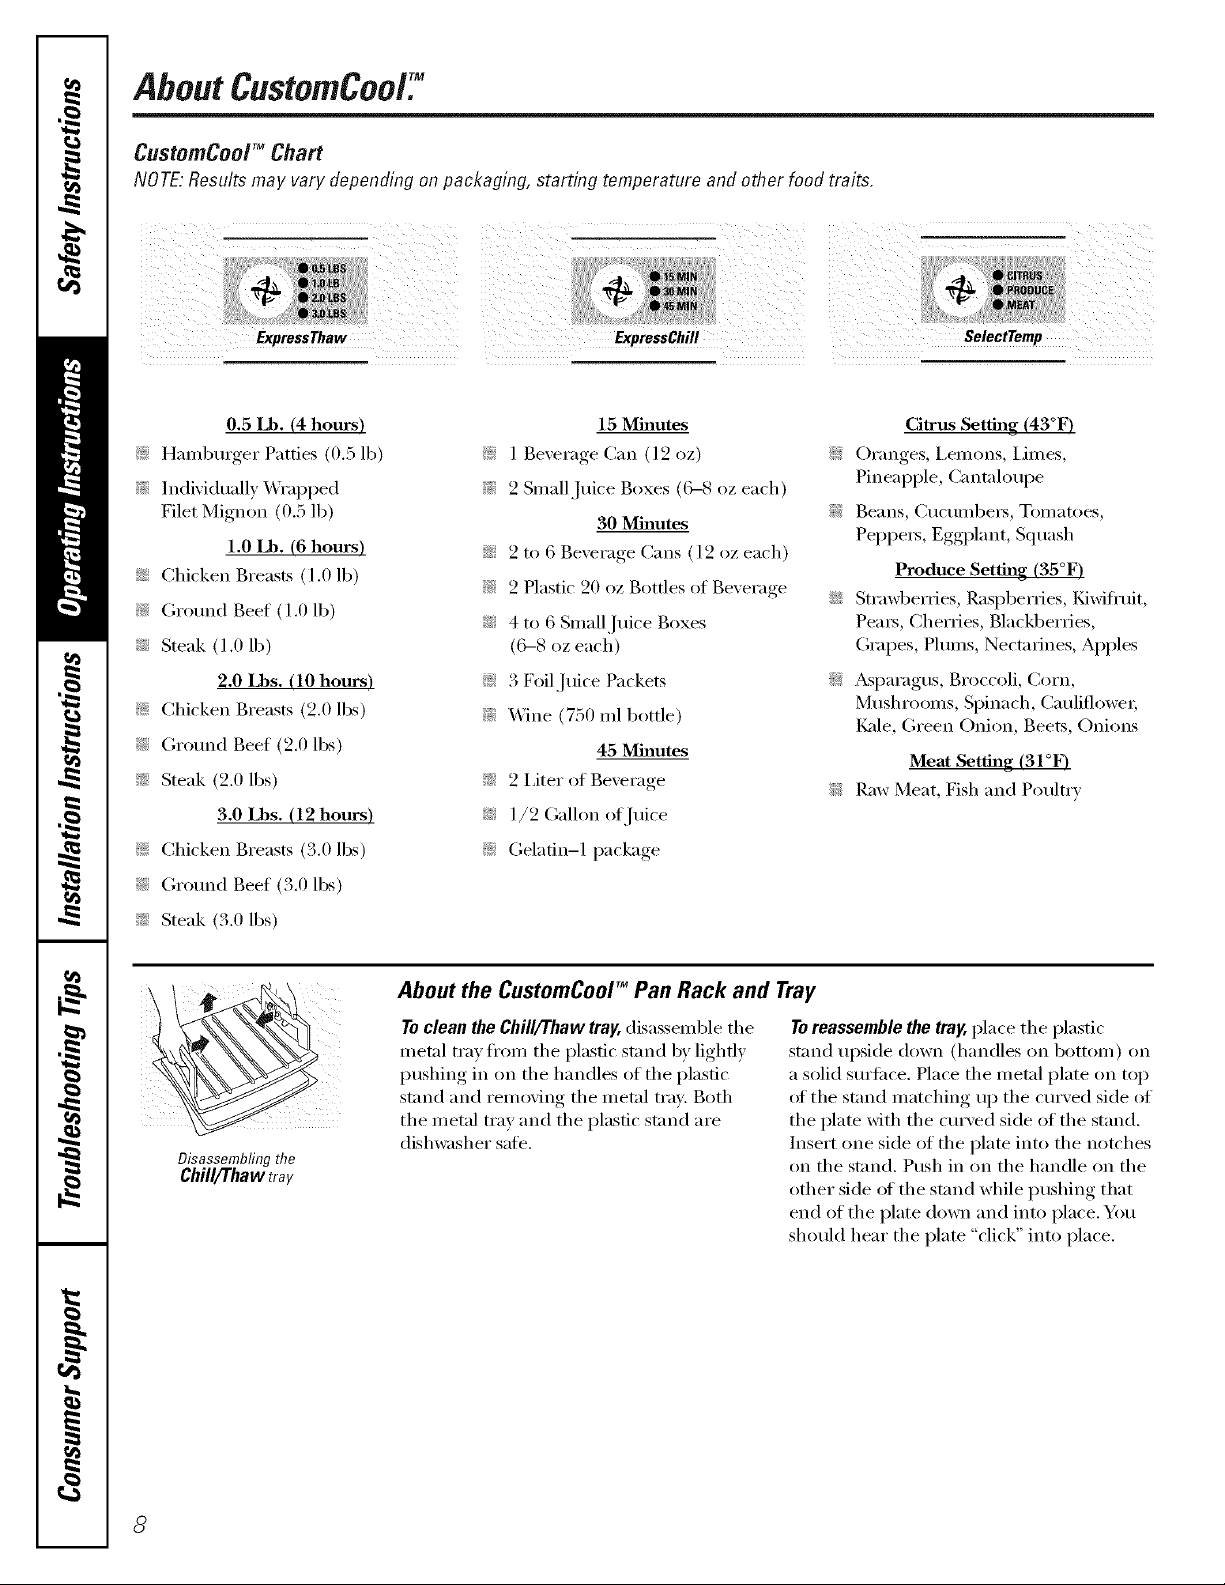
To clean the Chill/Thaw tray,disassemble the
metal tray fl'om the plastic stand by lightly
pushing in on the handles of the plastic
stand and removing the metal tray. Both
the metal tray and the plastic stand are
dishwasher safe.
About the CustomCoolTM Pan Rack and Tray
Toreassemble the tray, place the plastic
stand upside d(>wn (handles (m bott(>m) (m
a solid sm'ti_ce. Place the metal plate on top
ol the stand matching up the curved side of
the plate with the curved side of the stand.
Insert one side of the plate into the notches
on the stand. Push in on the handle on the
other side (ff the stand while pushing that
end of the plate down and into place. You
should hear the plate "click" into place.
8
Loading ...
Loading ...
Loading ...