Loading ...
Loading ...
Loading ...
8
EN
INSTALLATION INSTRUCTIONS
5 After wires are connected, carefully tuck them inside the junction box.
6 Place the floodlight unit (make sure the "UP" arrow on the back is pointing up) against the junction
box aligning with the center hole of the mounting bracket and lock it securely with the provided
long bracket screw and washer.
7 Insert the provided screw cap firmly into the center mounting hole on the floodlight unit.
8 Apply silicone weather sealant (not included) around the mounting surface of the floodlight unit
and junction box for moisture seal. Installation is complete. Remove the protective film from the
camera.
9 Turn the electricity back on and allow the camera to power up. This can take up to a minute.
When the camera starts blinking blue, it is ready to be paired with your Wi-Fi network.
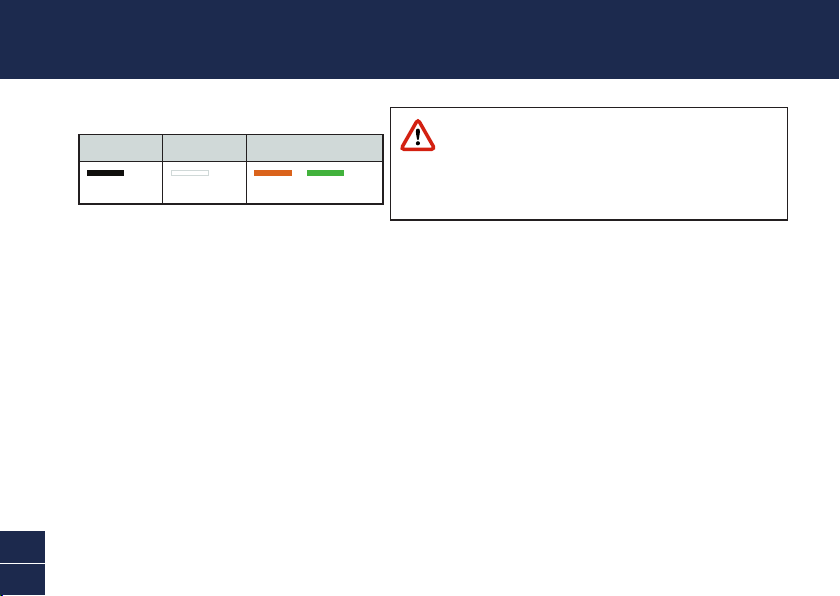
LIVE (HOT) NEUTRAL GROUND (EARTH)
Black
White
/
Bare copper or green
If wiring colors do not match — a common
issue in older homes — contact a licensed
electrician who will be able to help you check
and identify the electrical wiring. Do not guess the
wires. Incorrect wire connection will damage the
unit and could cause fire or injury.
Power circuit wiring color codes
TIP If you have a light switch that controls the floodlight unit, remember not to turn off the switch as
this will also turn off the camera. The camera needs to be powered at all times to stay connected
to your Wi-Fi. Put a sticker label on the light switch so that people know not to turn it off.
Loading ...
Loading ...
Loading ...