

Table of Contents
Introduction
Product Overview
Specifications
Power Supply
Changing the Modes
Download files to the PC
Tips & Warnings
Warranty
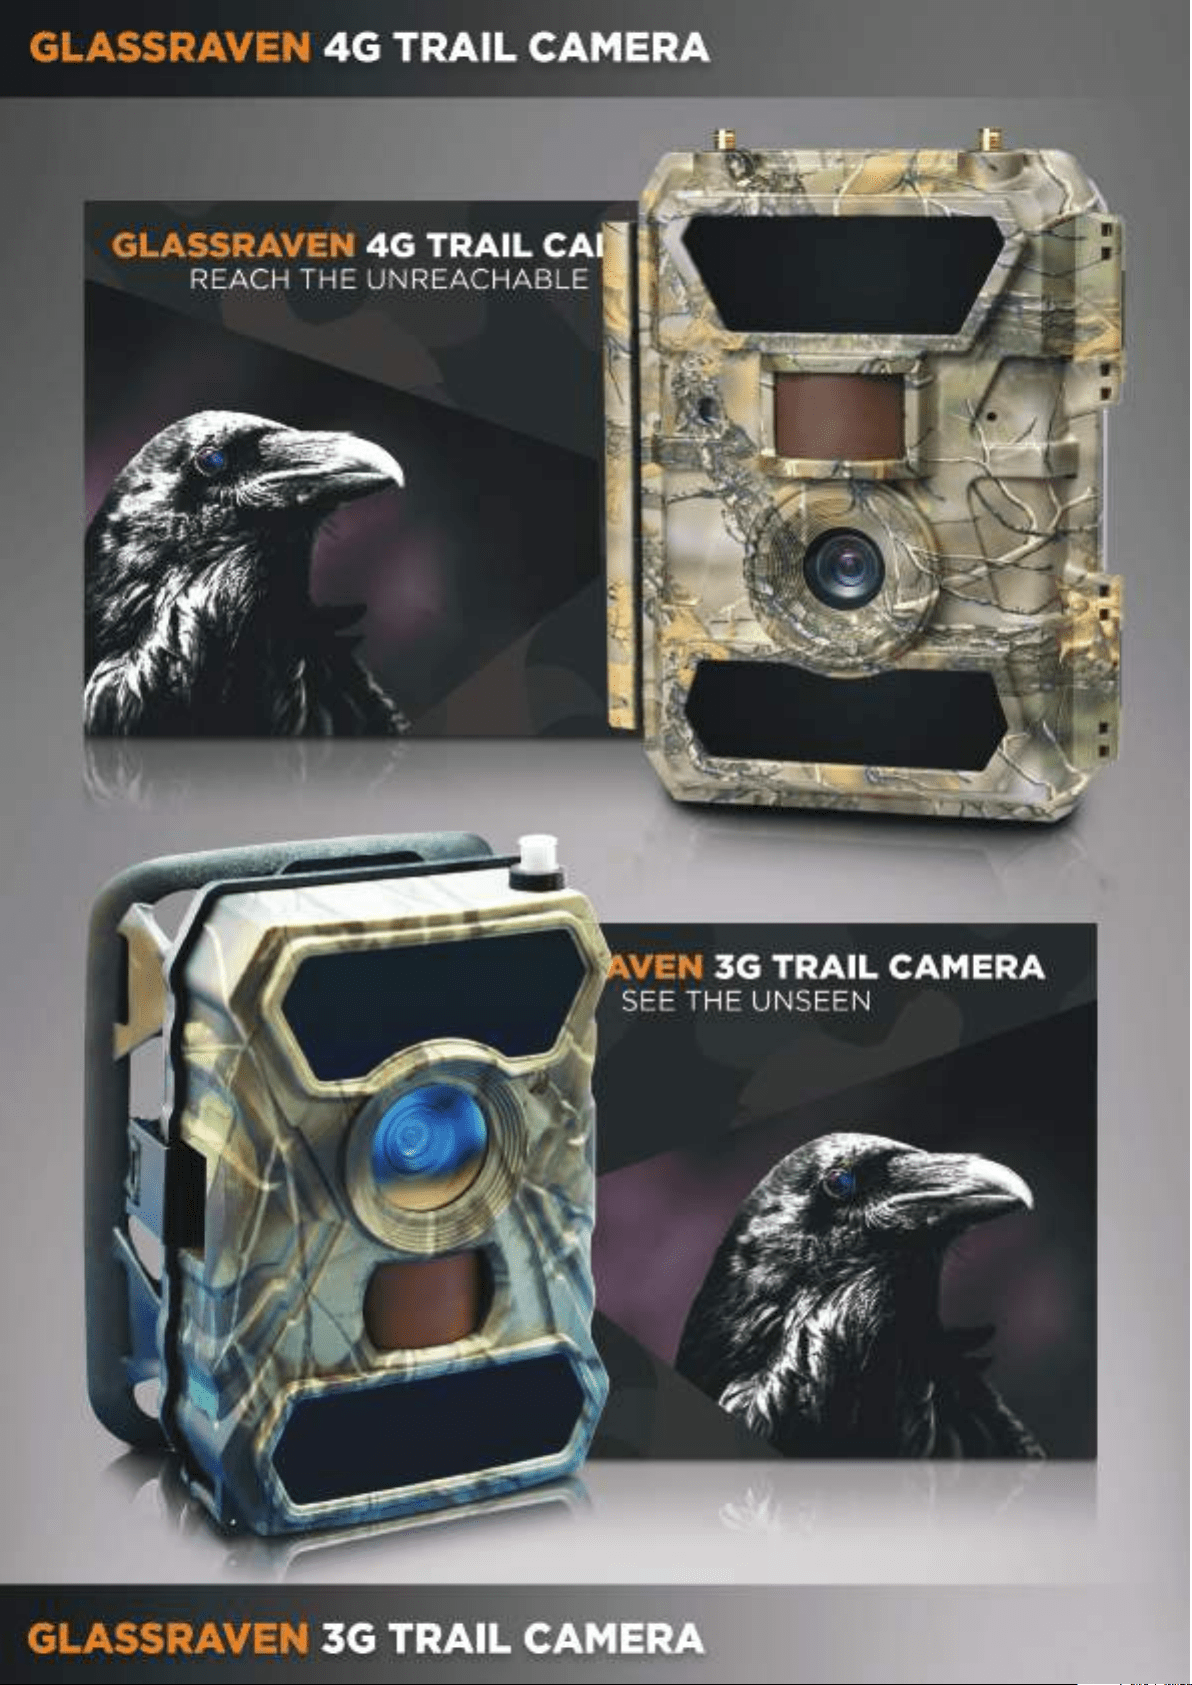
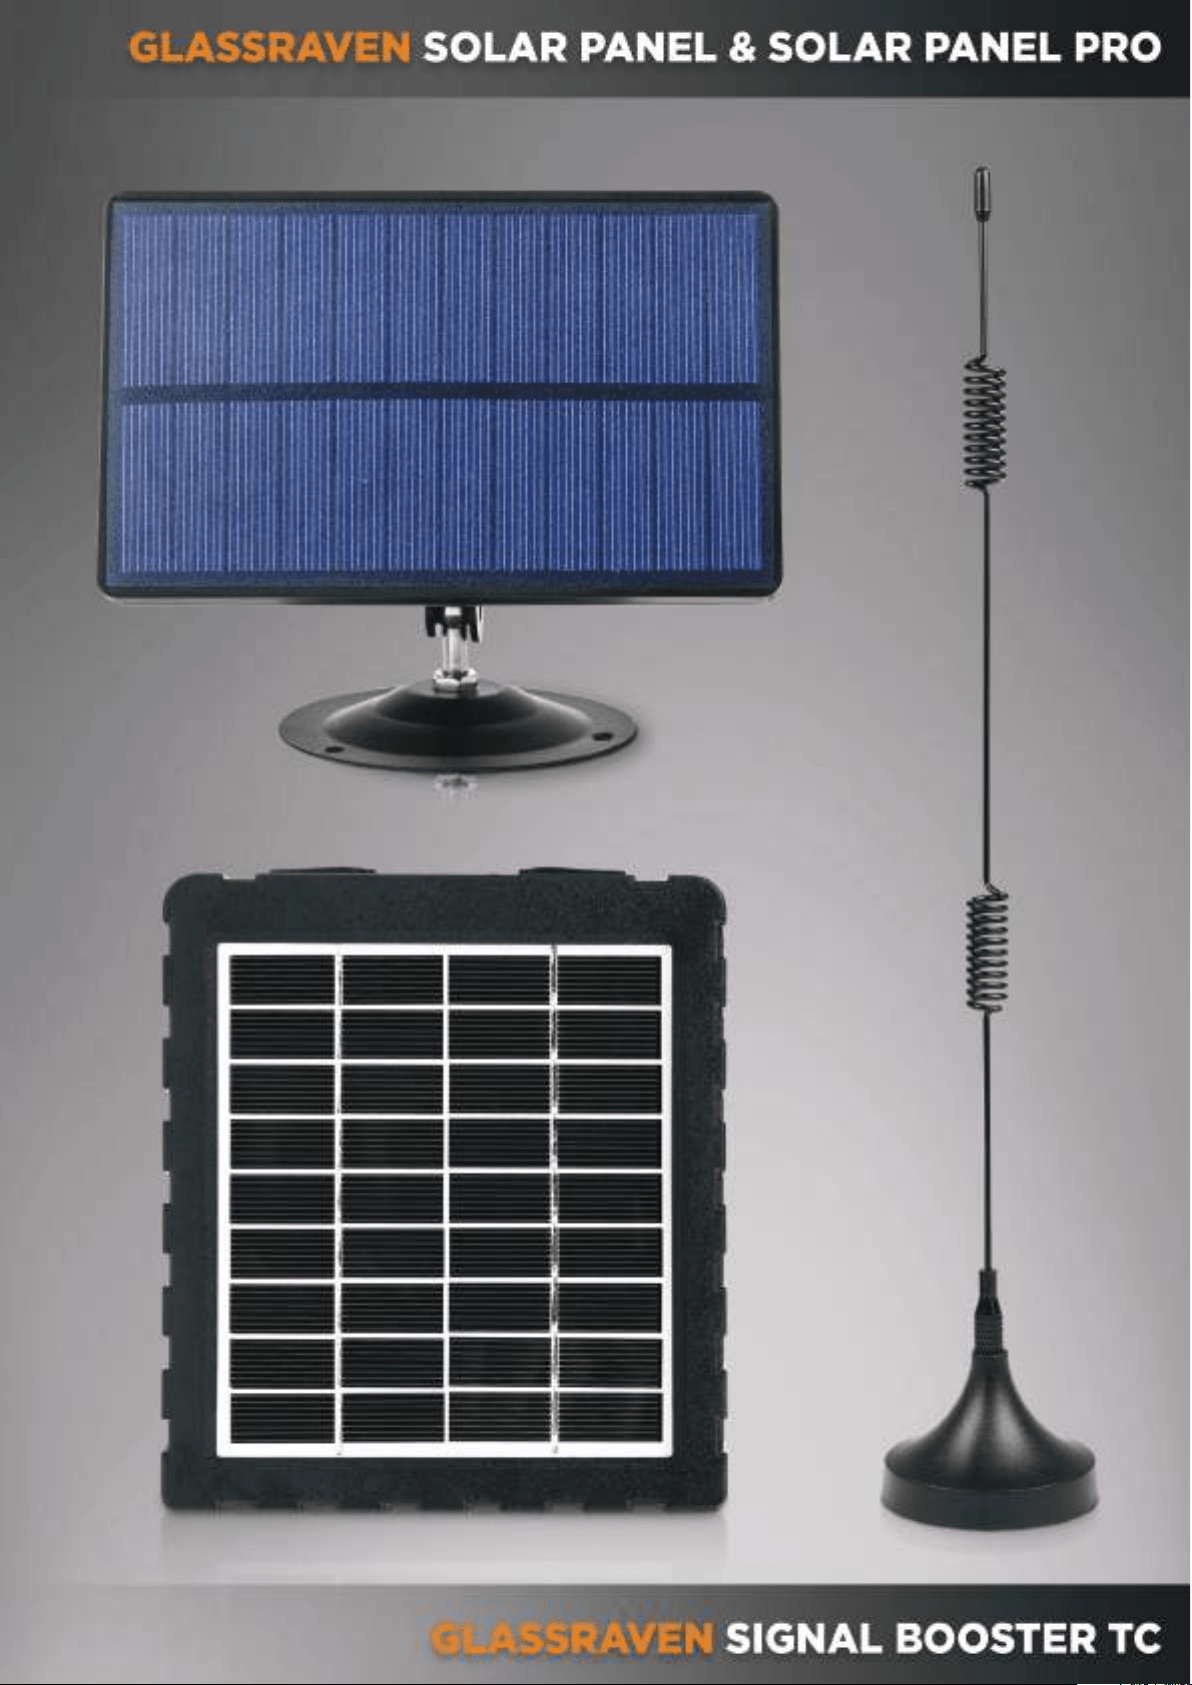
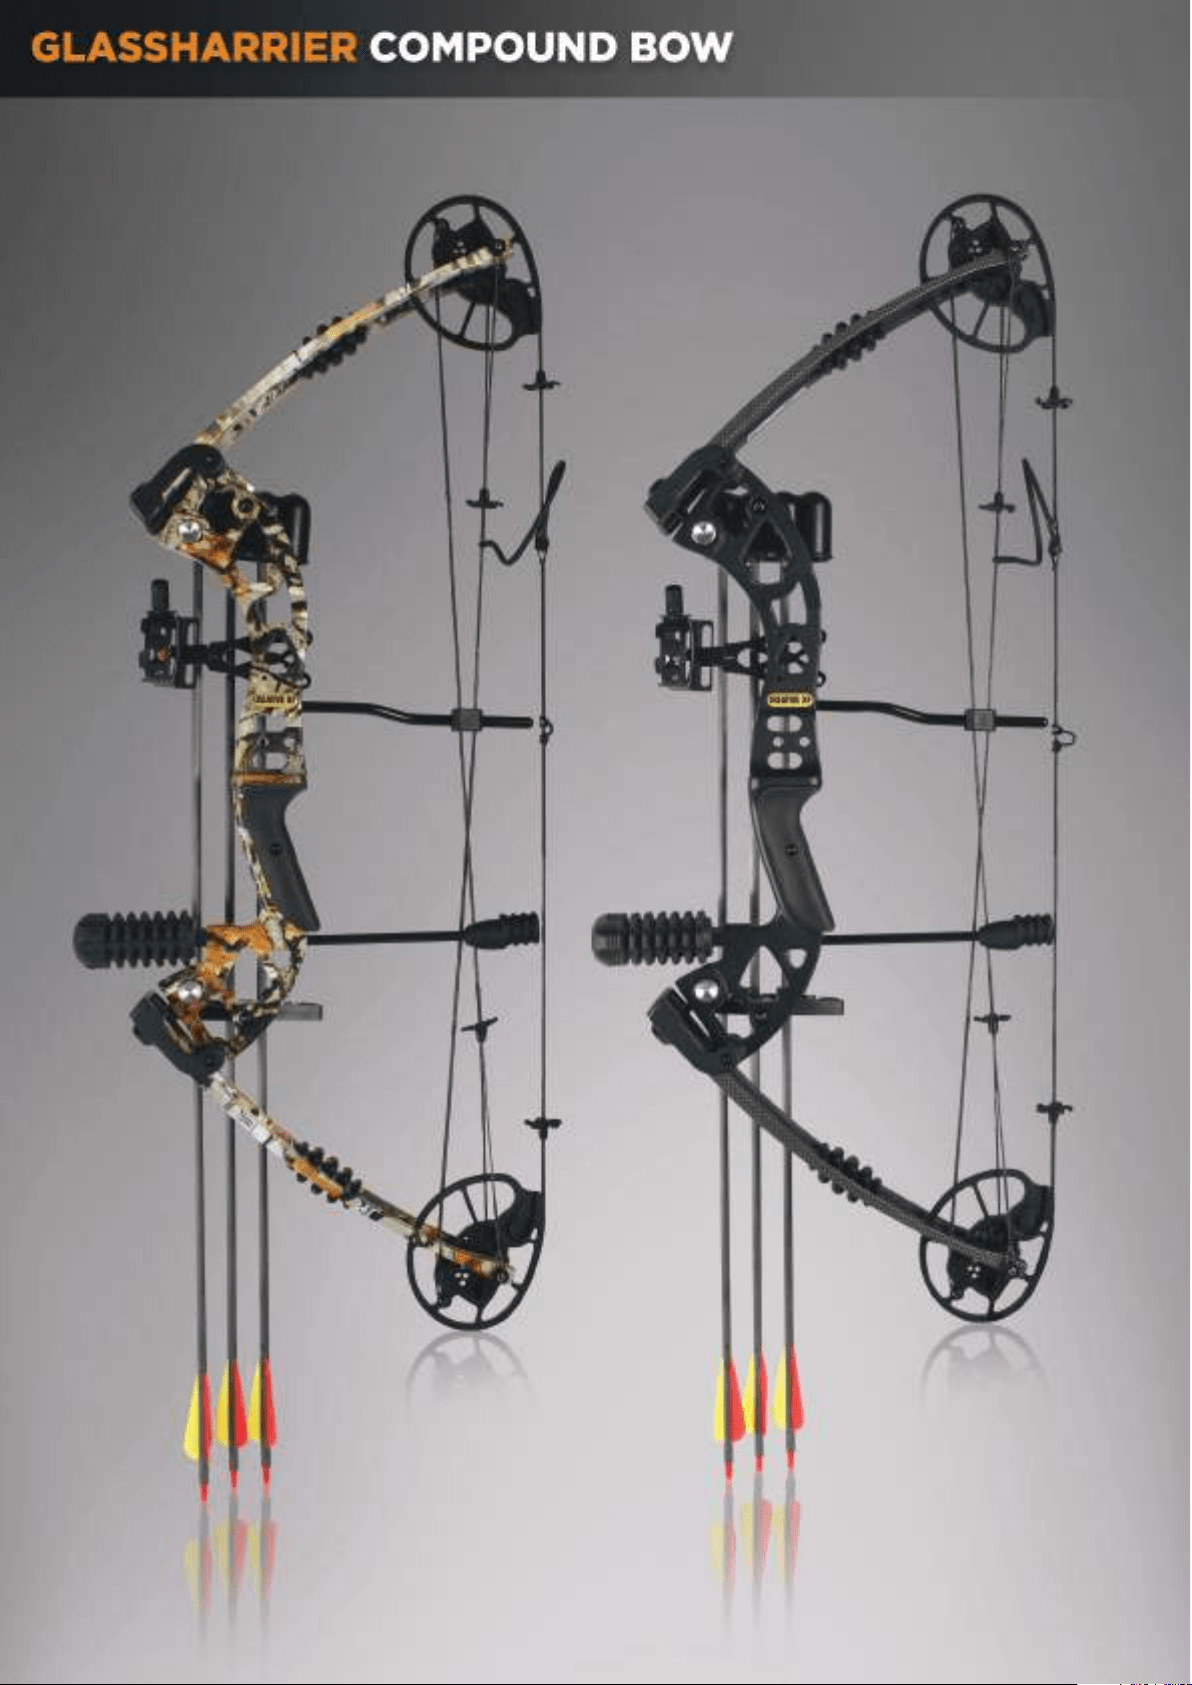
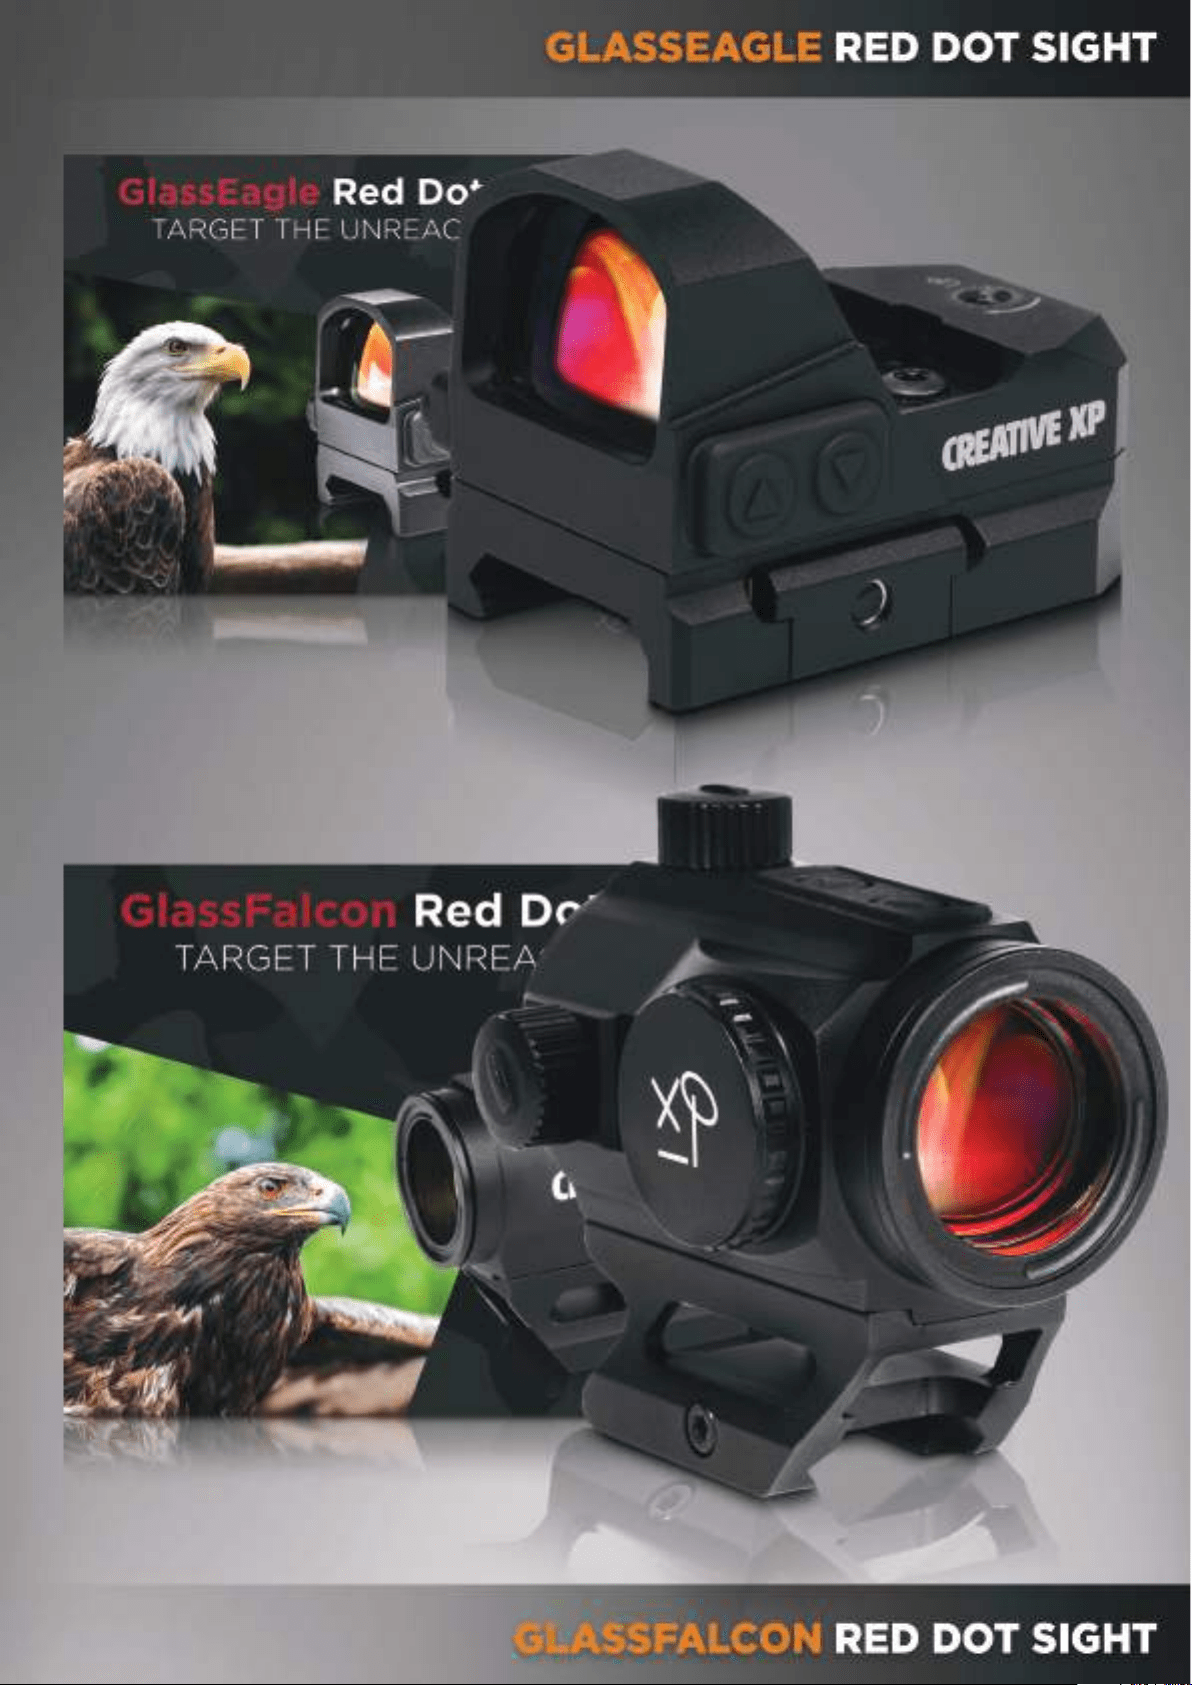
Complete Hunter Kit
.................................................................................................4
......................................................................................6
..............................................................................................7
...............................................................................................8
...........................................................................9-10
........................................................................11
...................................................................................12-14
.................................................................................................15-16
.........................................................................17-29
TABLE OF CONTENTS
3

Introduction
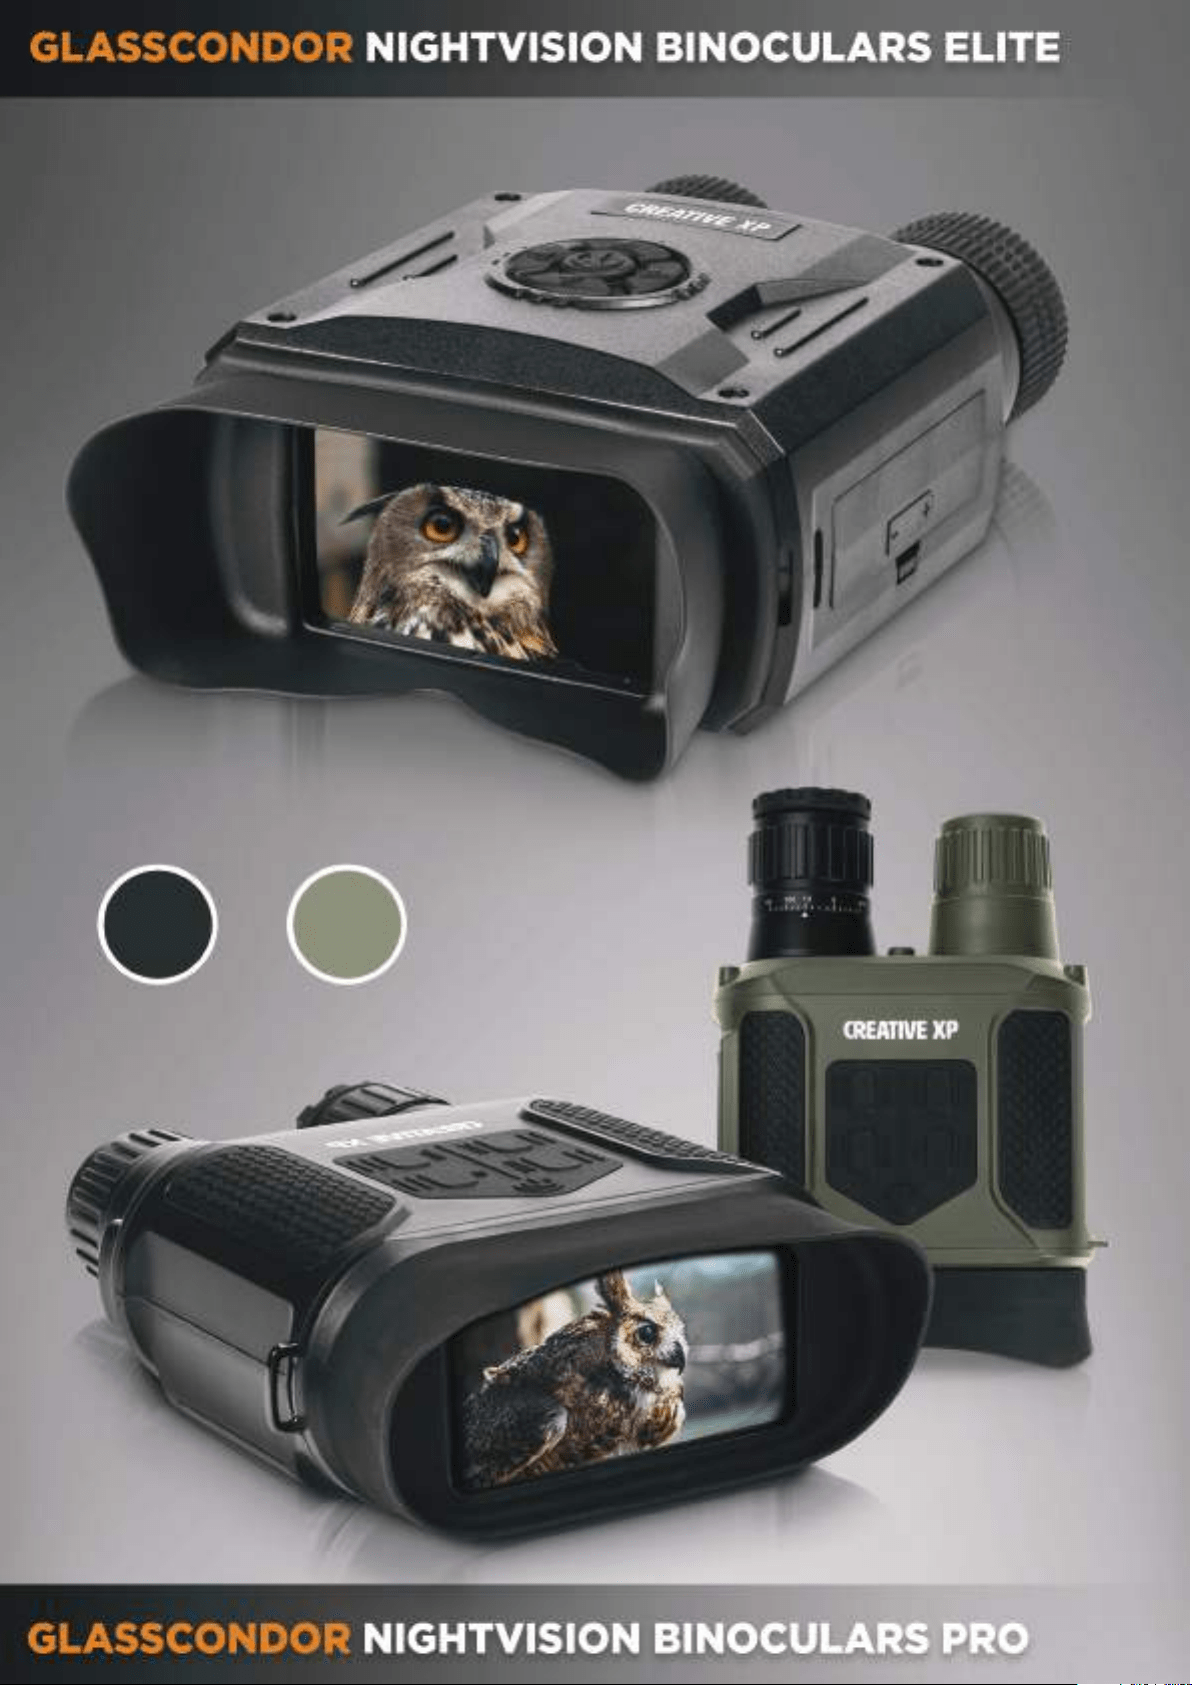
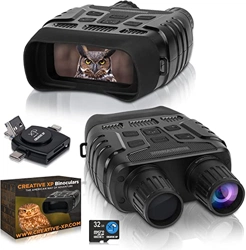
Thank you for purchasing the Creative XP® GlassCondor Night Vision Binoculars.
This manual will help you optimize your viewing experience by explaining how
to utilize the binoculars’ controls and features, and how to care for them.
READ the instructions carefully before using your night vision binoculars.
Use the GlassCondor to view your surroundings in low light conditions or even
in complete darkness with the built-in infrared light. You can even take pictures
and video which will be stored on an included 32 GB micro SD card.
The GlassCondor can also be used to take photos and video during the day.
Use the supplied A/V cable to view your images on a television or download
them to your computer using the supplied USB cable.
We are an American family-owned business and you can contact us via
email (support@creative-xp), our website (www.creative-xp.com) or
phone (+1 646 450 6330). If you are not happy with the GlassCondor in any
way, please contact us and we will take care of it as soon as possible.
Also, you can watch our YouTube Tutorial Videos if you need additional
instructions on using the binoculars.
We are always happy to help!
4
THE AMERICAN WAY
OF ADVENTURE
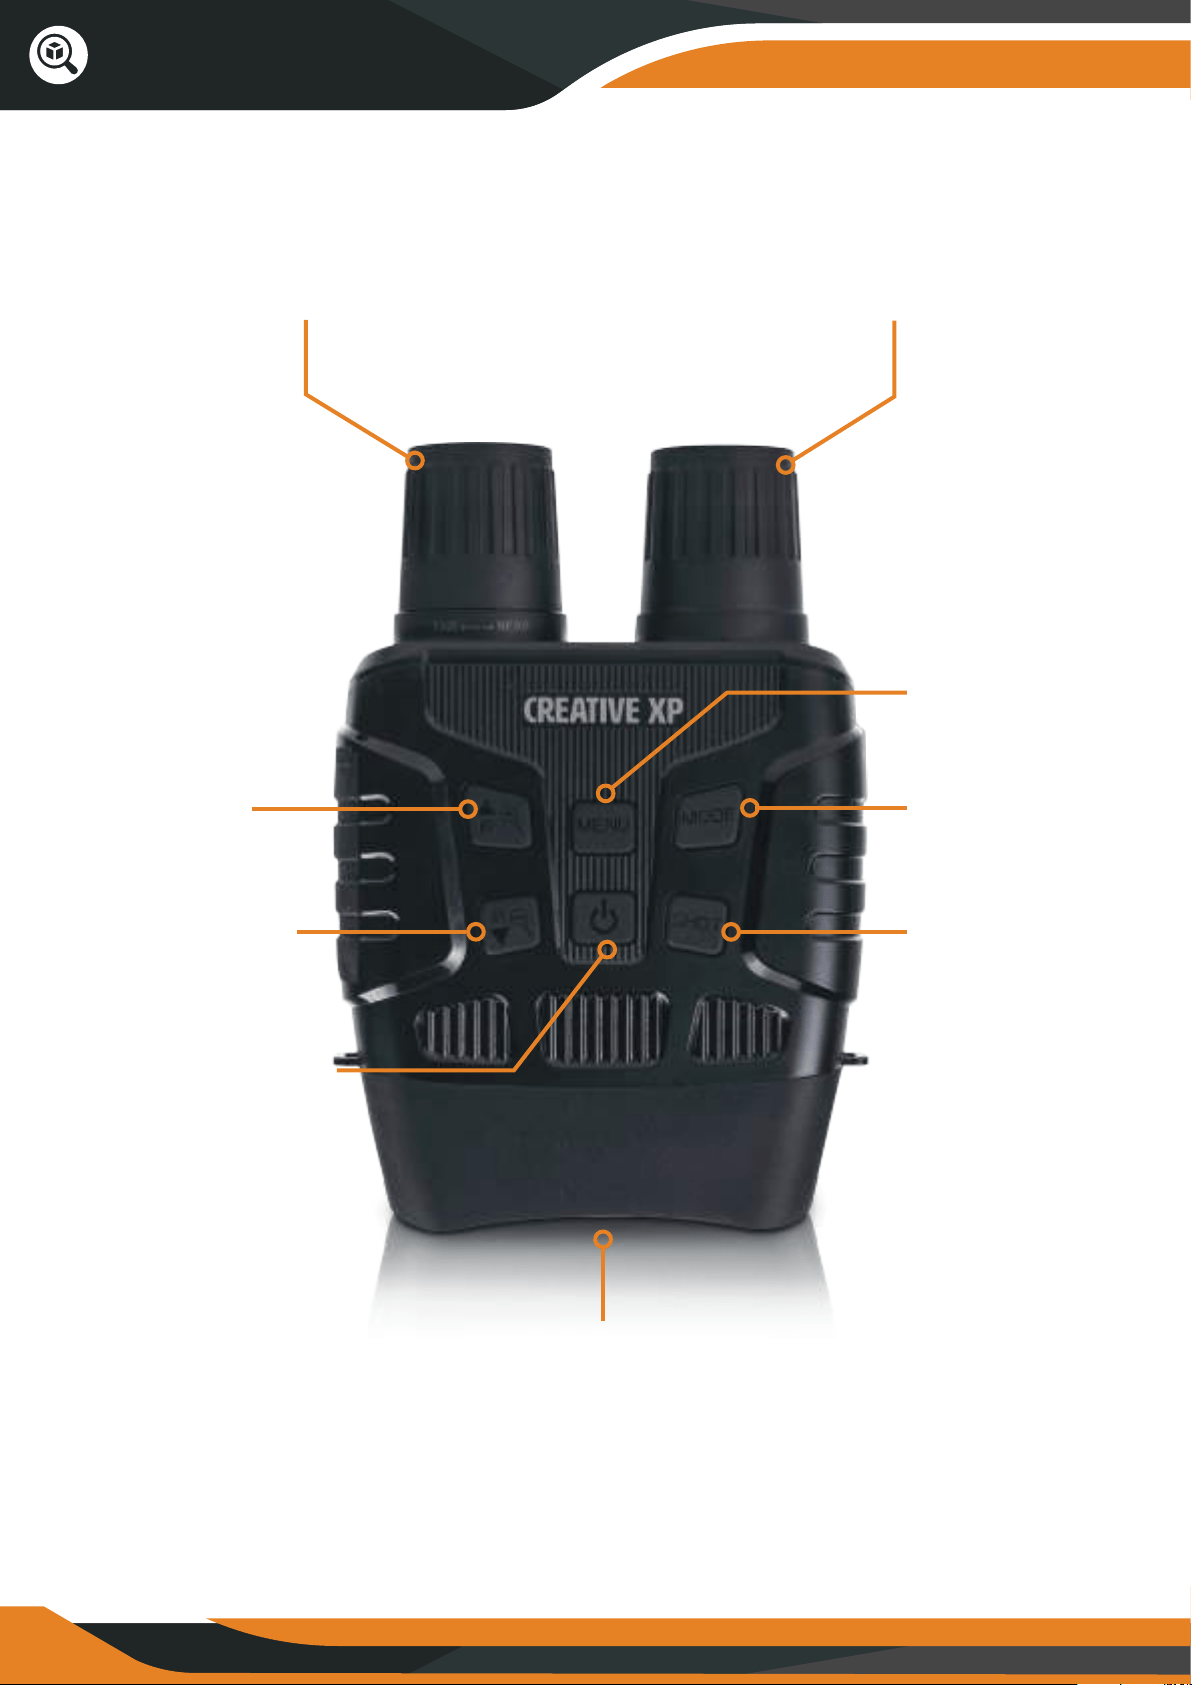
Product Overview
Manual Lens Focus Knob
Turn up IR/
Zoom In/
UP button
Turn down IR/
Zoom Out/
DOWN button
Power ON/OFF
IR LED
Menu Button
Mode Button
Snap/
OK Button
TFT LCD VIEWING SCREEN
6
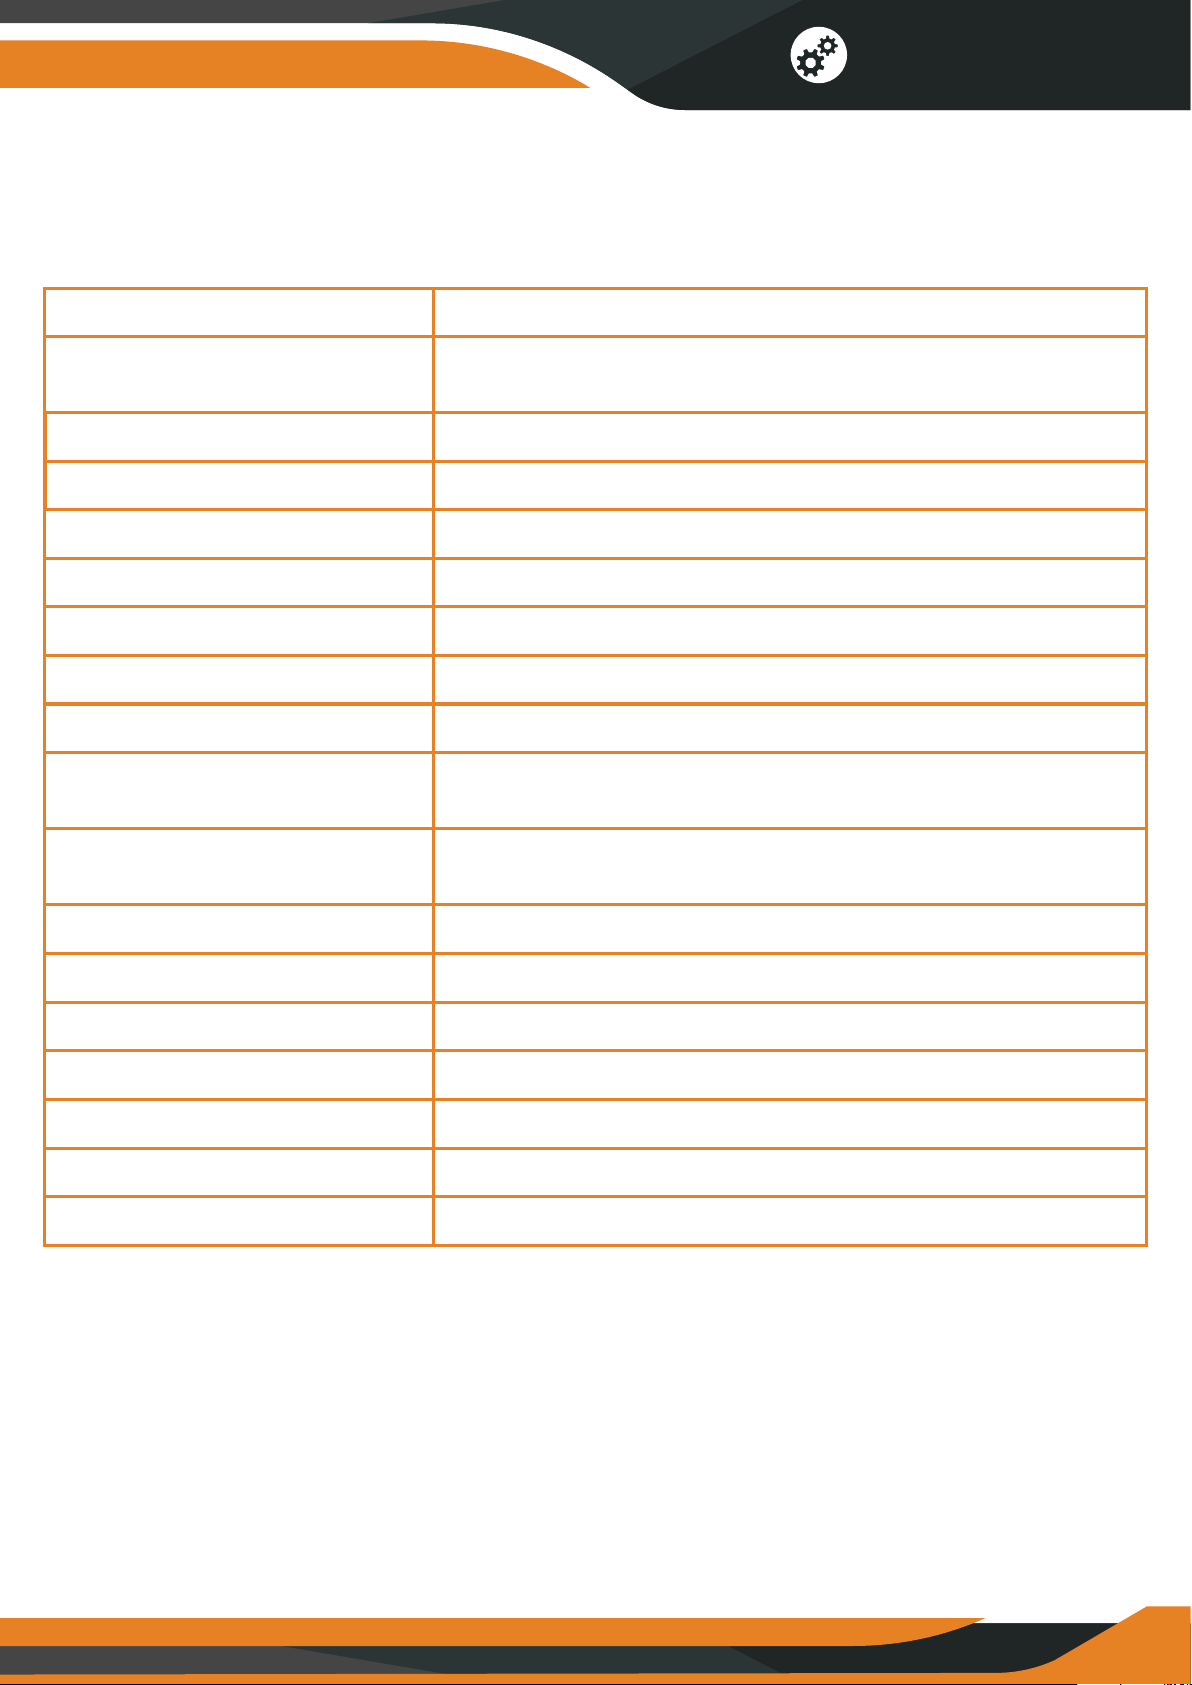
Specifications
Image Size:
Video Size:
1M (1280x960px)/VGA (640x480px)
960P (1280x960px@30FPS)
VGA (640x480px@30FPS)
Aperture: F 1.2, f=25mm
Lens Angle: FOV=10°
Lens Diameter: 24mm
Display Screen: Inner screen 2.31” (960*240px) TFT
Outer screen: 98*48mm
Digital Zoom: 4X
Storage Media: Micro SD card up to 32GB
Viewing Distance
in complete darkness:
650-1000 FT
Viewing Distance
in weak light:
10 FT to Infinity
IR LED: 3W, 850nm
USB Port: Micro USB 2.0
Power Source: 9V, 6xAA
Operating Temperature: -4°C to +140°C
Storage Temperature: -22°C to +160°C
Dimension: 196*146*59mm
Weight: 20 Oz.
Specifications
7
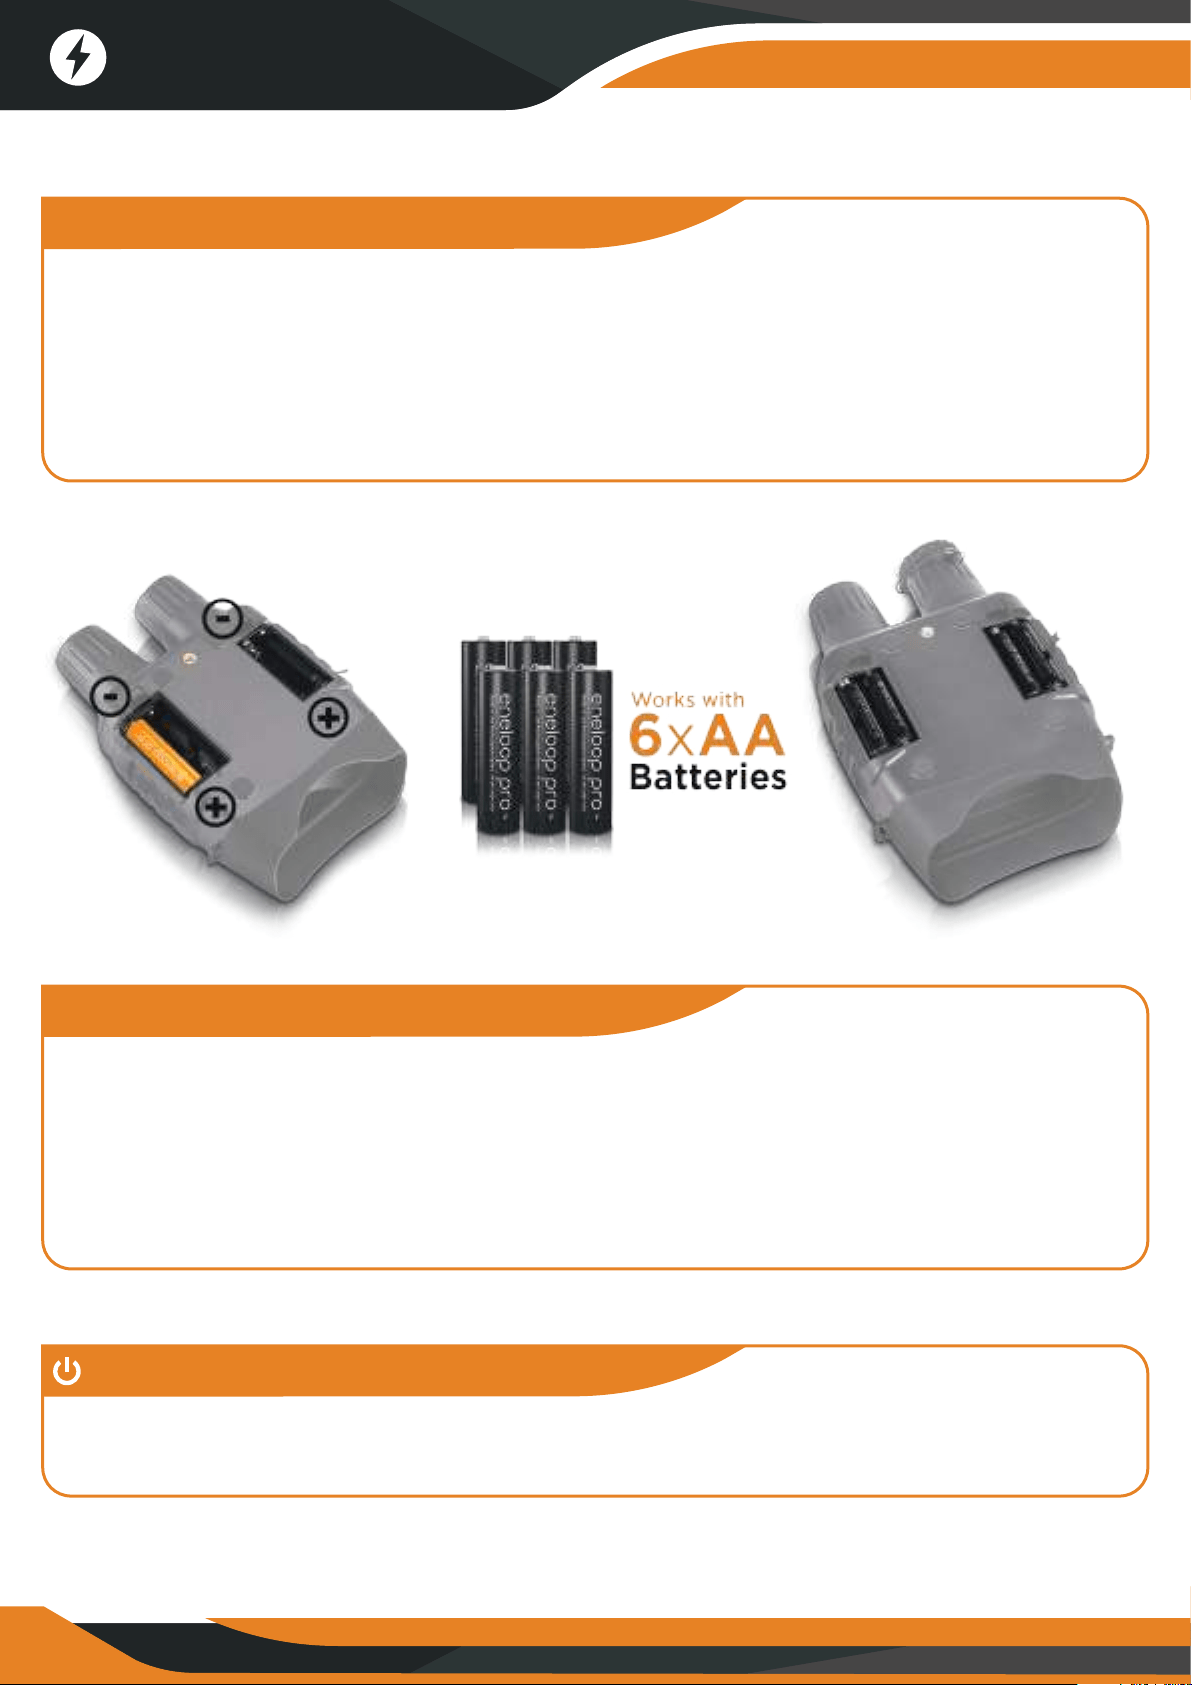
Power Supply
Inserting / Removing the SD card
Power Supply
Turn ON/OFF
Open both battery compartments and install 3 x AA batteries
in each compartment. Make sure to follow the polarity markings
inside the battery compartment.
*We recommend using new batteries (you can use the rechargeable type
as well) Eneloop PRO by Panasonic to maximize the recording time.
1. Insert the micro SD card into the micro SD card port and push until it
locks in place.
2. To remove the installed micro SD card, please push the card inward and
it will come up.
Tip: Storage capacity between 4GB to 32GB is recommended.
Hold the POWER button for 3-4 seconds to turn on the GlassCondor.
Hold the POWER button for 3-4 seconds again to turn o the GlassCondor.
8
Changing the Modes
Photo Mode For taking photos
Playback Mode For viewing recorded files
Video Mode For taking videos
Changing the Modes
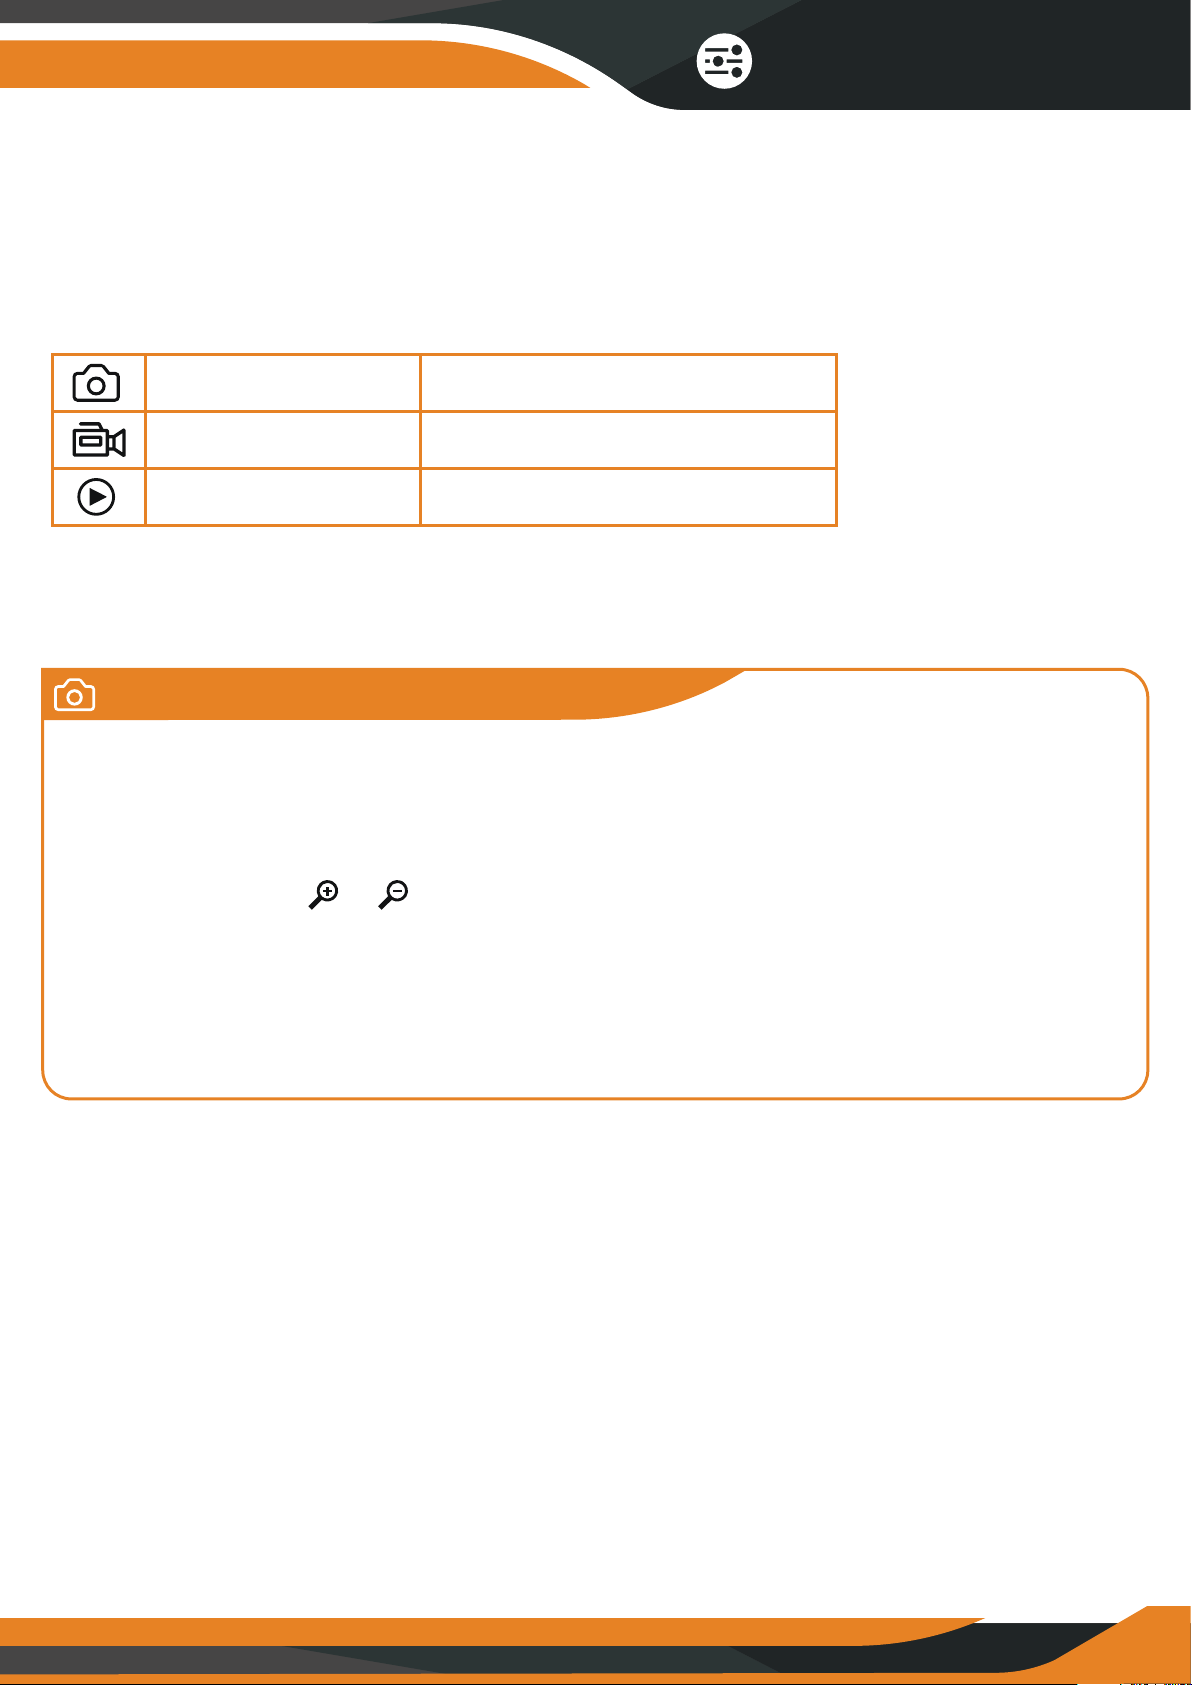
Photo Mode
1. When you turn on the device the default mode will be on the Photo Mode.
If not, press the MODE button to switch to the photo mode.
2. Zooming:
Keep pressing the or button to zoom IN or OUT the image.
The magnification level will appear on the LCD screen.
3. To take a photo:
- View the subject on the LCD screen.
- Press the Snap/OK button to take the photo.
The GlassCondor has 3 modes and you can switch between them by pressing
the MODE button.
9
Changing the Modes
Playback
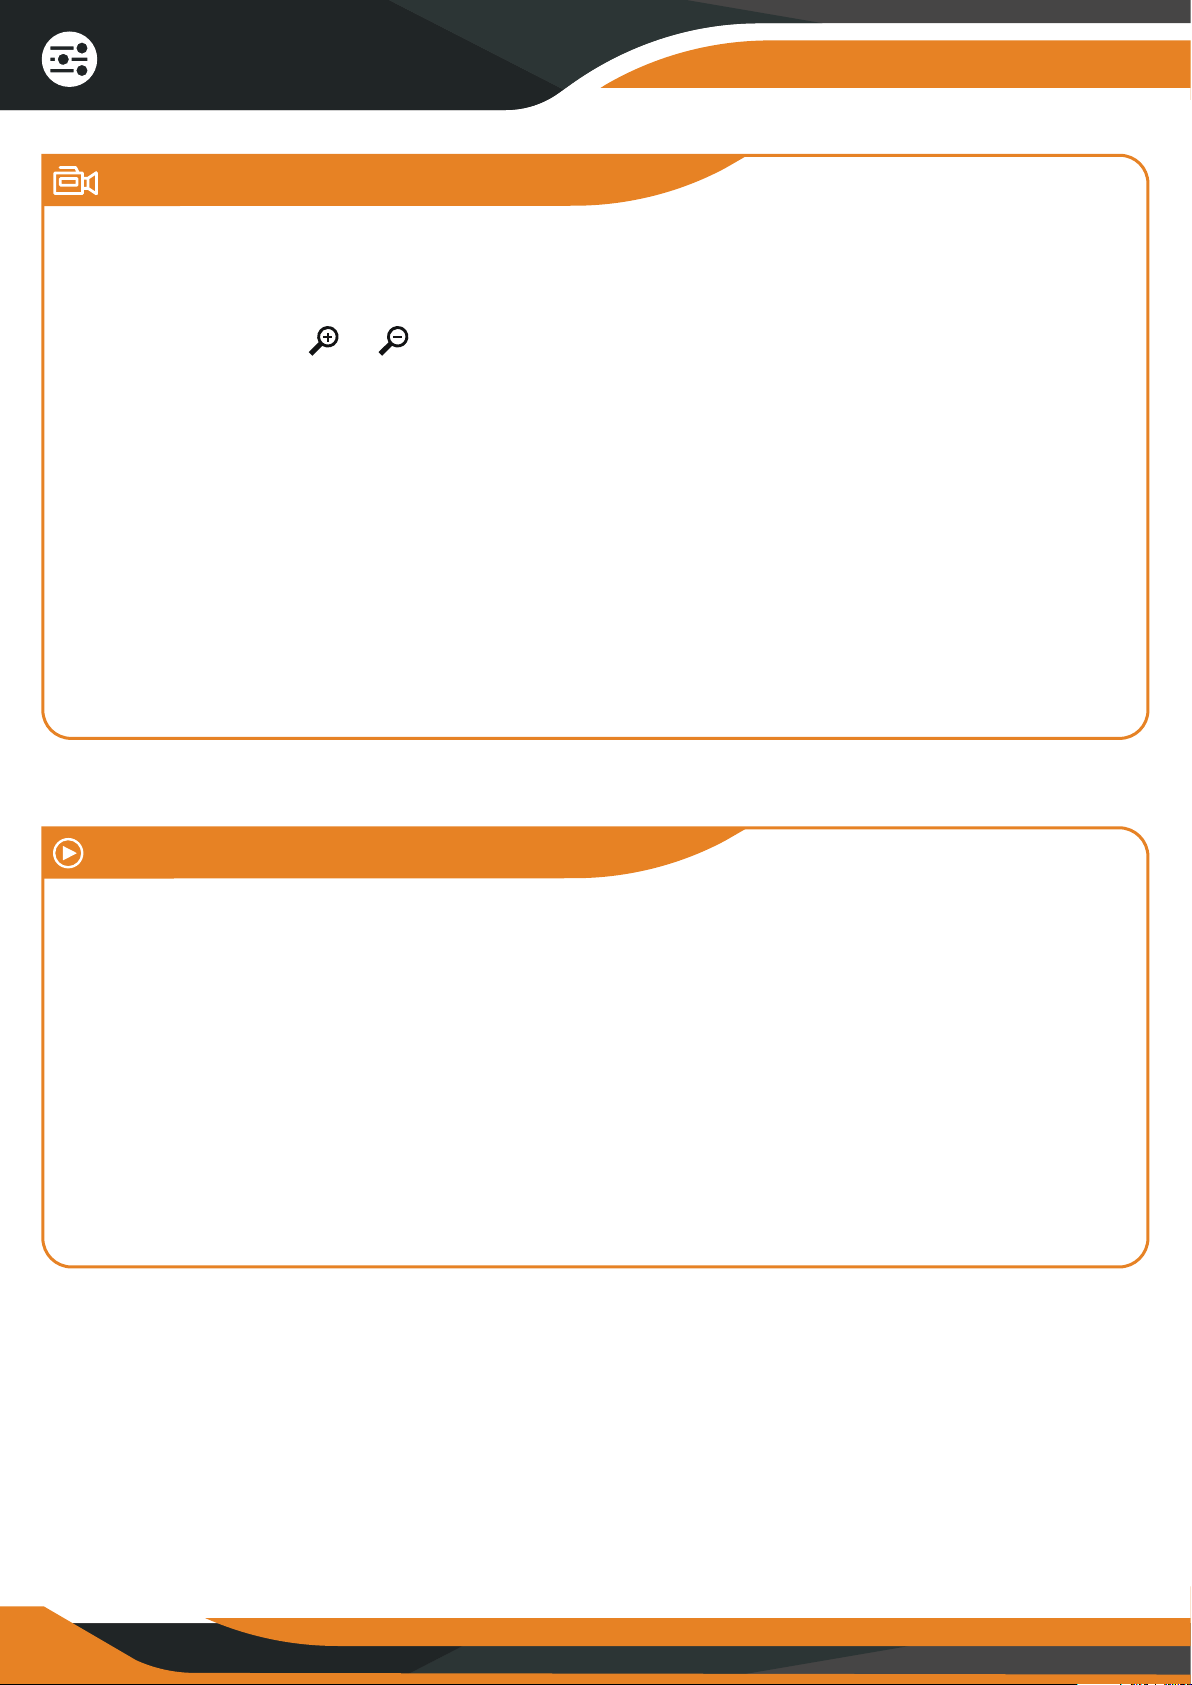
Video Mode
1. Turn on the device and press the MODE button to switch to Playback Mode.
2. Press UP/DOWN button to view photos and video files.
3. Playback the video:
- Press the SNAP/OK button to start playing the video files.
- Press the SNAP button again to pause.
- Press the MENU button to stop playing the current video file.
*If you press the MENU button in Playback Mode, the screen will display
the playback menu. Press the UP/DOWN button to choose lock or delete.
And press the SNAP/OK button to select one of the options.
1. Turn on the device and press the MODE button to switch to the Video Mode.
2. Zooming:
Keep pressing the or button button to zoom IN or OUT the image.
The magnification level appears on the LCD screen.
3. Record Video:
- View your subject on the LCD screen.
- Press the SNAP/OK button to record. The duration of the recording will be
shown on the LCD screen.
4. Finish recording:
- Press the SNAP/OK button again to stop recording.
- The device will stop recording automatically once the memory card is full.
10

Download files to the PC
How to download files to the PC?
Option A: Use a microSD card reader
1. Eject the memory card from the device and insert it into a card reader.
2. Connect the card reader to your computer.
3. Open [My Computer] or [Windows Explorer] and double-click on the
removable disk icon that represents the memory card.
4. Copy the images/videos from the card into a folder of your choice on the
computer’s hard disk.
Option B: Use a USB cable
1. Turn on the device.
2. Connect it to your computer through the included USB cable.
3. When connecting the device to your computer, it will show “MSDC” on
the screen.
4. Open [My Computer] or [Windows Explorer] and double-click on the
removable disk icon that represents the memory card.
11
Tips & Warnings
Tips & Warnings
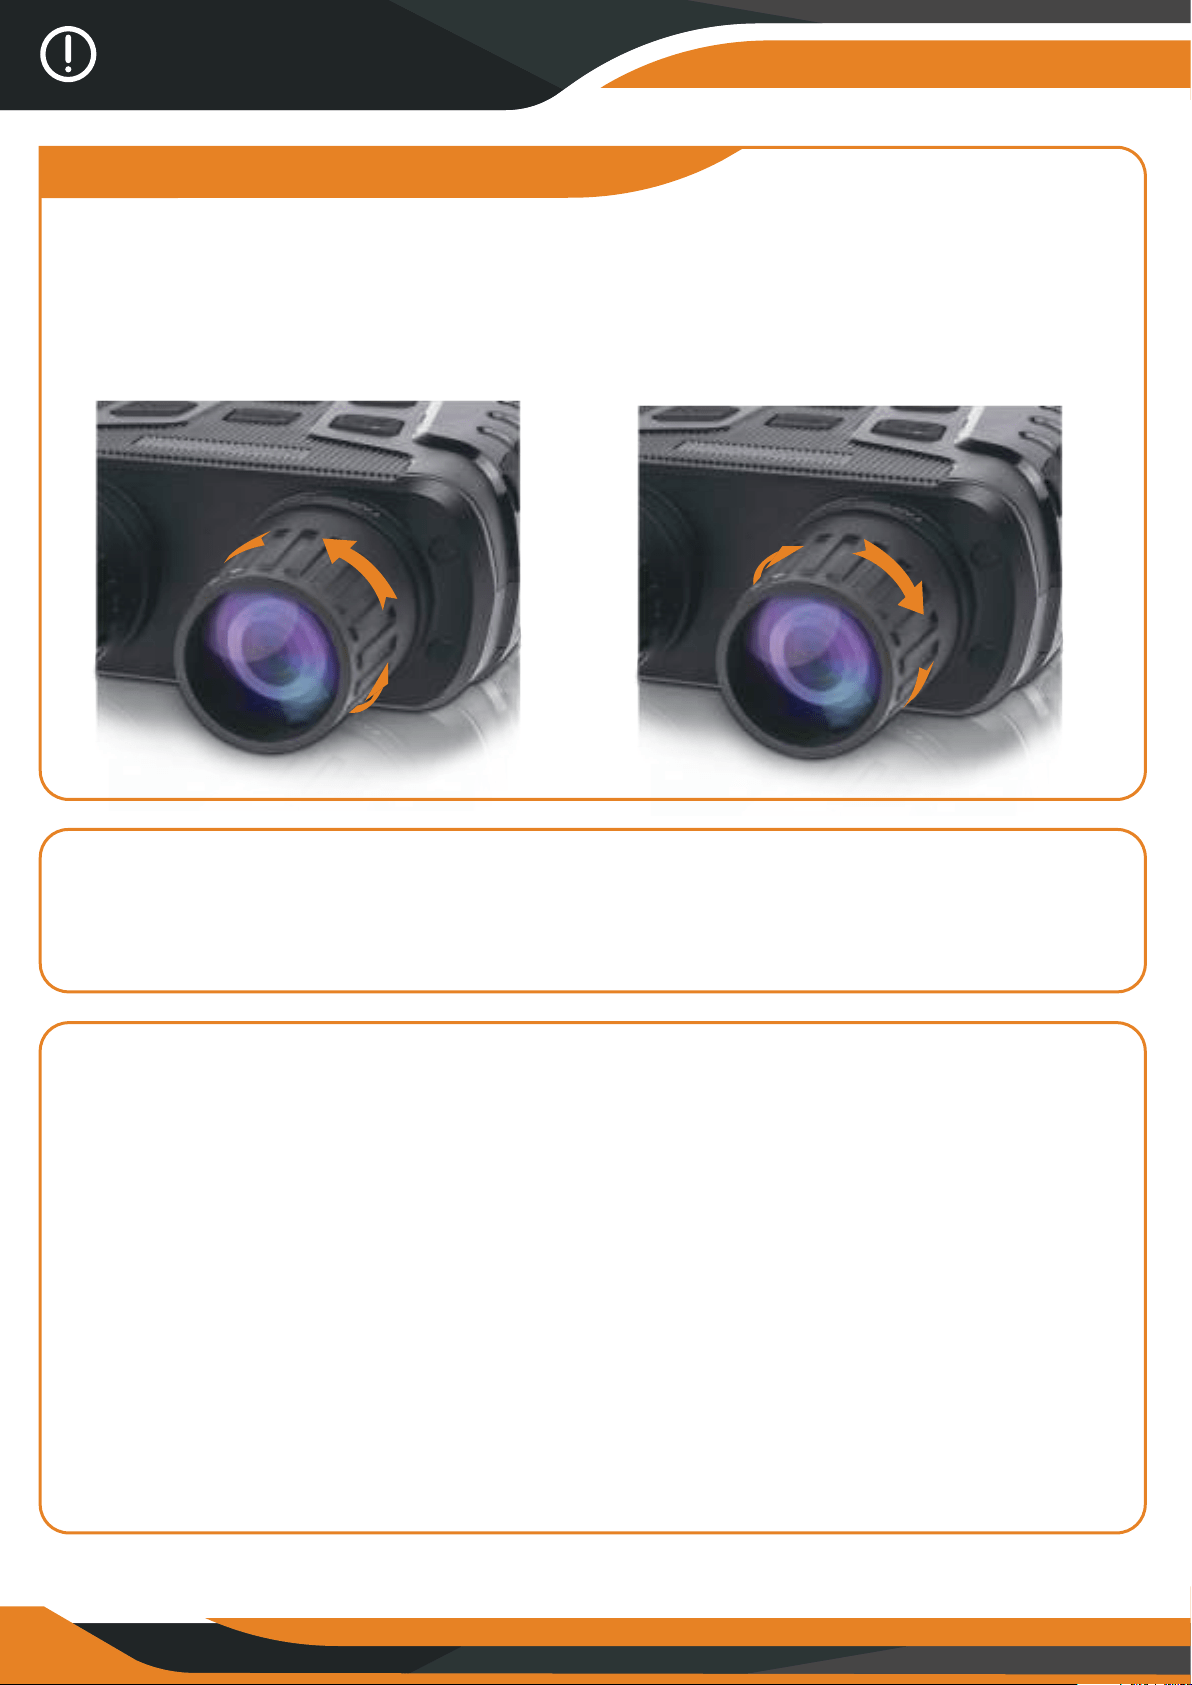
1. How to focus manually?
Rotate the LEFT lens knob to the left if the subject is far away from you and
to the right if the subject is close. You can adjust the focus while using
the GlassCondor depending on how far the subject is.
2. No sound during the video?
If this happens, the source of the sound is too far from the device and the
sound cannot be recorded.
3. How to get all 7 IR levels?
While in the Photo/Video Mode, if you want to view the subject in
a dark environment, please press shortly the IR UP button to activate
the IR LEDs. The image will change to black and white.
The IR LEDs have 7 levels. Press shortly the IR UP button to increase
the IR level or the IR DOWN button to decrease the IR level.
*If the battery power is not enough, the IR level will automatically decrease.
You can increase the IR level up to level 7 when the battery power is full.
If there is only half power left, the IR can get up only to level 5.
If there is only a quarter power left, the IR can get up only to level 3.
If the battery power is lower than 25%, the IR cannot be activated.
12
Menu
Photo
Resolution
Function
Date&Time
Video
Size
Night Vision
Sensitivity
Power
Save
Power
Frequency
Set the photo resolution.
Options:[1M 1280x960]/[VGA 640x480]
Set the video resolution.
Options:[960 1280x960]/[640 640x480].
Choose the night vision sensitivity.
Options:[Low]/[Middle]/[High].
Set the light source frequency to match frequency of
electricity supply in local region to prevent interference.
Options:[50Hz]/[60Hz].
Set the time to shut down the device
for power saving if the device is idle.
Options:[3min]/[5min]/[10min]/[OFF].
Set the date and time of device.
Tips & Warnings
5. The Settings Menu in the Photo/Video Mode:
Press MENU button in the Photo or Video Mode to change the
GlassCondor settings.
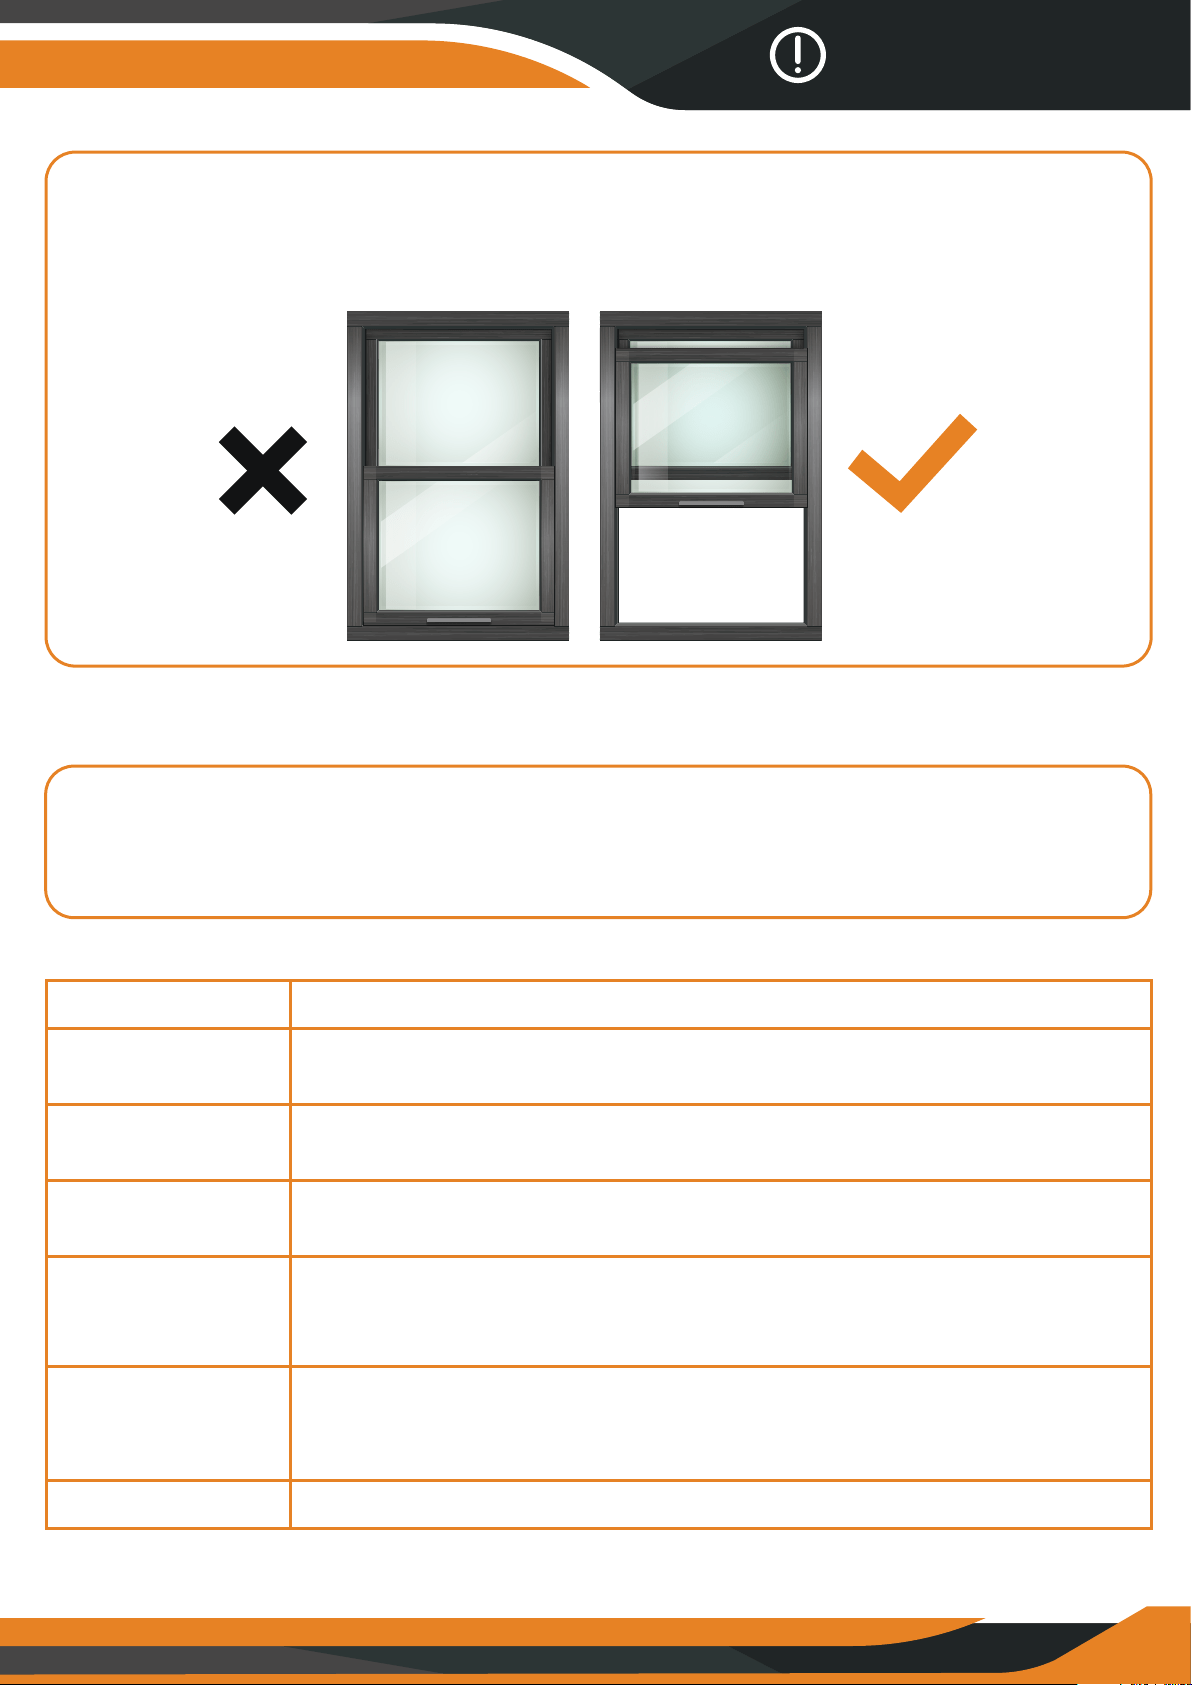
4. Can the GlassCondor work through windows?
Whether or not the infrared light (IR) is turned ON, the device cannot observe
objects through window glass.
13

5. The Settings Menu in the Photo/Video Mode:
Press MENU button in the Photo or Video Mode to change the
GlassCondor settings.
6. Alkaline batteries need to be installed before use;
we recommend new alkaline batteries (Eneloop by Panasonic).
*If the battery power is low, the device might not turn on.
Date
Stamp
Add the date stamp on the photo or video files.
Options:[O]/[Date]/[Date&Time].
Language
Format
Reset
All
Set OSD (on-screen) language.
Options:[English]/[French]/[Dutch]/[Spanish]/[Italian]/
[Portuguese]/[German]/[Russian]/[Japanese]/
[Korean]/[Simplified Chinese]/[Traditional Chinese].
Format your TF card. Format TF card will delete
all files including the protected files.
Please copy the important files before confirm.
Options:[Yes]/[No].
Restore the setup to factory default settings.
Options:[Yes]/[No].
7. Do not use the GlassCondor binoculars in water as it will damage
the device and the damage will not be covered by the warranty.
Tips & Warnings
14

15
Warranty
Your CREATIVE XP product is warranted to be free of defects in materials and
workmanship for one (1) year after the date of purchase. These warranties do
not cover consumer caused damages such as misuse, abuse or repairs
attempted by the consumer.
This limited warranty gives you specific legal rights and you may also have
other rights, which vary from state to state.
We warrant that during the warranty period, the product will be free from
defects in materials and workmanship.
We limit the duration and remedies of all implied warranties, including without
limitation the warranties of merchantability and fitness for a particular
purpose to the duration of this express limited warranty.
Some states do not allow limitations on how long an implied warranty lasts,
so the above limitation may not apply to you.
The remedies described herein are your sole and exclusive remedies and our
entire liability for any breach of this limited warranty. Our liability shall under
no circumstances exceed the actual amount paid by you for the defective
product, nor shall we under any circumstances be liable for any consequential,
incidental, special or punitive damages or losses, whether direct or indirect.
Some states do not allow the exclusion or limitation of incidental or
consequential damages, so the above limitation or exclusion may not apply
to you.
Our responsibility for defective goods is limited to repair, or replacement as
described below in this warranty statement.
WHAT DOES THIS WARRANTY COVER
This limited warranty covers defects in materials and workmanship of the
CREATIVE XP products (the “product”) for the Warranty Period as defined
below.

WHAT DOES THIS WARRANTY NOT COVER
This warranty excludes batteries and any electrical components or products.
This limited warranty does not cover any damage due to: (a) carelessness;
(b) misuse; (c) commercial use; (d) abuse; (e) improper installation;
(f) modification; (g) normal wear and tear; (h) loss; (i) theft; (j) deliberate
damage or cosmetic damage that does not hinder the performance of the
product; or (k) external causes such as accidents, or other actions or events
beyond our reasonable control.
WHAT IS THE PERIOD OF COVERAGE
This limited warranty starts on the date of your purchase and lasts for one (1)
year (the “Warranty Period”). The Warranty Period is not extended if we
repair or replace the product. We may change the availability of this limited
warranty at our discretion, but any changes will not be retroactive.
WHAT ARE YOUR REMEDIES UNDER THIS WARRANTY
With respect to any defective product during the Warranty Period, we will, in
our sole discretion either (a) repair or (b) replace such product (or the
defective part) free of charge.
HOW DO YOU OBTAIN WARRANTY SERVICE
Unless restricted or prohibited by applicable law, in returning this
CREATIVE XP product for repair or replacement under this warranty, the
original consumer purchaser must prepay all postage, shipping transportation,
insurance and delivery costs, and the CREATIVE XP product must be
delivered in either its original carton or a similar package aording an equal
degree of protection. CREATIVE XP will not be responsible for any loss or
damage incurred in connection with the return of this product. If defective,
the product will be repaired or replaced at CREATIVE XP’s option, at no
charge.
To obtain a return address, please call us at +1 646 450 6330 or email us at
support@creative-xp.com
16
Warranty

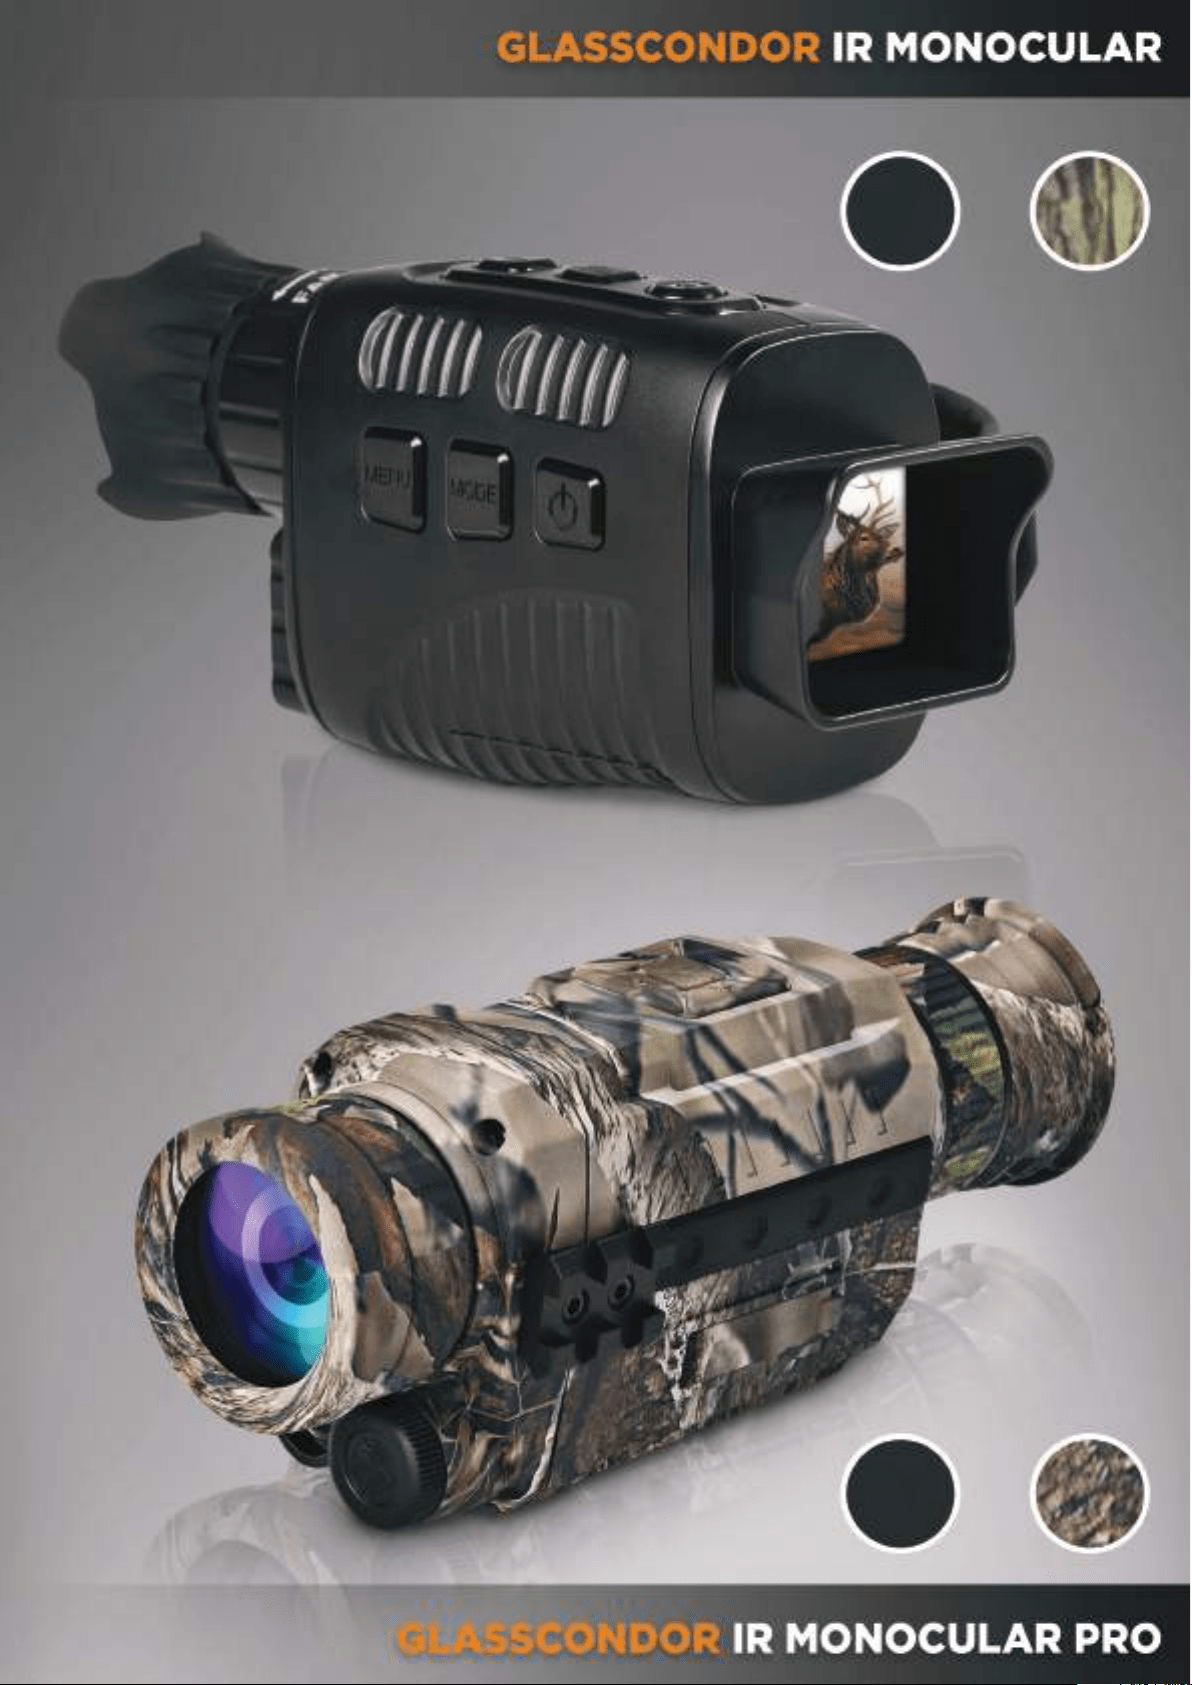
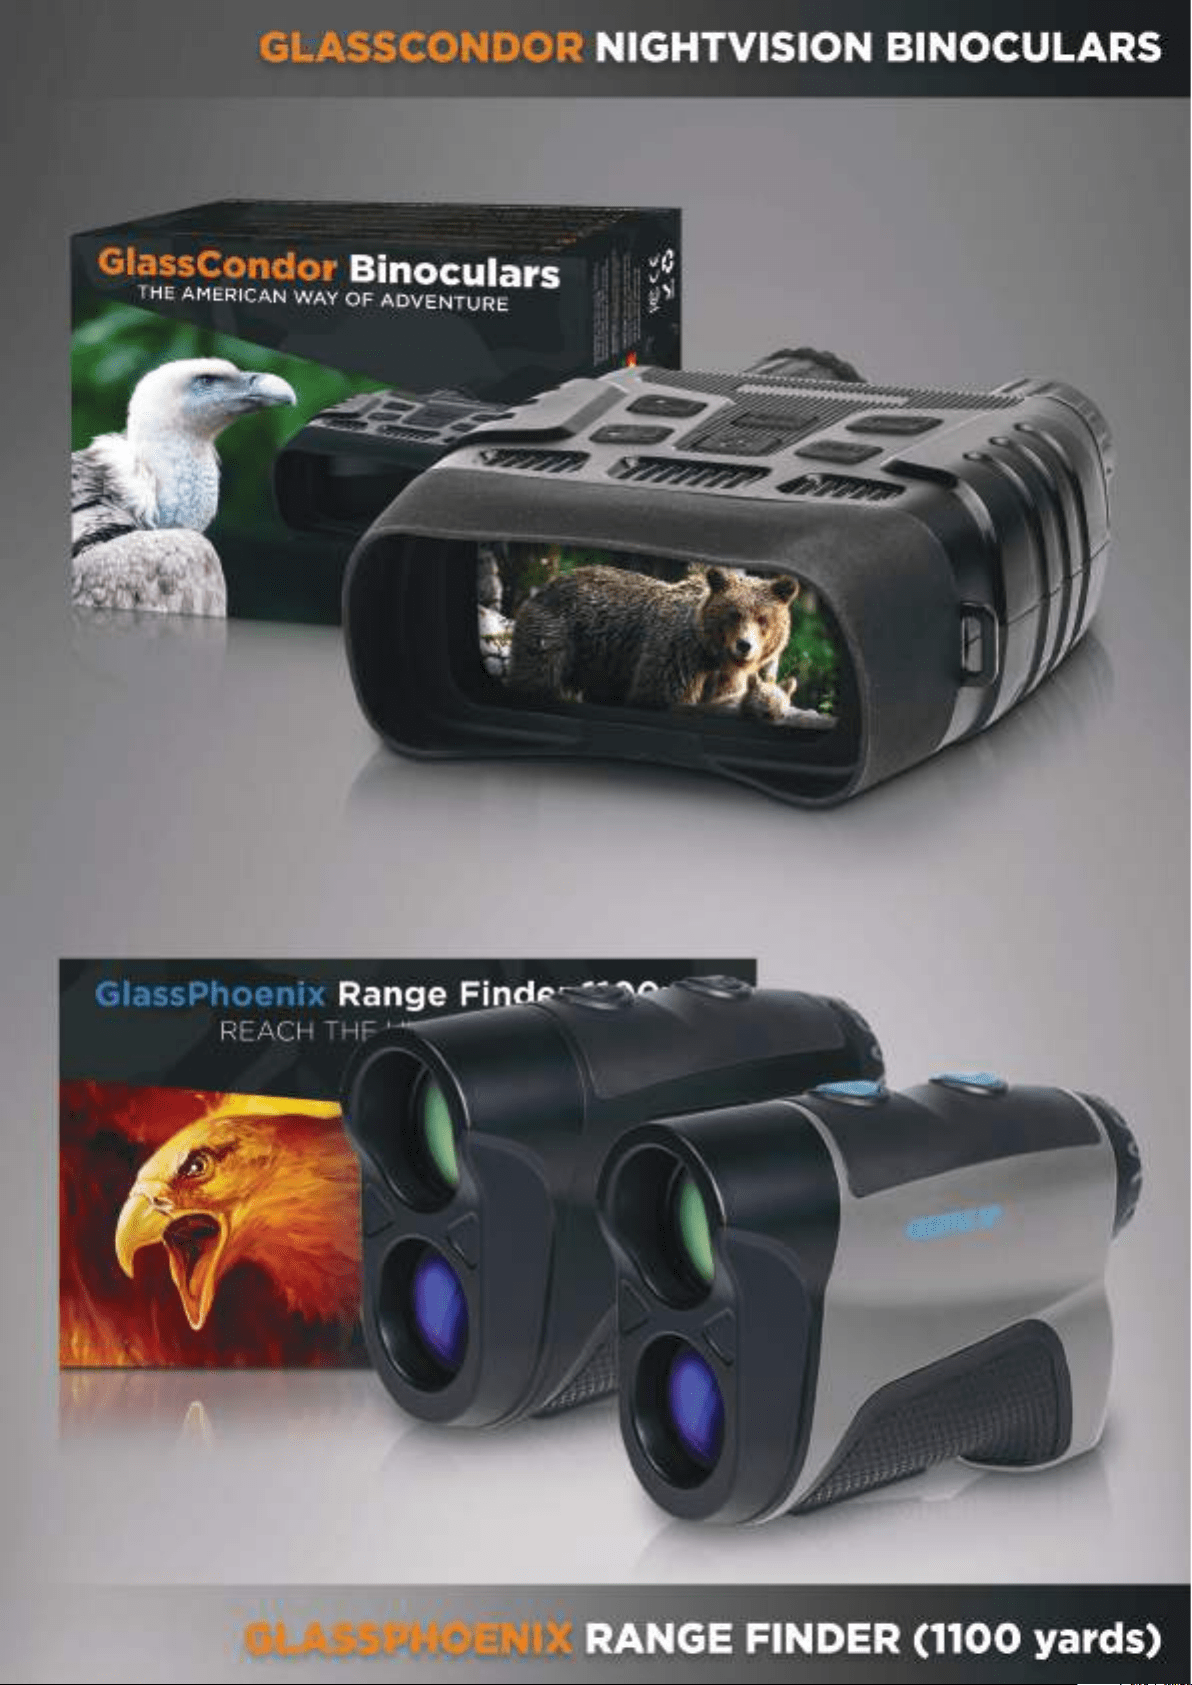
THE COMPLETE
HUNTER KIT